Home Decor / DIY

A DIY Lumber Pillow

I admit and guilty for being so irregular(I know!! Again),it doesnt mean I was a couch potato…I was busy doing some renovation  in Aleeza room along with daily house routine.Her birthday is in coming week and she is going to be 11 this year Masha Allah.Time passed so fast,it looks like we brought our first baby home for the first time.She is growing so her needs are changing  too…she is not baby but she is still in glitter and  glue.

received_10155020684305791
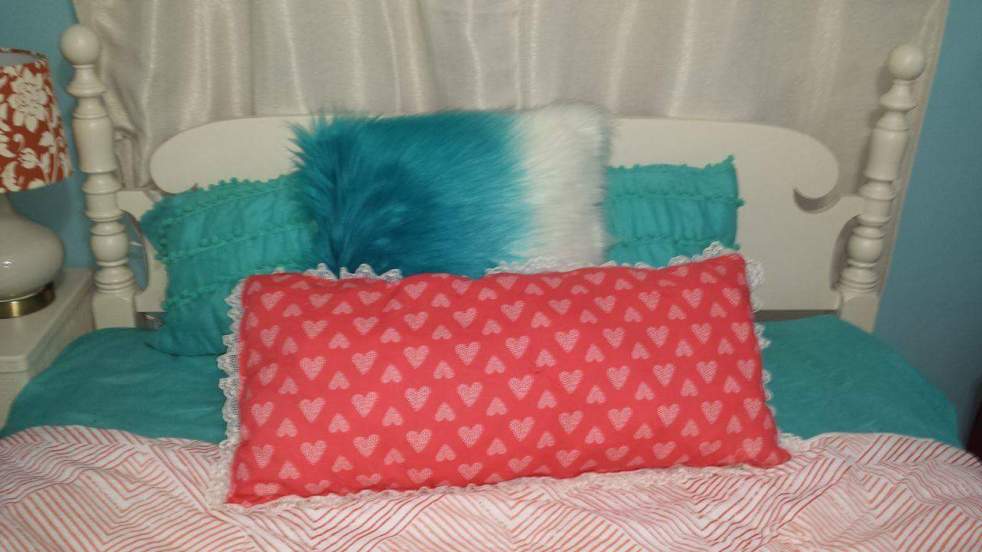
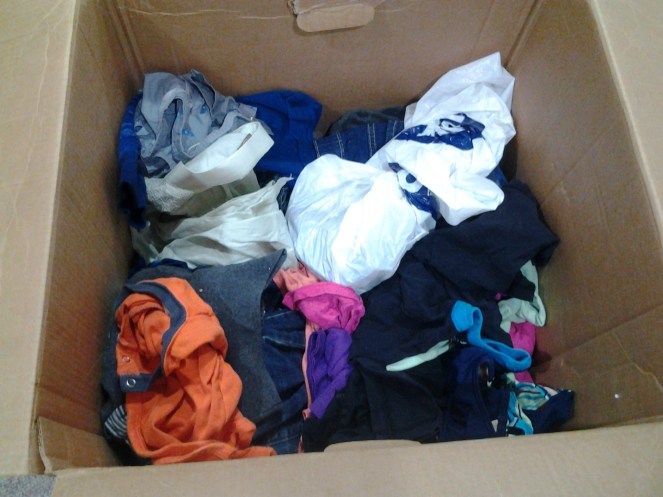
Her size got change so often,I  dont have any one younger (doll )who can use her beautiful  dresses and feel some times(often) I spend too much on her clothes and she uses once and a while.I love this dress she got it  as a gift from her khala (so its  a kind of her sentimental asset )and she only used 2-3 times as its summer  dresss and sadly we only have few months to use them.Every year I have tons of  their clothes to recycle or donate,try my best not to waste any thing in anyways.I was dressing  her bed up and I thought to use different pillows and cushion to make it accent.The lumber or body pillow is longer than average  pillow and sleek rectangular in shape.

Lets make  it together,its a beginner version.

You  can use any cotton dress or skirt of roughly atleast has  35″×16″ size (2 pieces of same rectangular sized) fabric when you cut it.

cotton filling.

Decorative Lace/pom pom/Ribbon etc etc .

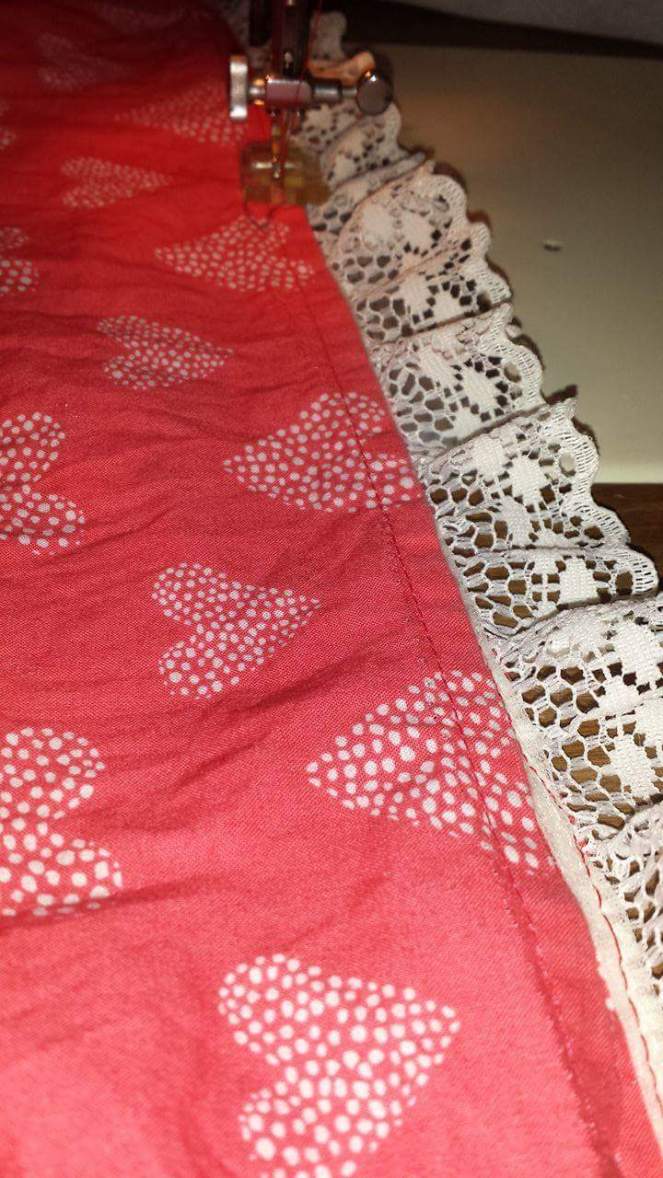
Measure the desire size and cut the fabric in two pieces with same size.I wanted to use pom pom lace but couldn’t find at that time.I used this cute shabby chic lace and attached it to the fabric with sewing machine.All you need is basic sewing skills.received_10155020681335791

Use lace in between and stitch with sewing machine. If you are not expect like me,use clothes pins.All you need is stitch in a straight line or can even go little zigzag like me (lol) Don’t underestimate  your sewing skills just make sure it is stitched. You can make first  a simple cover for filing but I  insert filling directly because  Aleeza uses her stuff gently,if it got dirty I will toss it in a washer (Tip: When you put pillows and comforter in your dryer after a wash,Add 3 tennis ball inside the dryer to keep them in shape).

received_10155020681385791

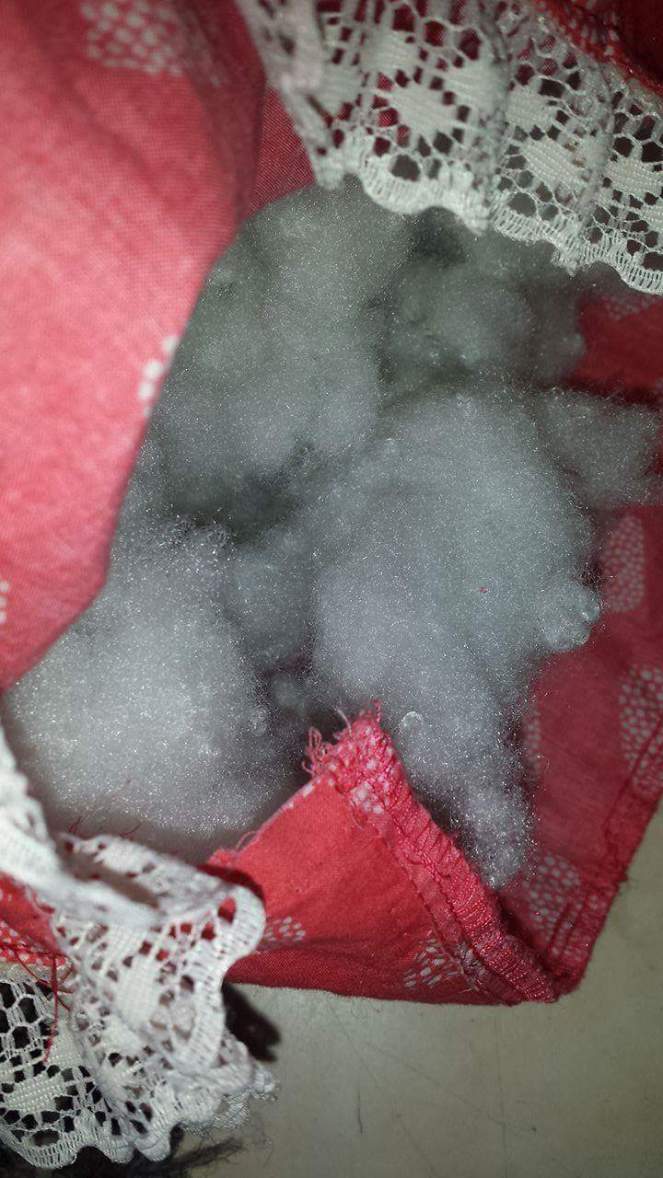
Stitch three side and leave it open so we can insert filling inside.Just make sure you fill it up all the way from top to bottom.I used almost three standard cushions size cotton filling to make this lumber pillow.

received_10155020681370791

Close the open side with hand or sewing machine. Tara!!Ready to enjoy for a cozy nap…!!

received_10155020681395791

Home Decor / DIY

Lets Start From Back Splash

I am so grateful to  all of you for appreciating  my kitchen make over so much .As I  promised,I will share from failure to success. ..yes …I got failed,stressed out or whatever you say..almost about to give up.I changed my mind so many times and I am really happy with Canadian  Return policy otherwise I would have been bankrupt.You would be amazed I returned almost everything other than this my marble tiles,because I loved them alot. The only thing that gave me a lay out for my kitchen. ..than I realize need to do some paper work and did some online and in store search and finally decided to go with the “Monochromatic” kitchen (with same shades )of neutrals.

16473763_751452851674937_403926679647431307_n

You have so much options to  choose from,its all depends how much  you wana spend.lets start ,from back splash .There are lot of options  available  from glass tiles to ceramic, metal and porcelain tiles.

If you are living in rental or do some simple DIY peel and sticks are available.They are easy, look good but kind of temporary make over.I liked metal peel and stick tiles but they are way too much expensive  for temporary  solution.It can be done if you have a small project.

18057059_10154978403495791_3754173453917180044_n.jpg
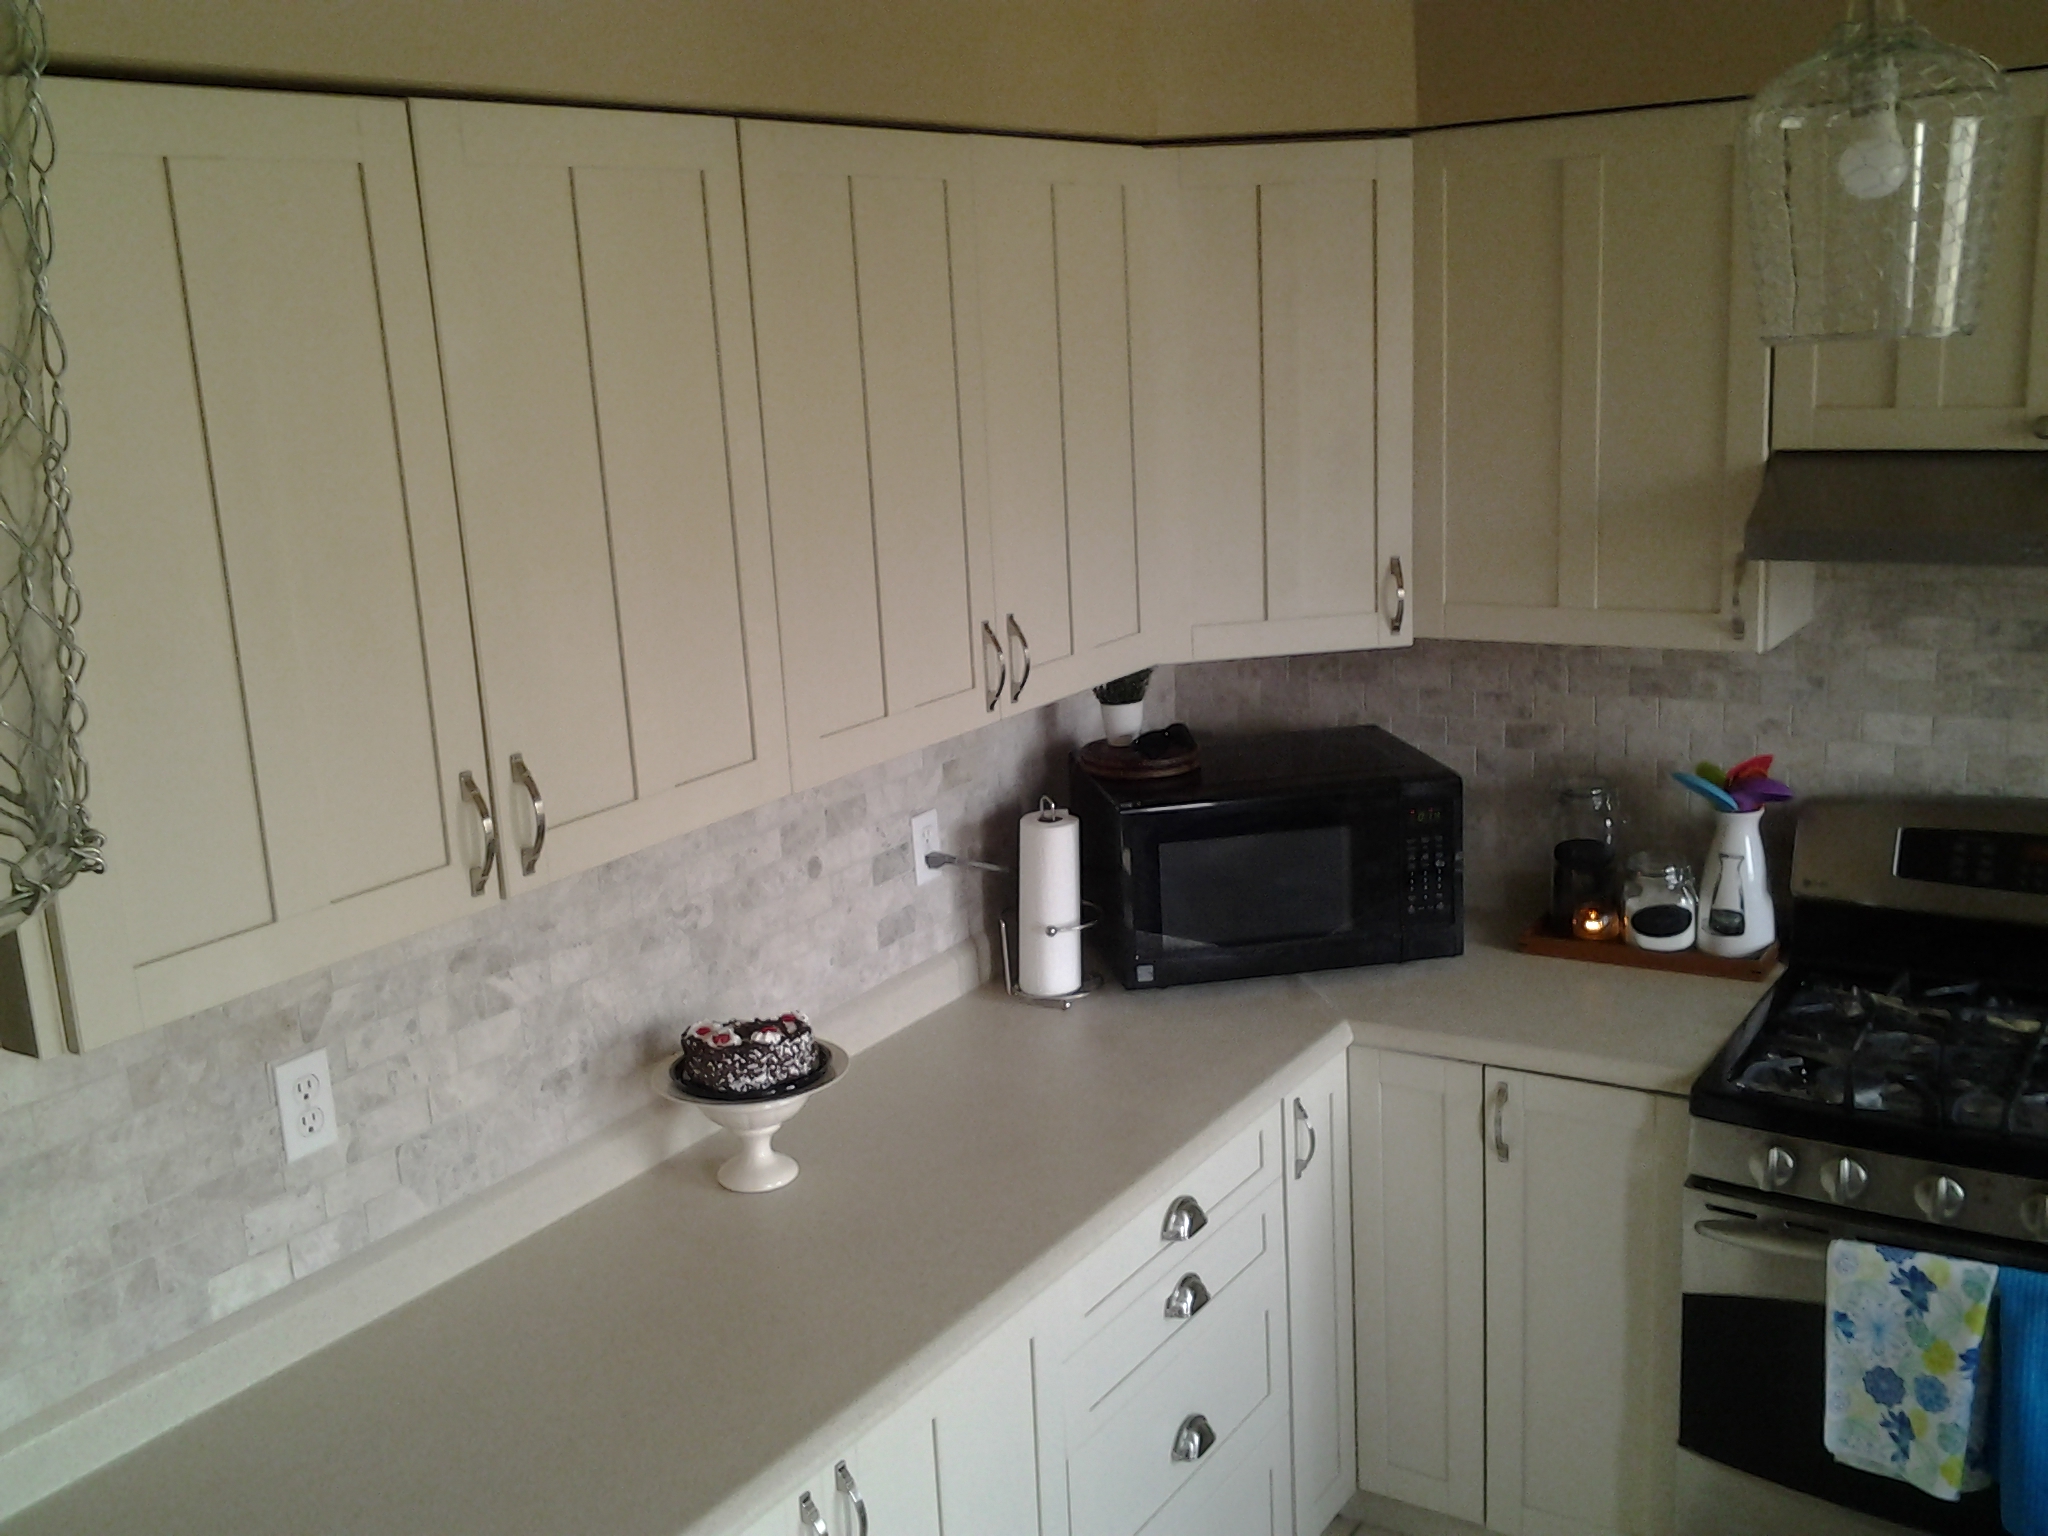
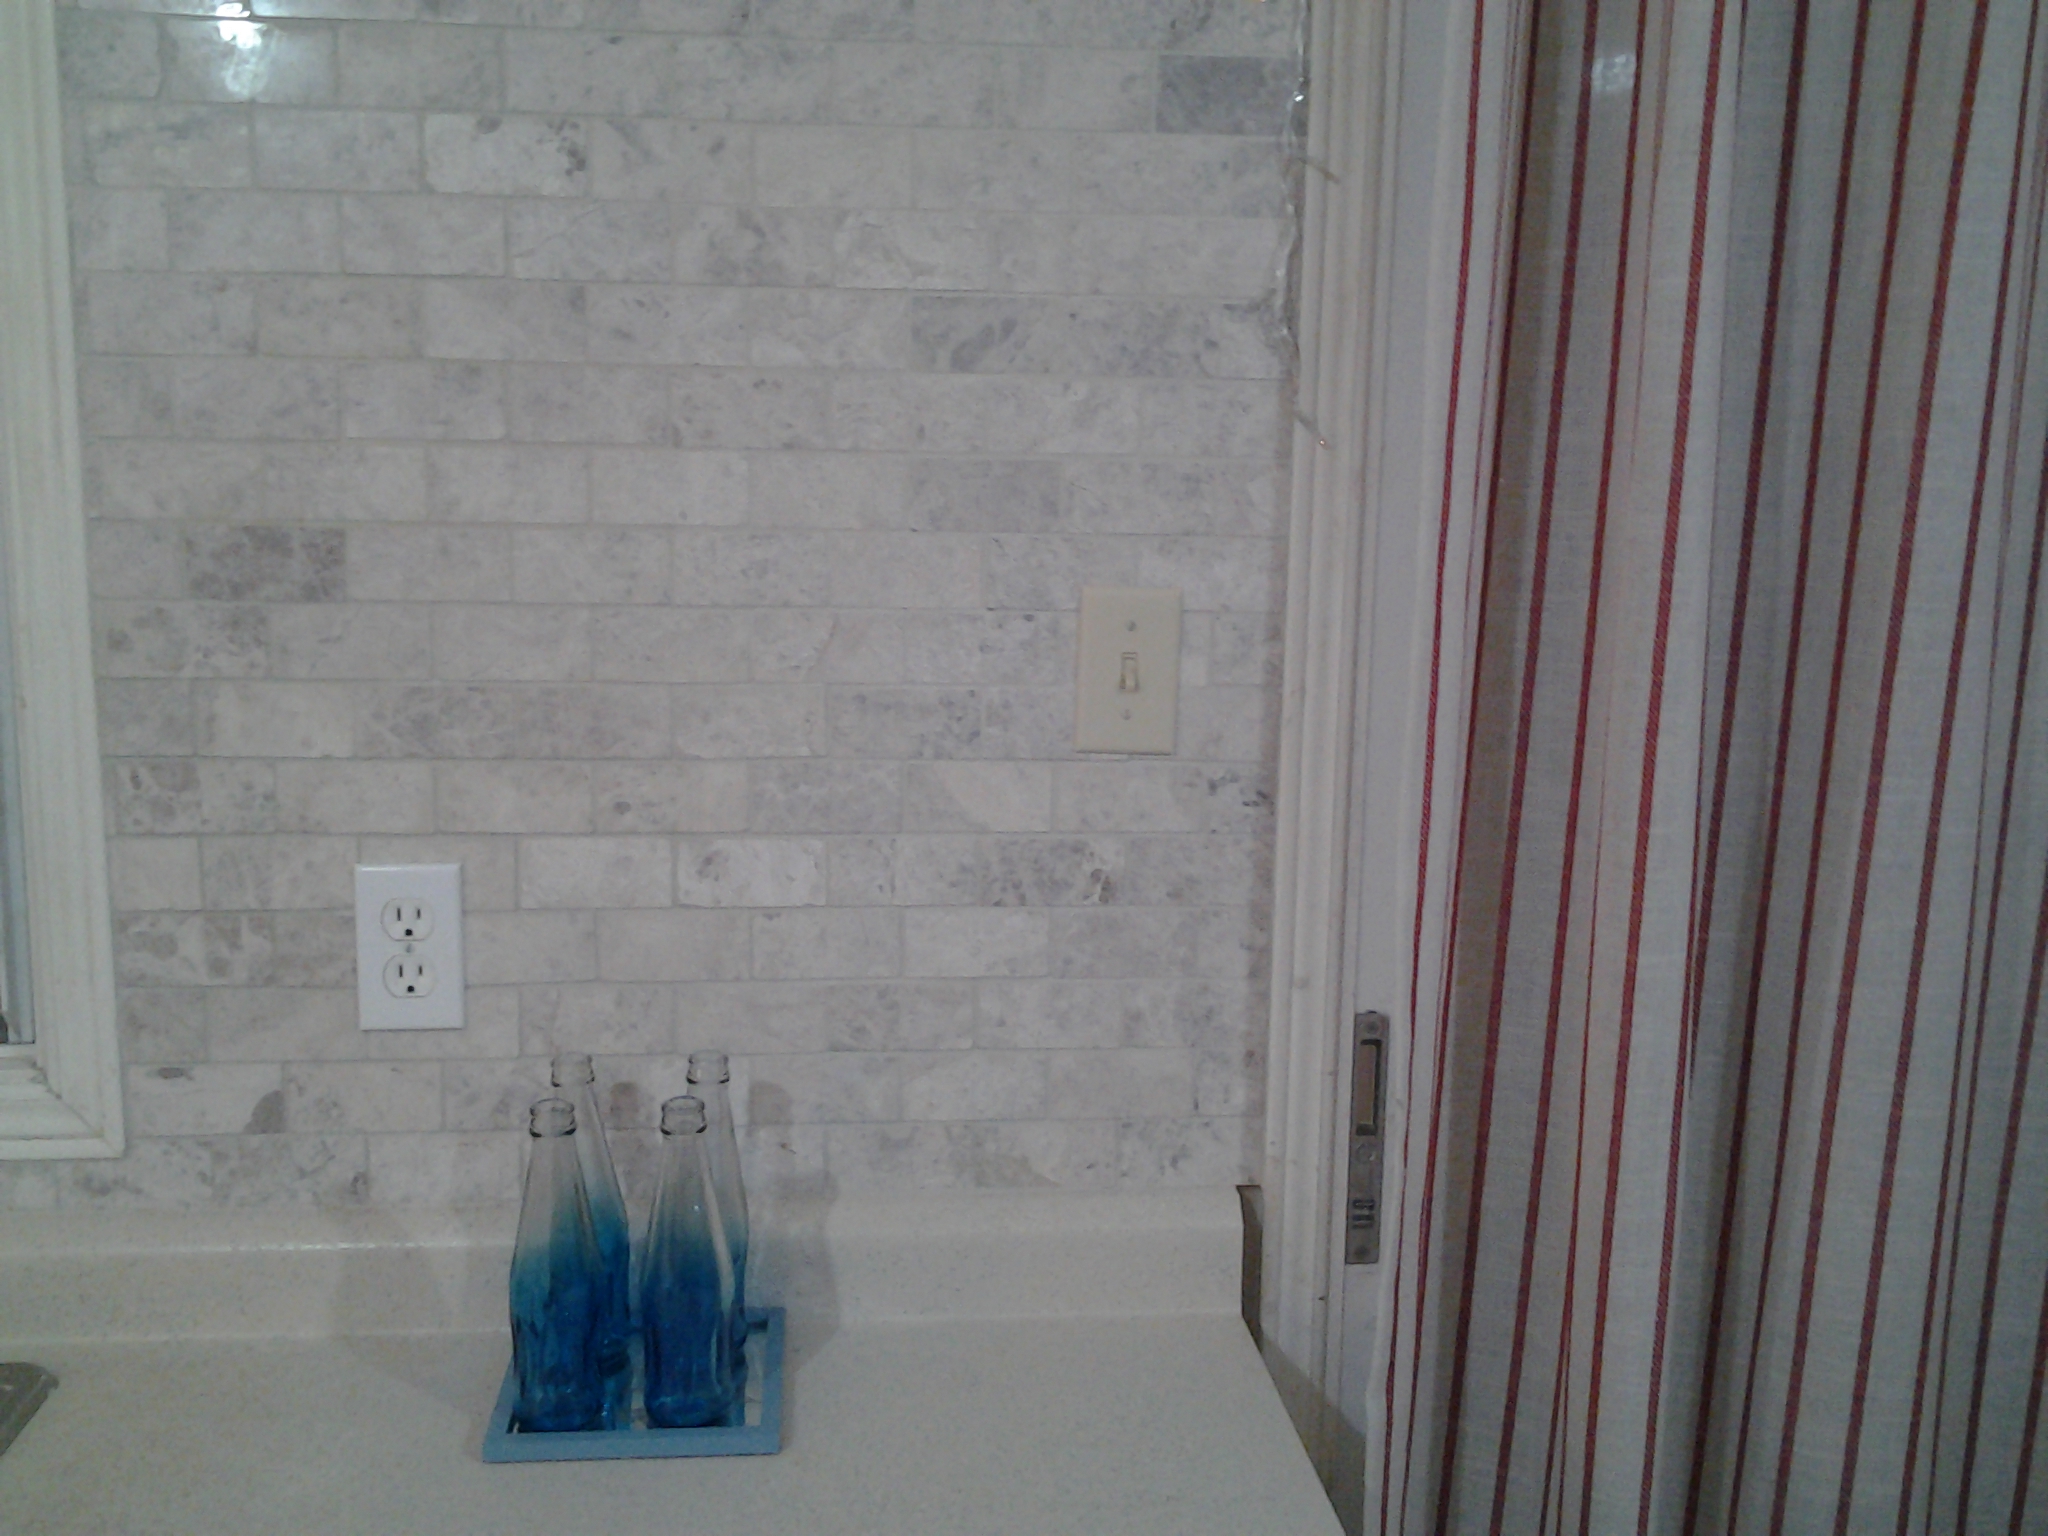
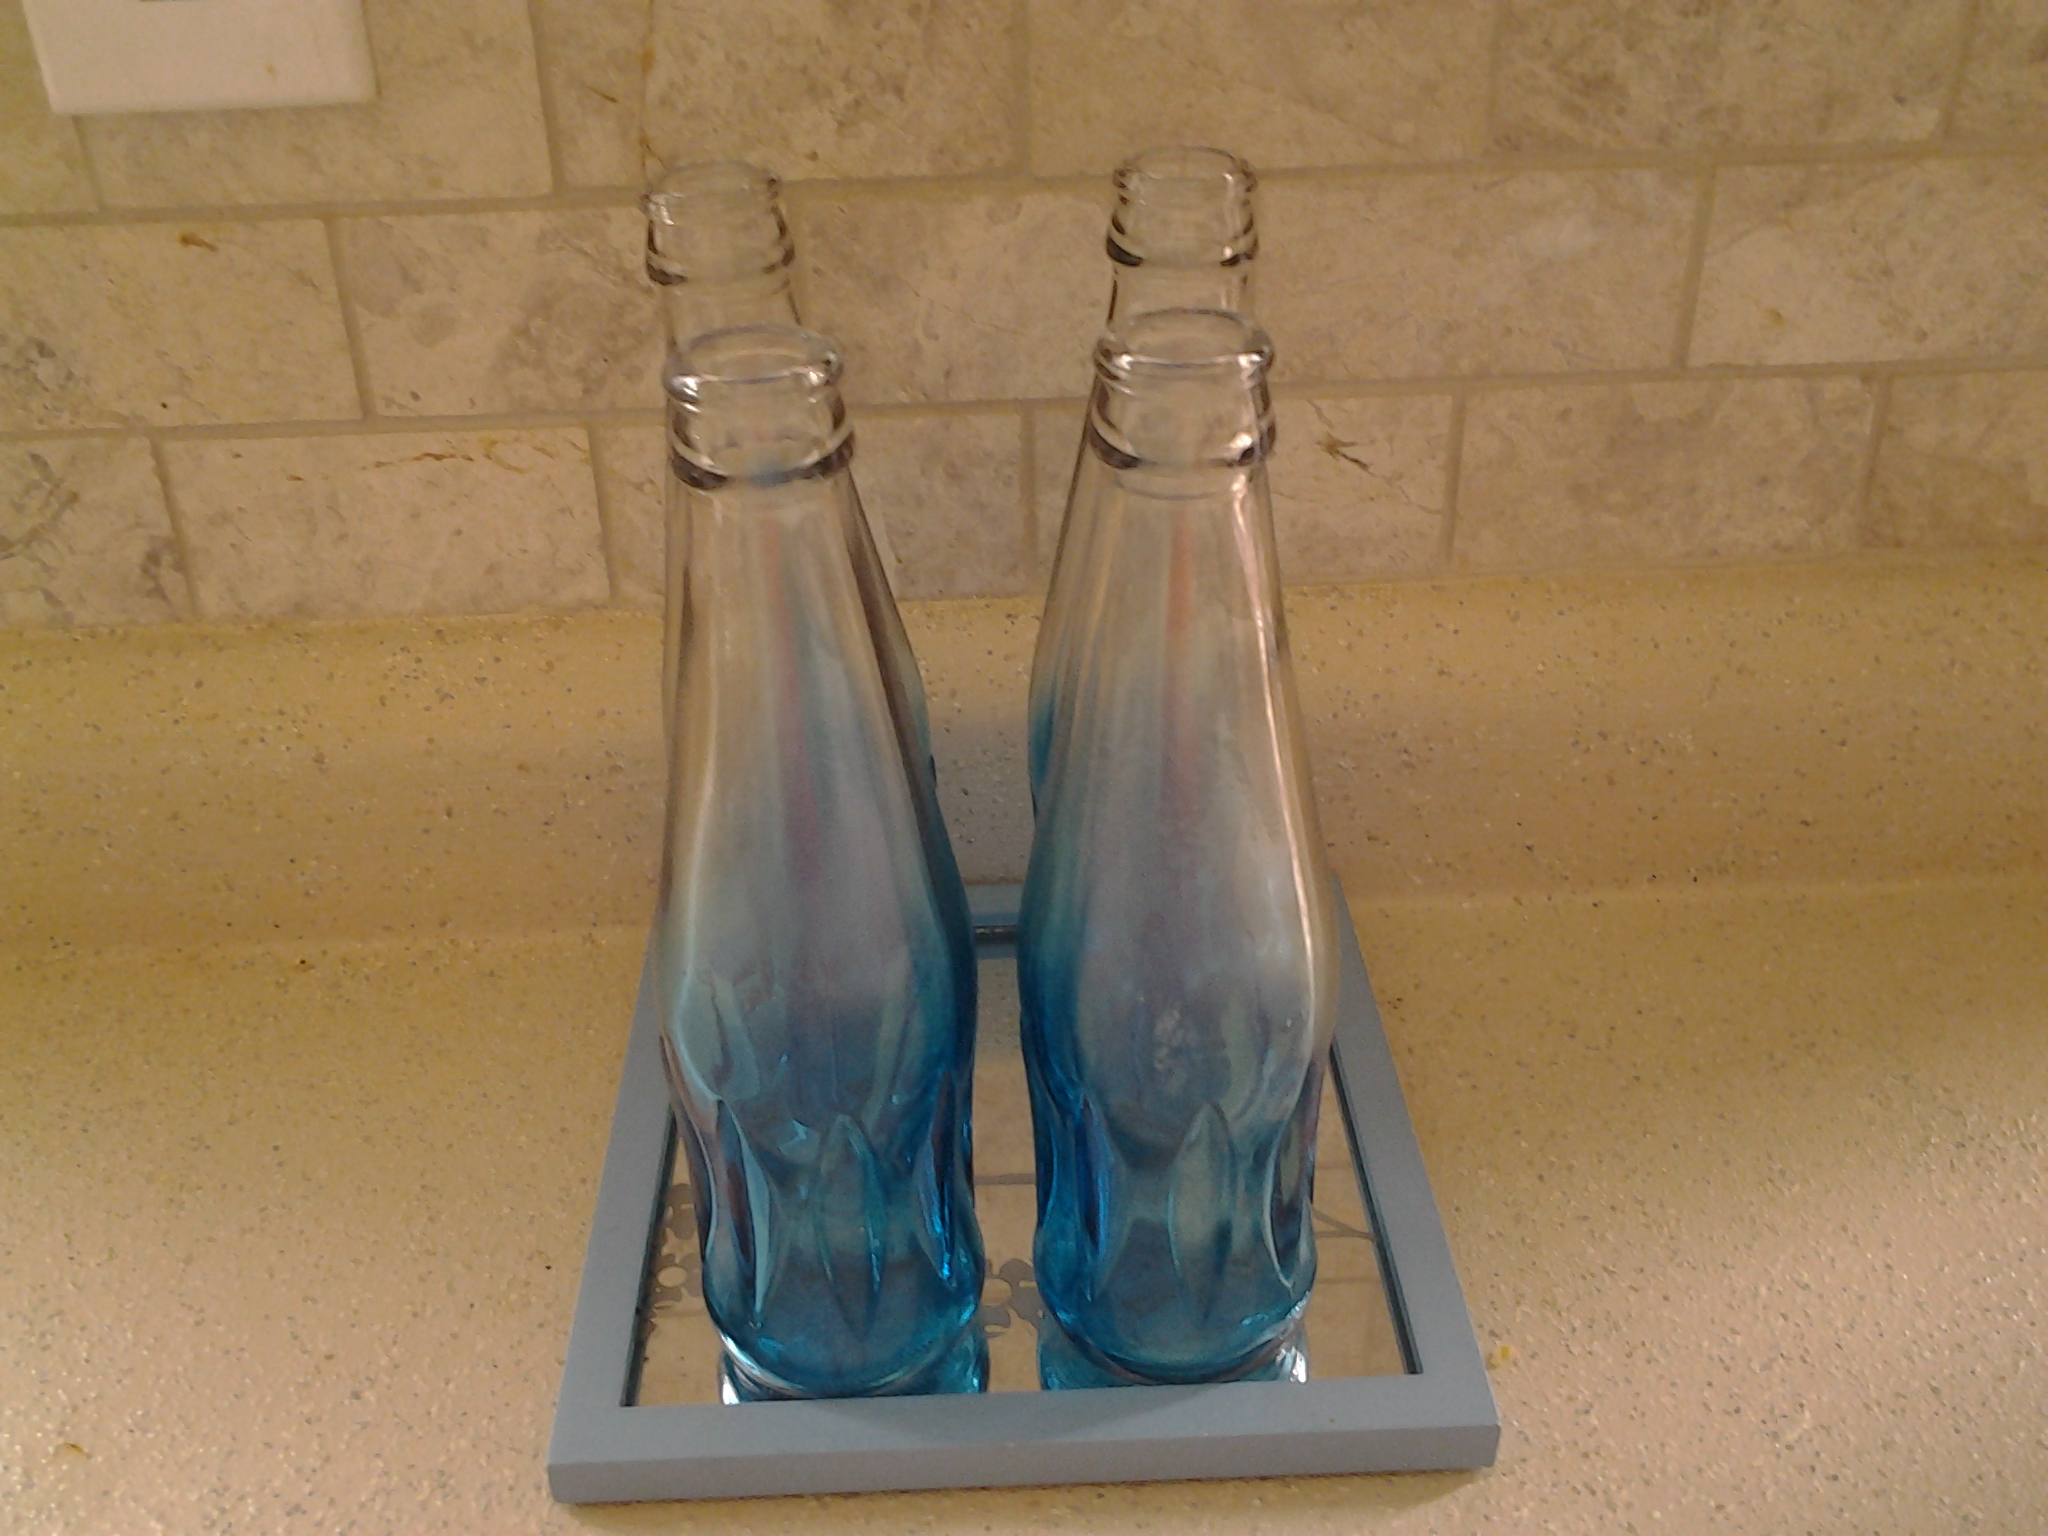
If you are doing everything, my two cents advice…always start from countertop and  floor than back splash and  choose your cabinets accordingly after you done… Dont choose your cabinet color before your counter top or back splash….your back splash would look different after grouting is done.

20170121_222956
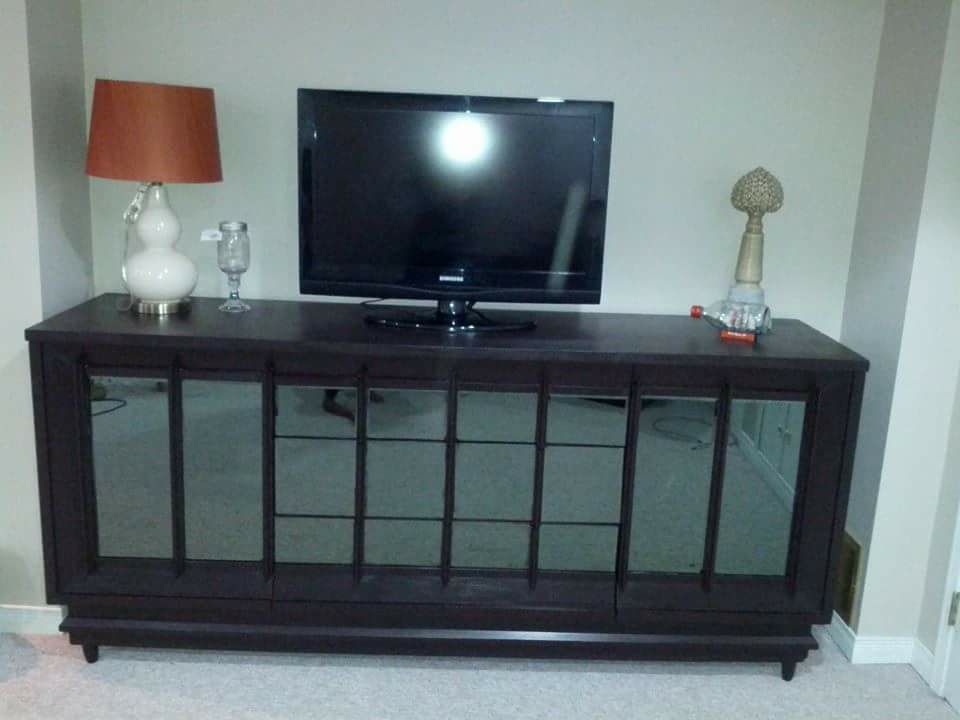
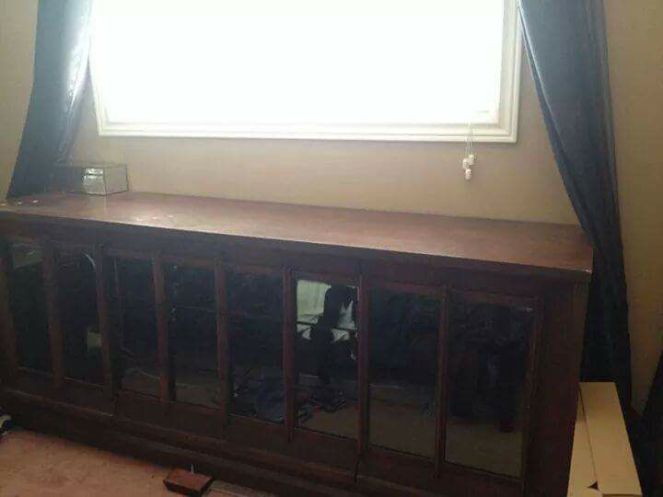
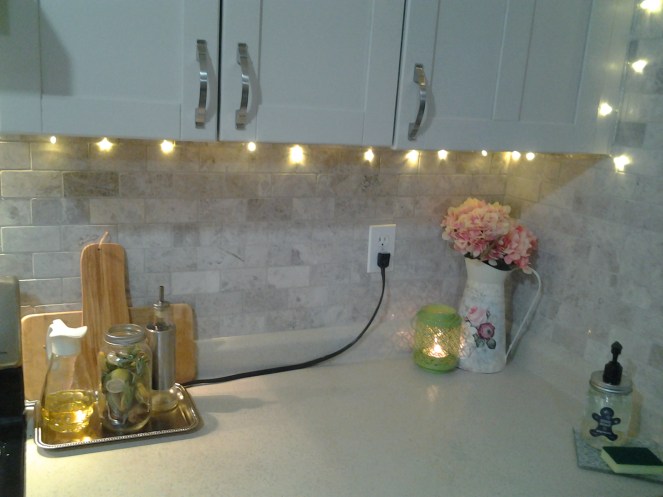
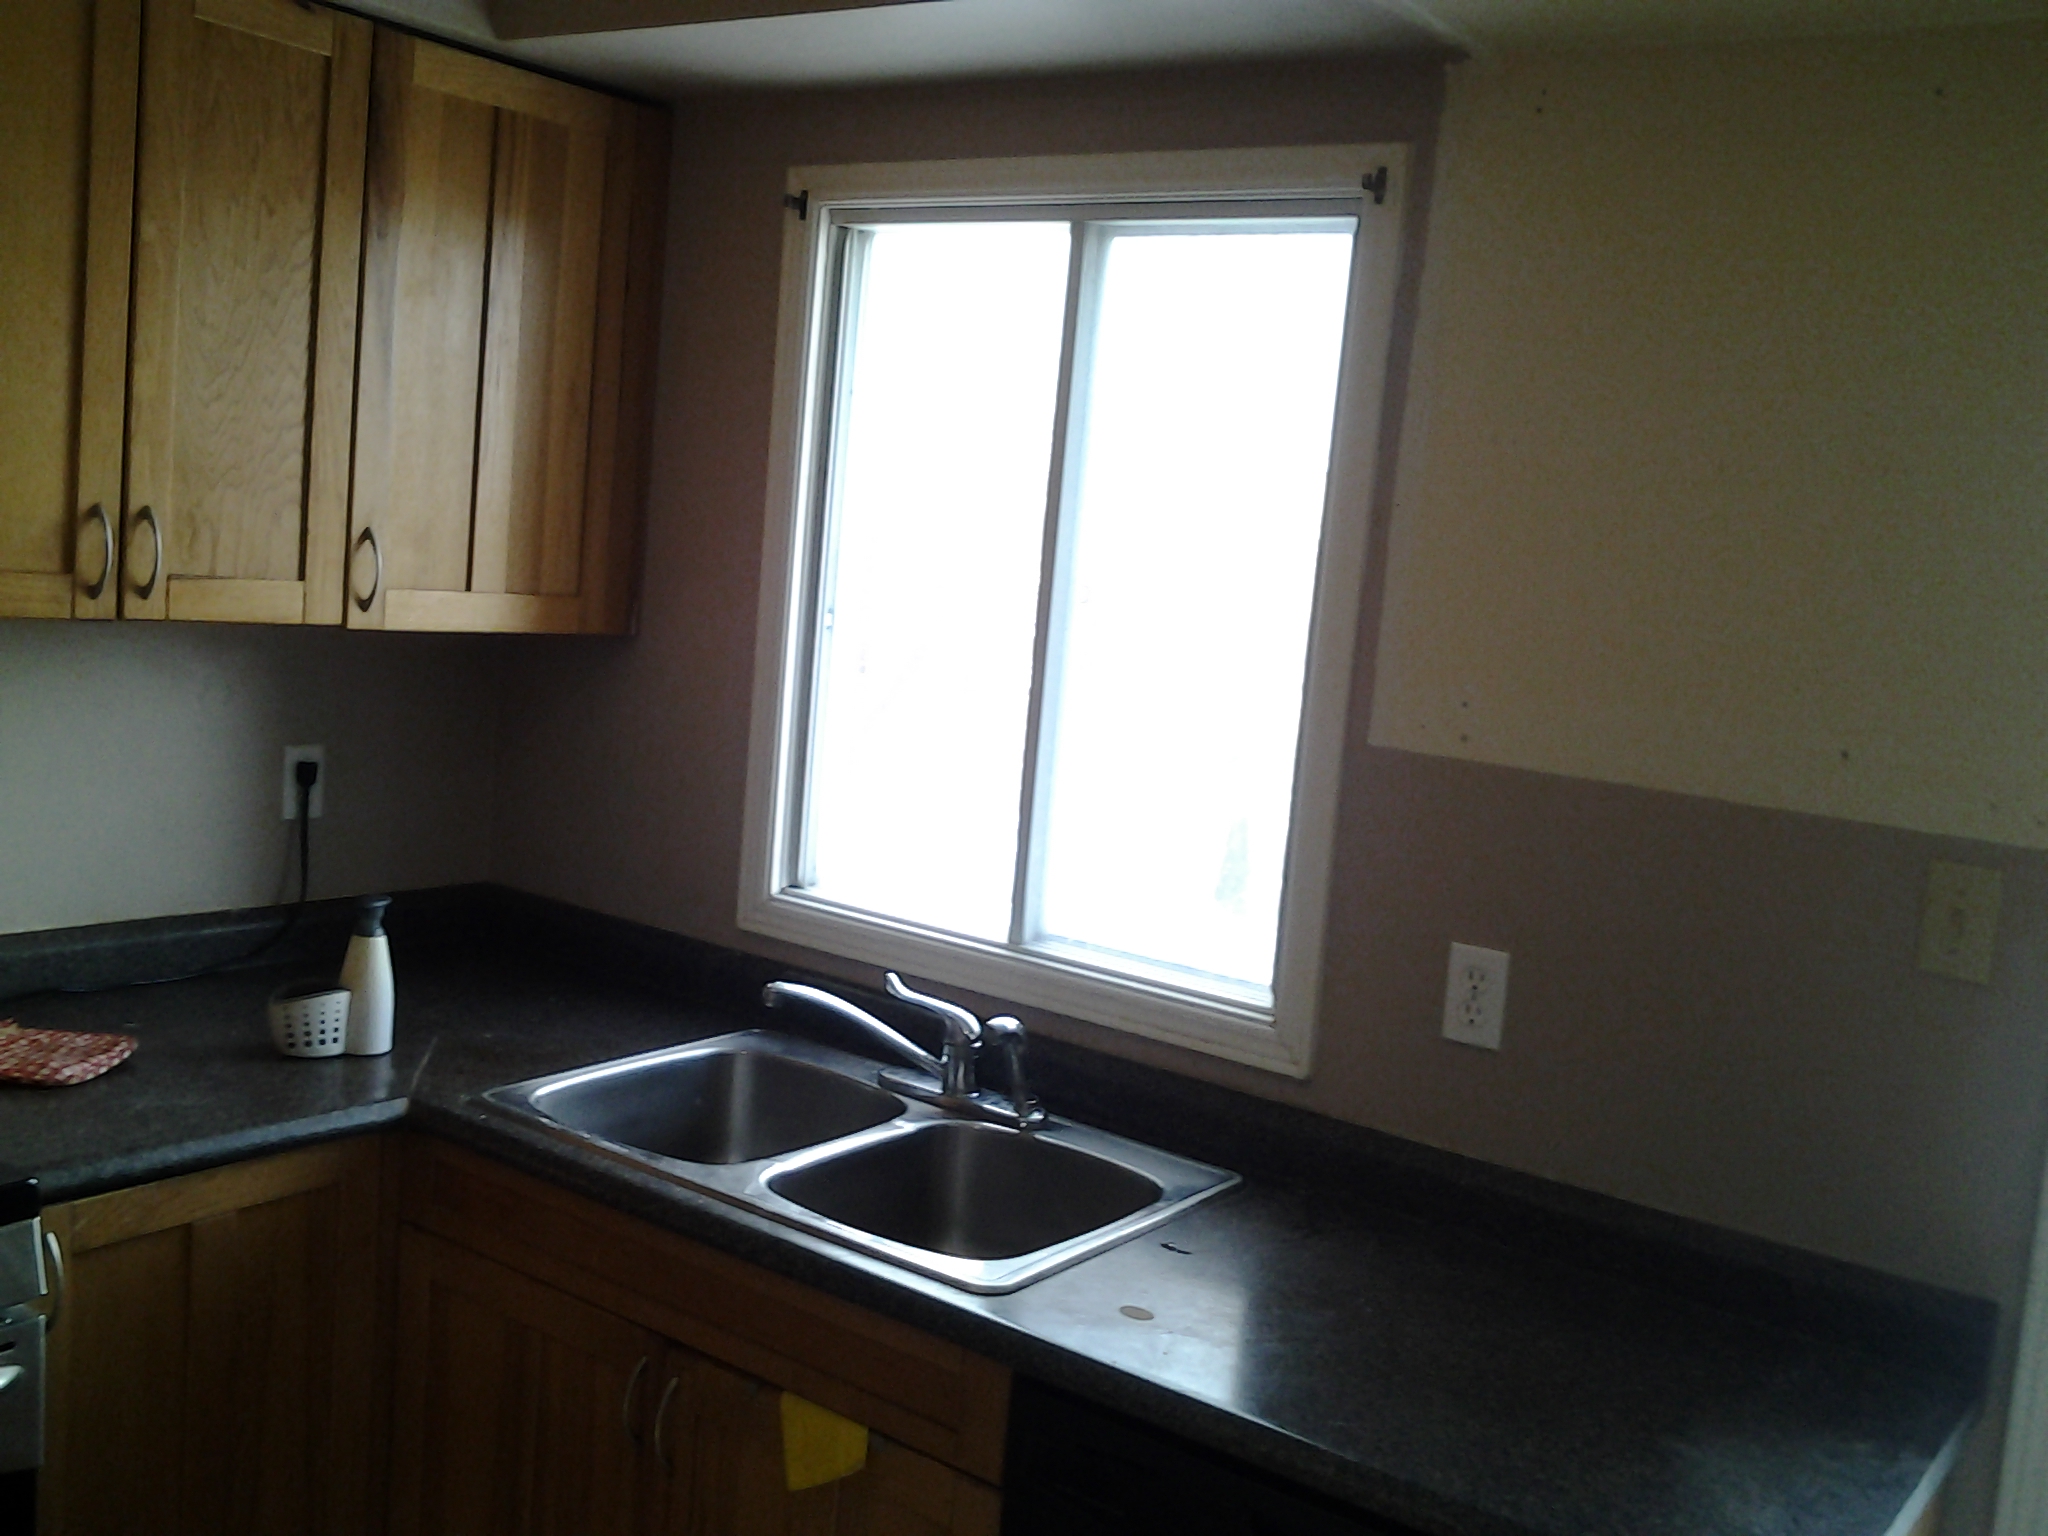
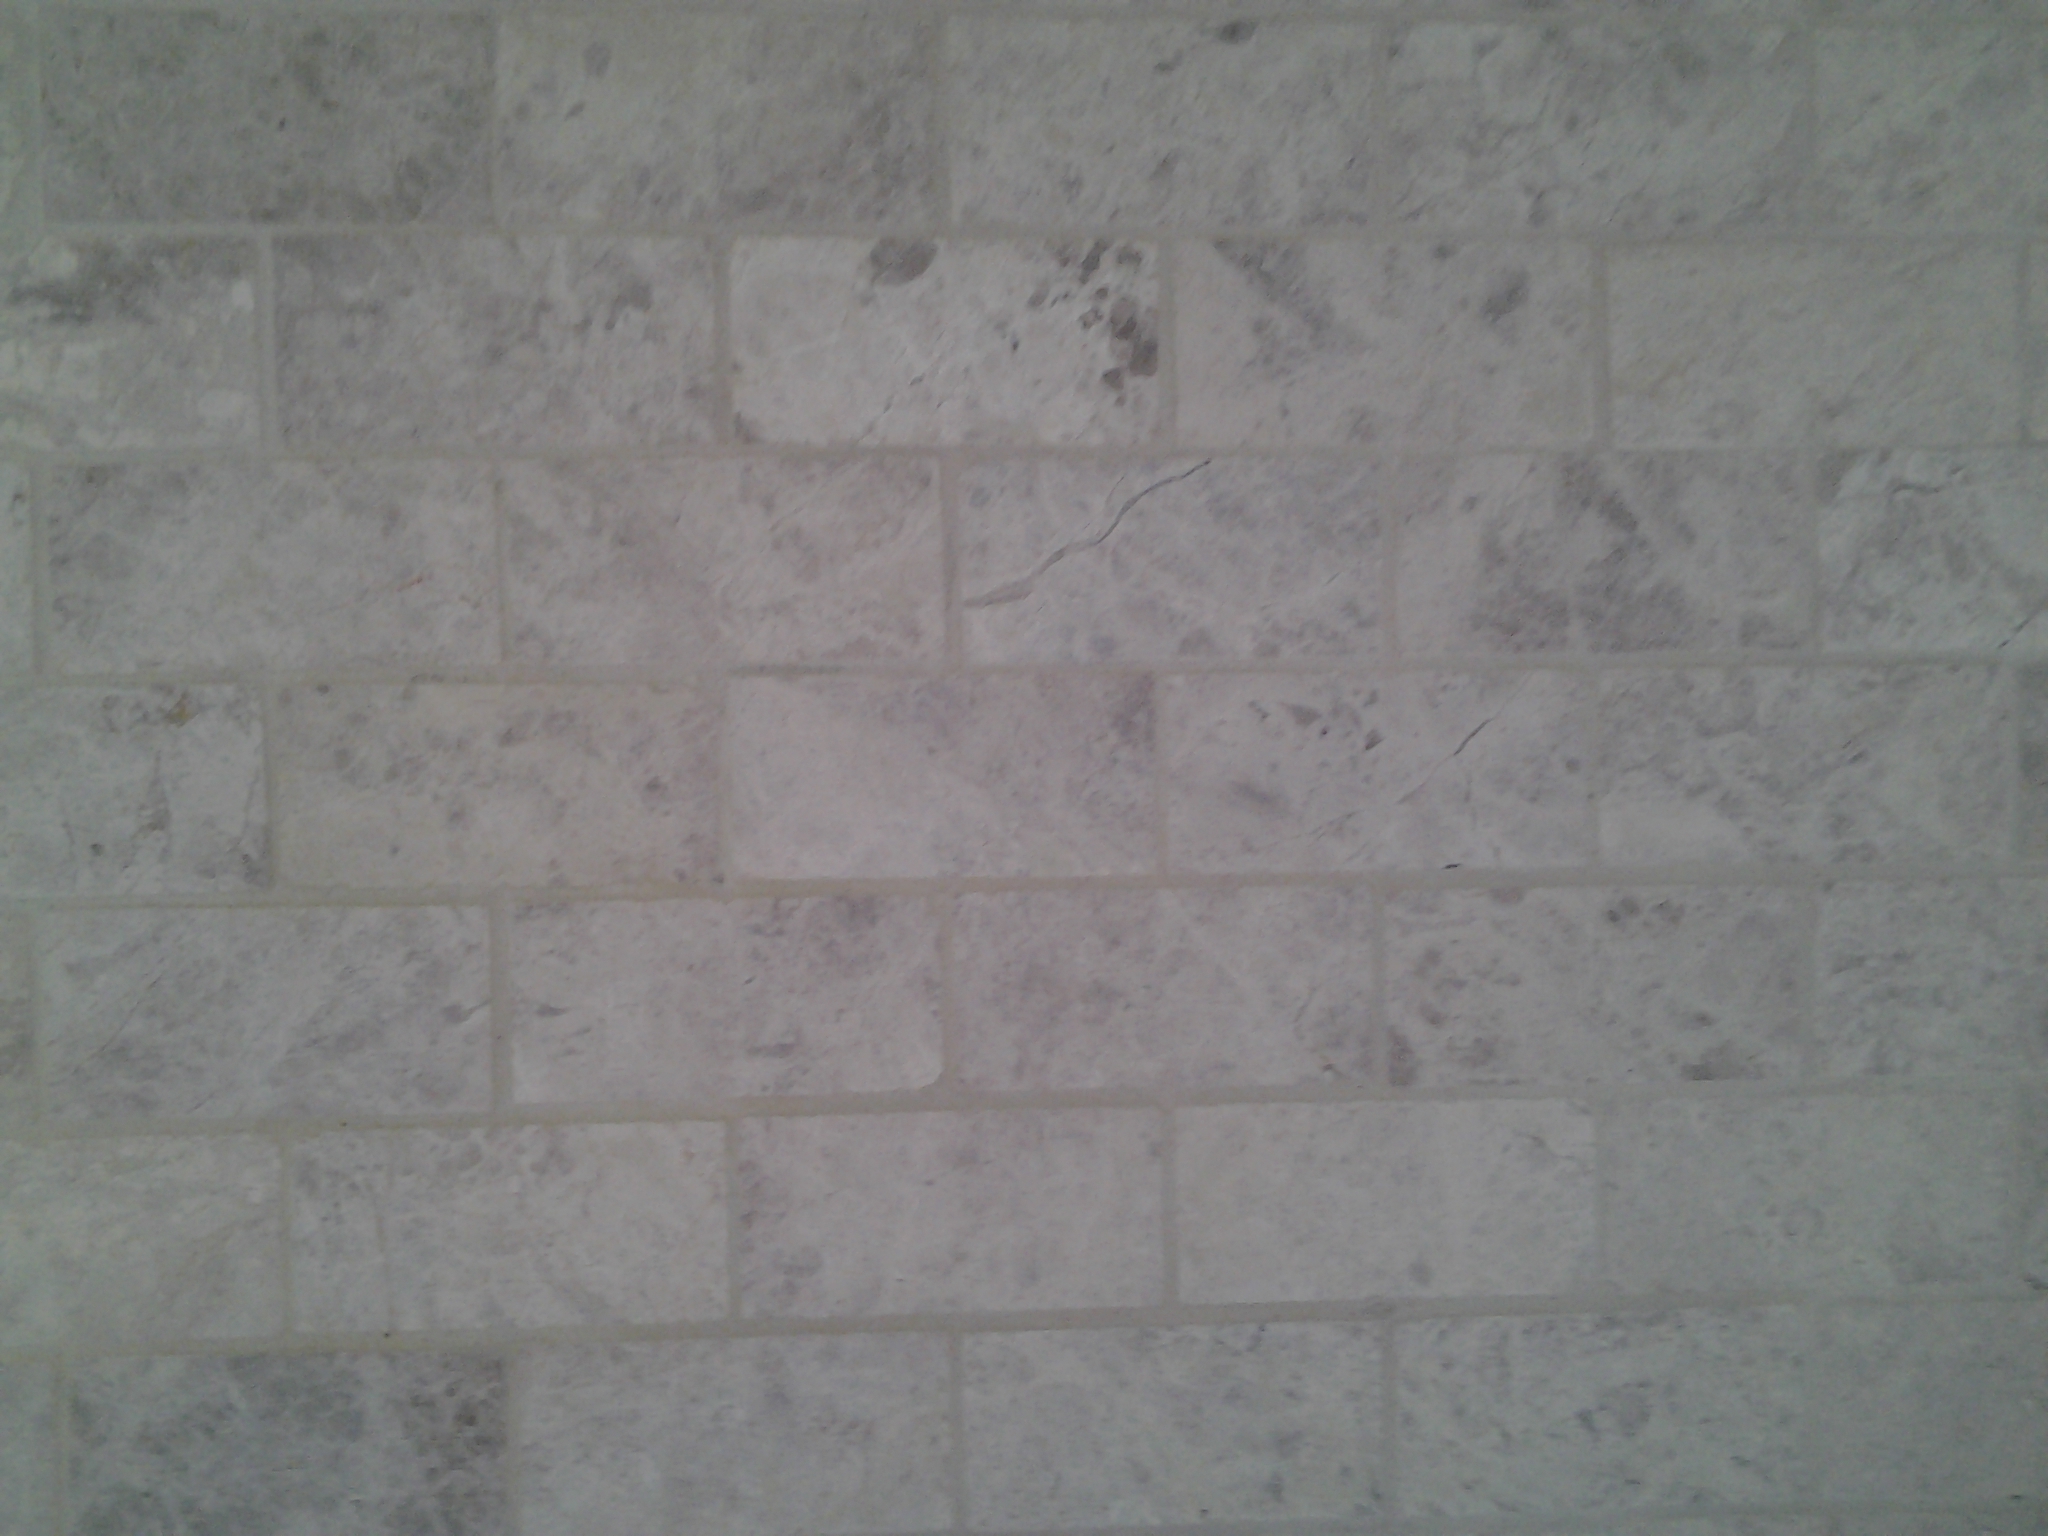
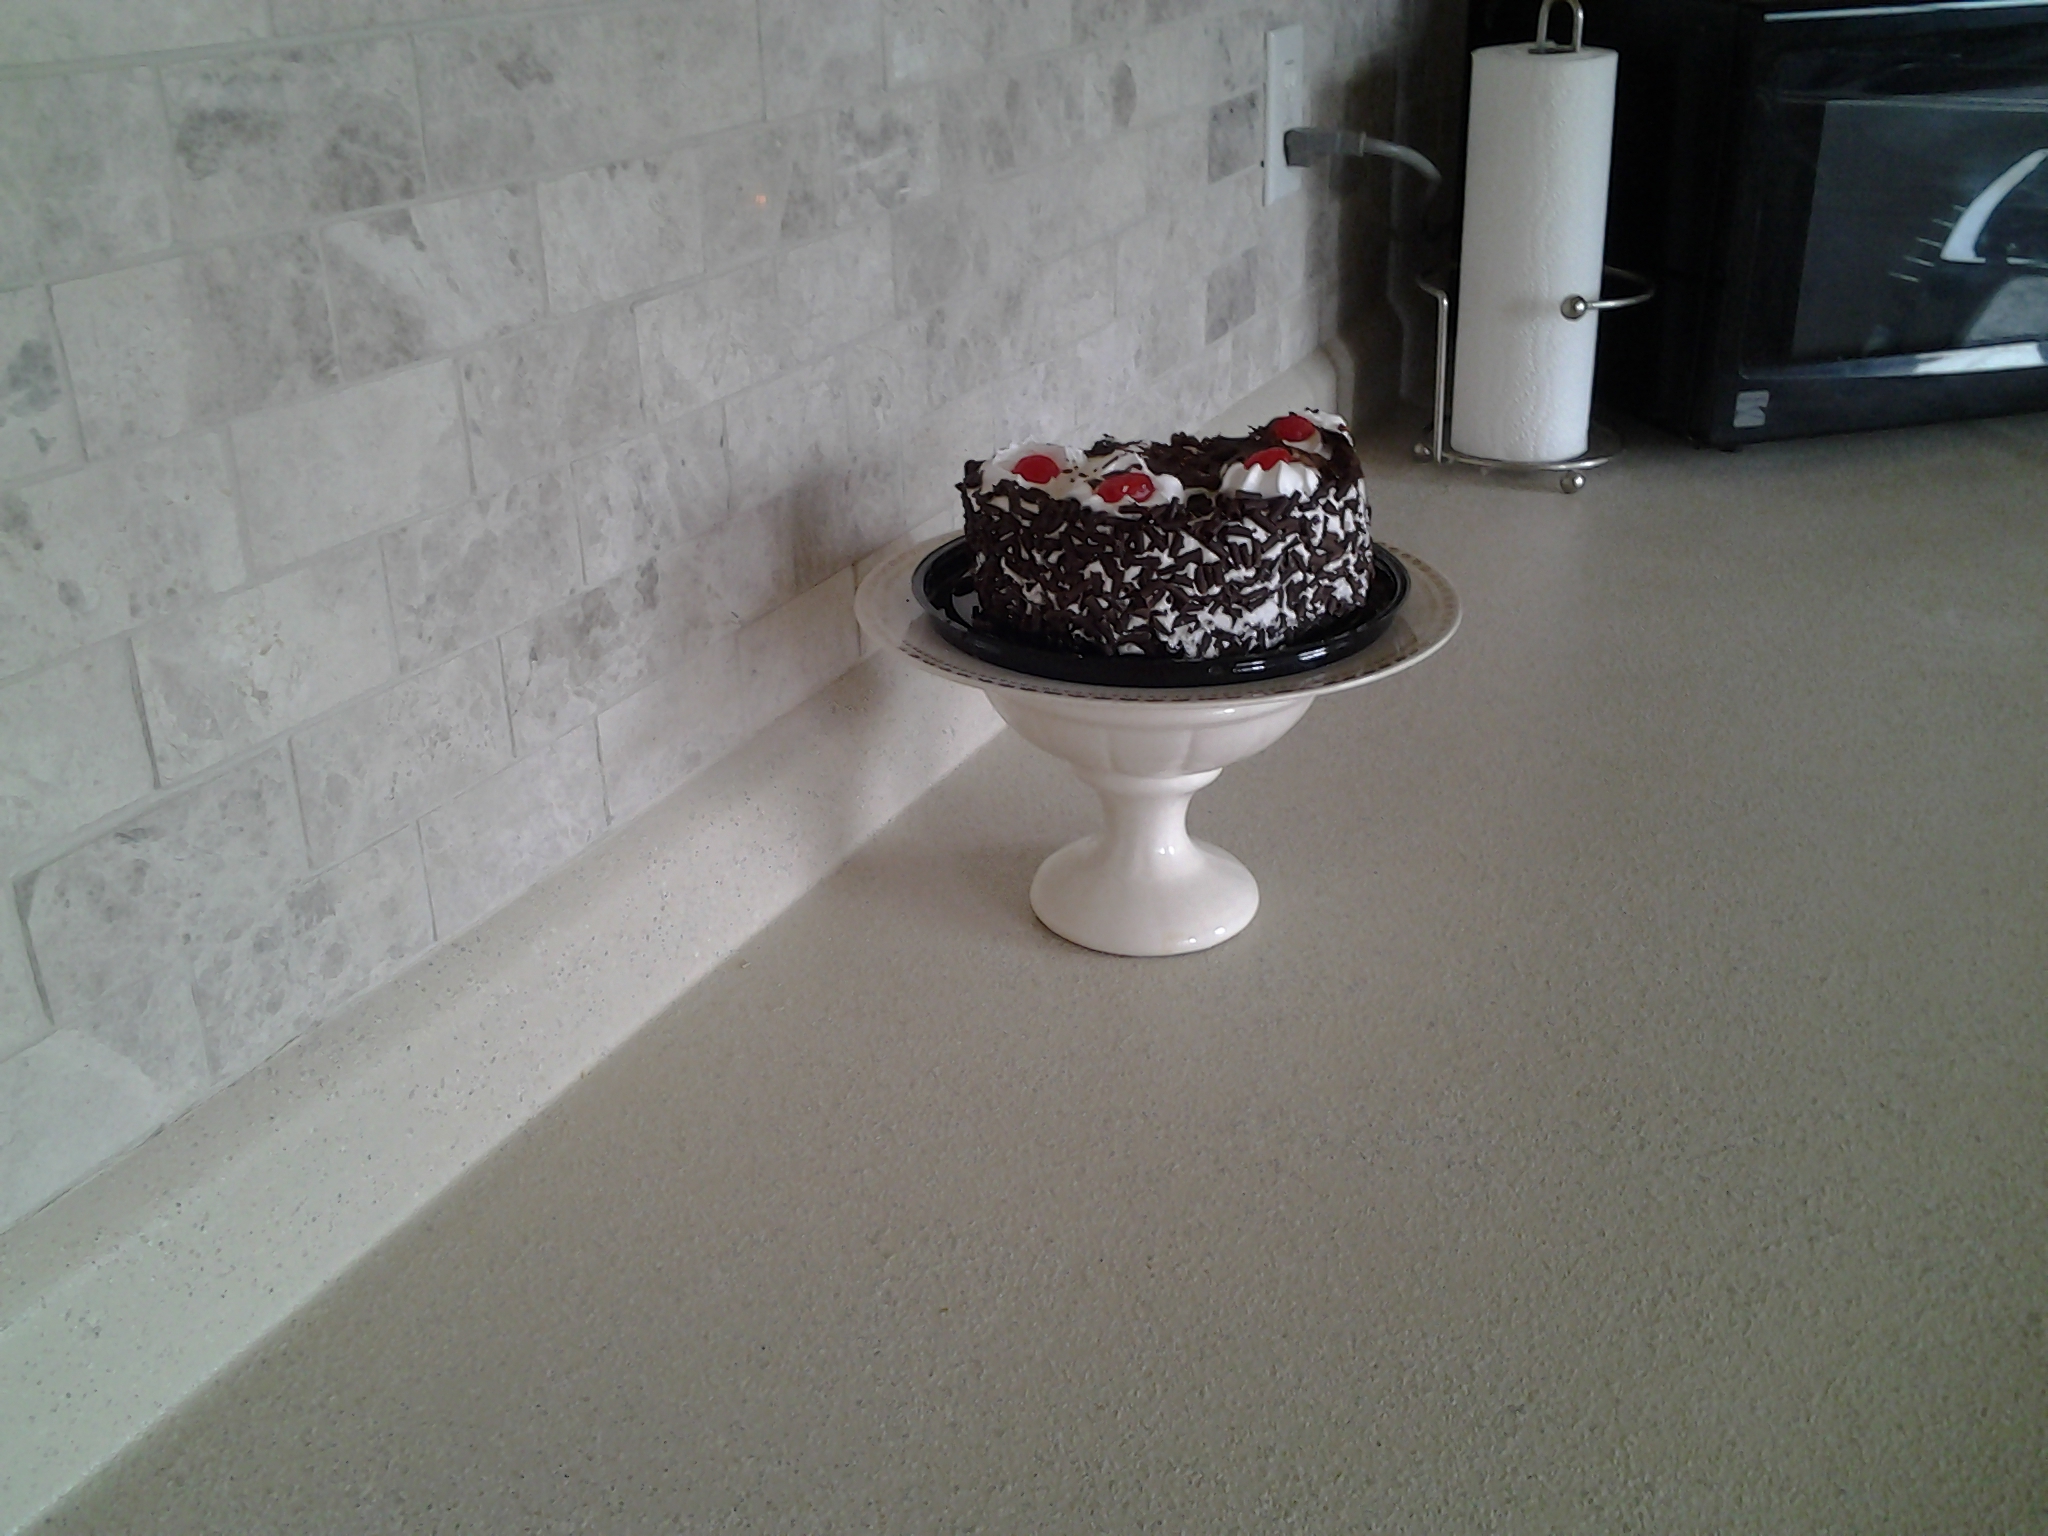
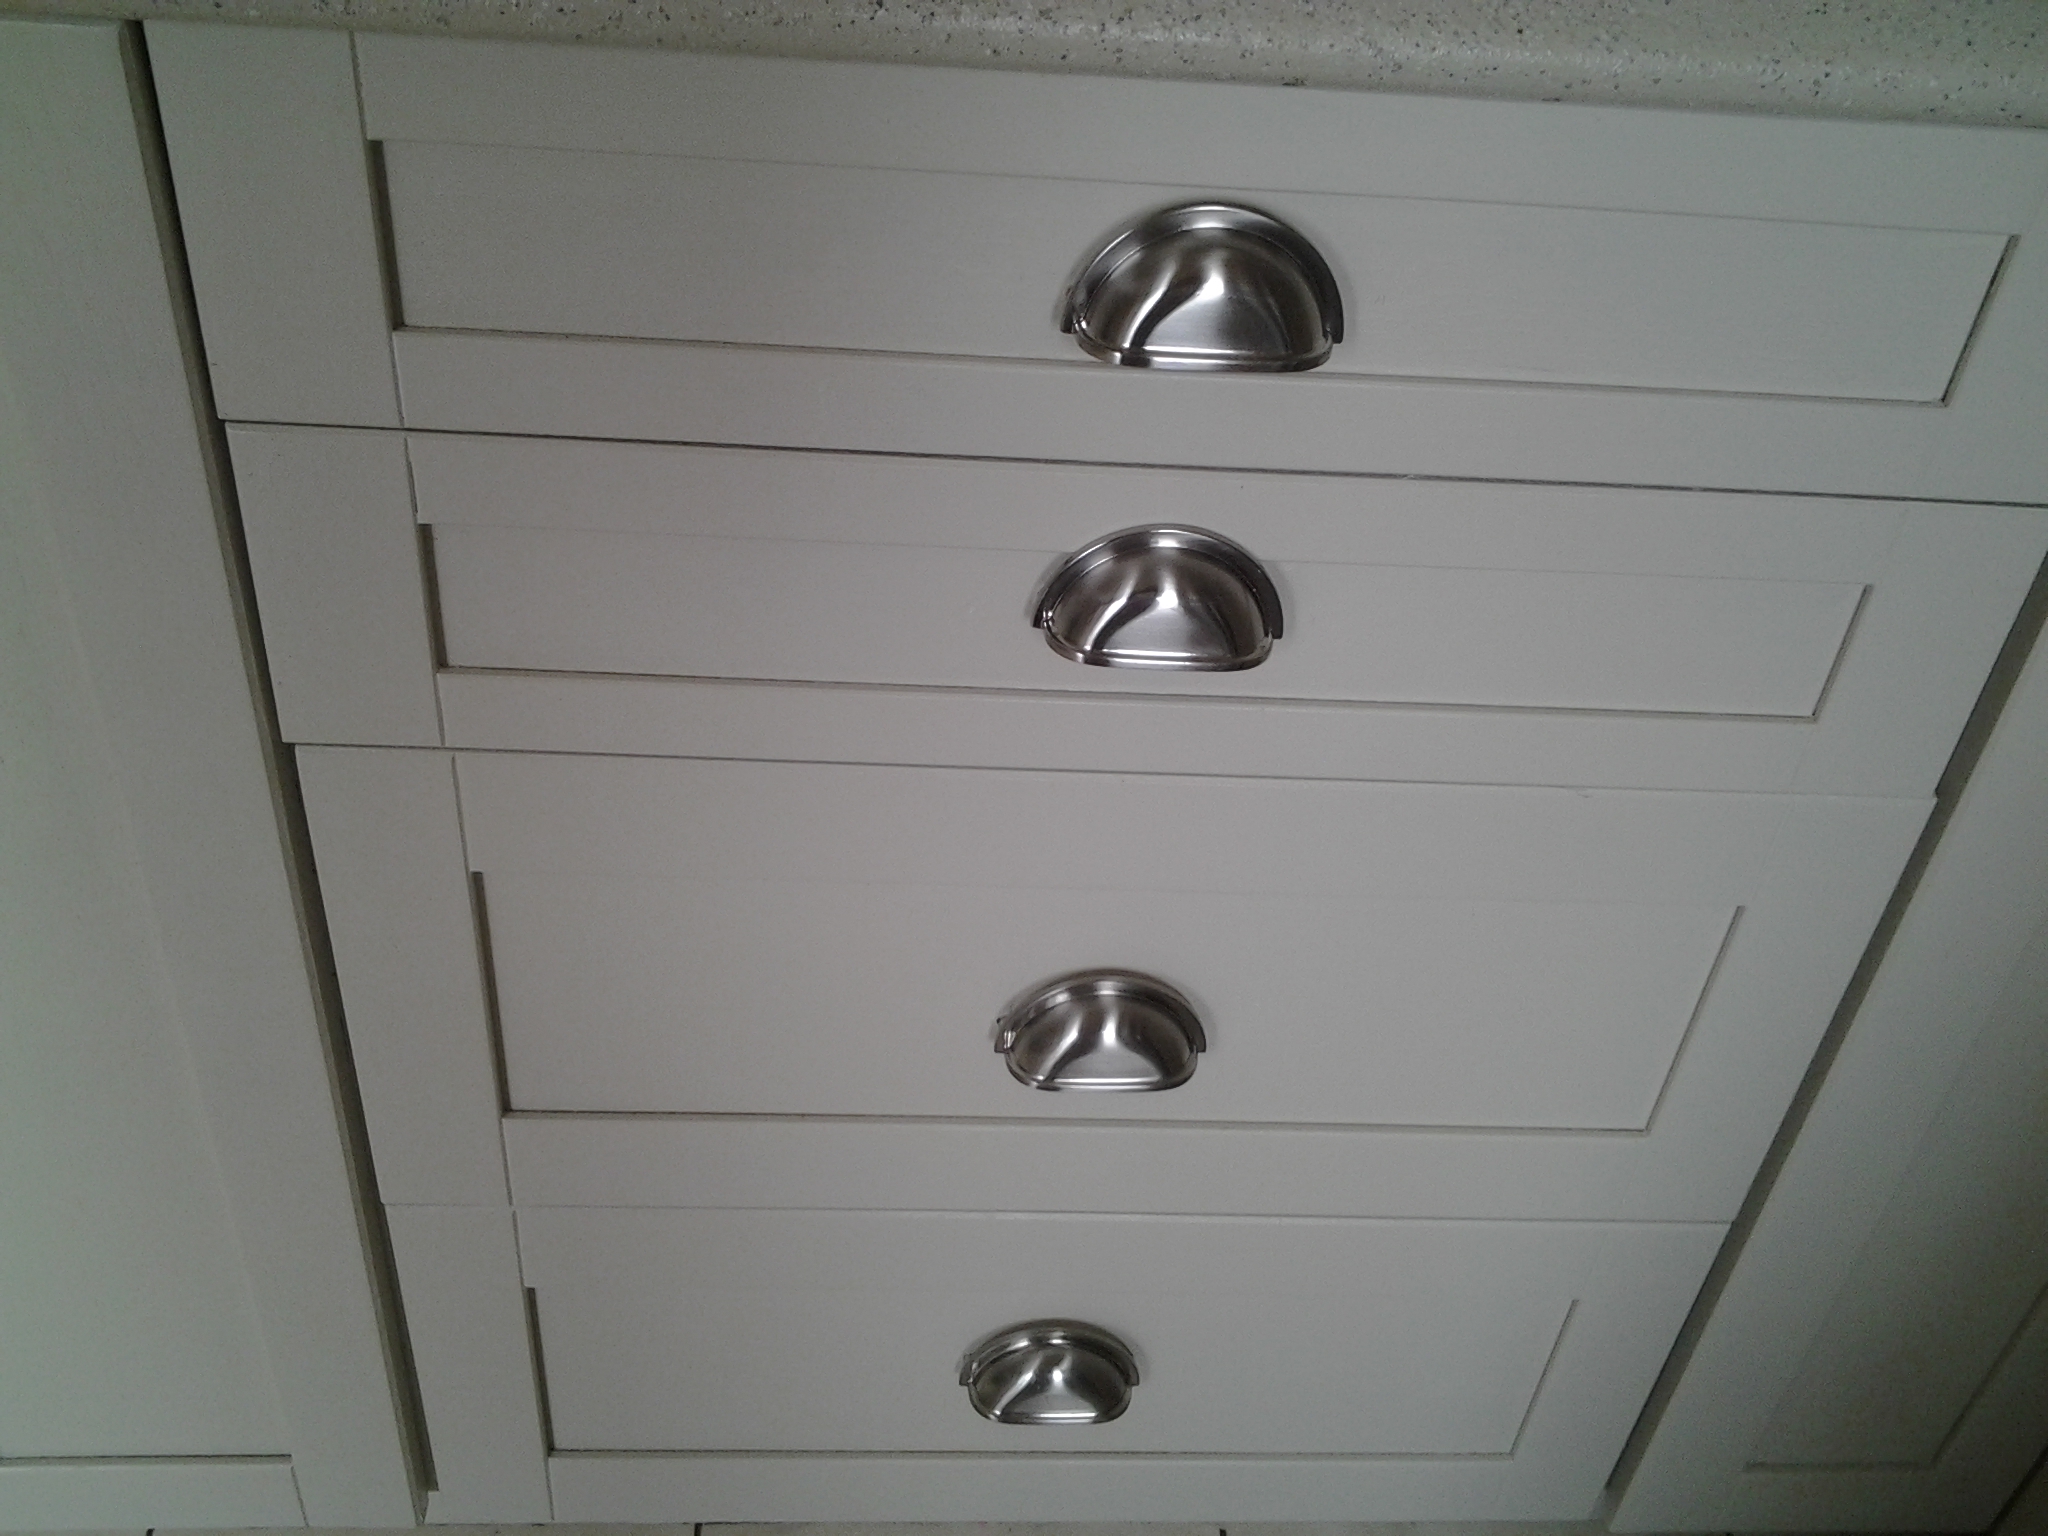
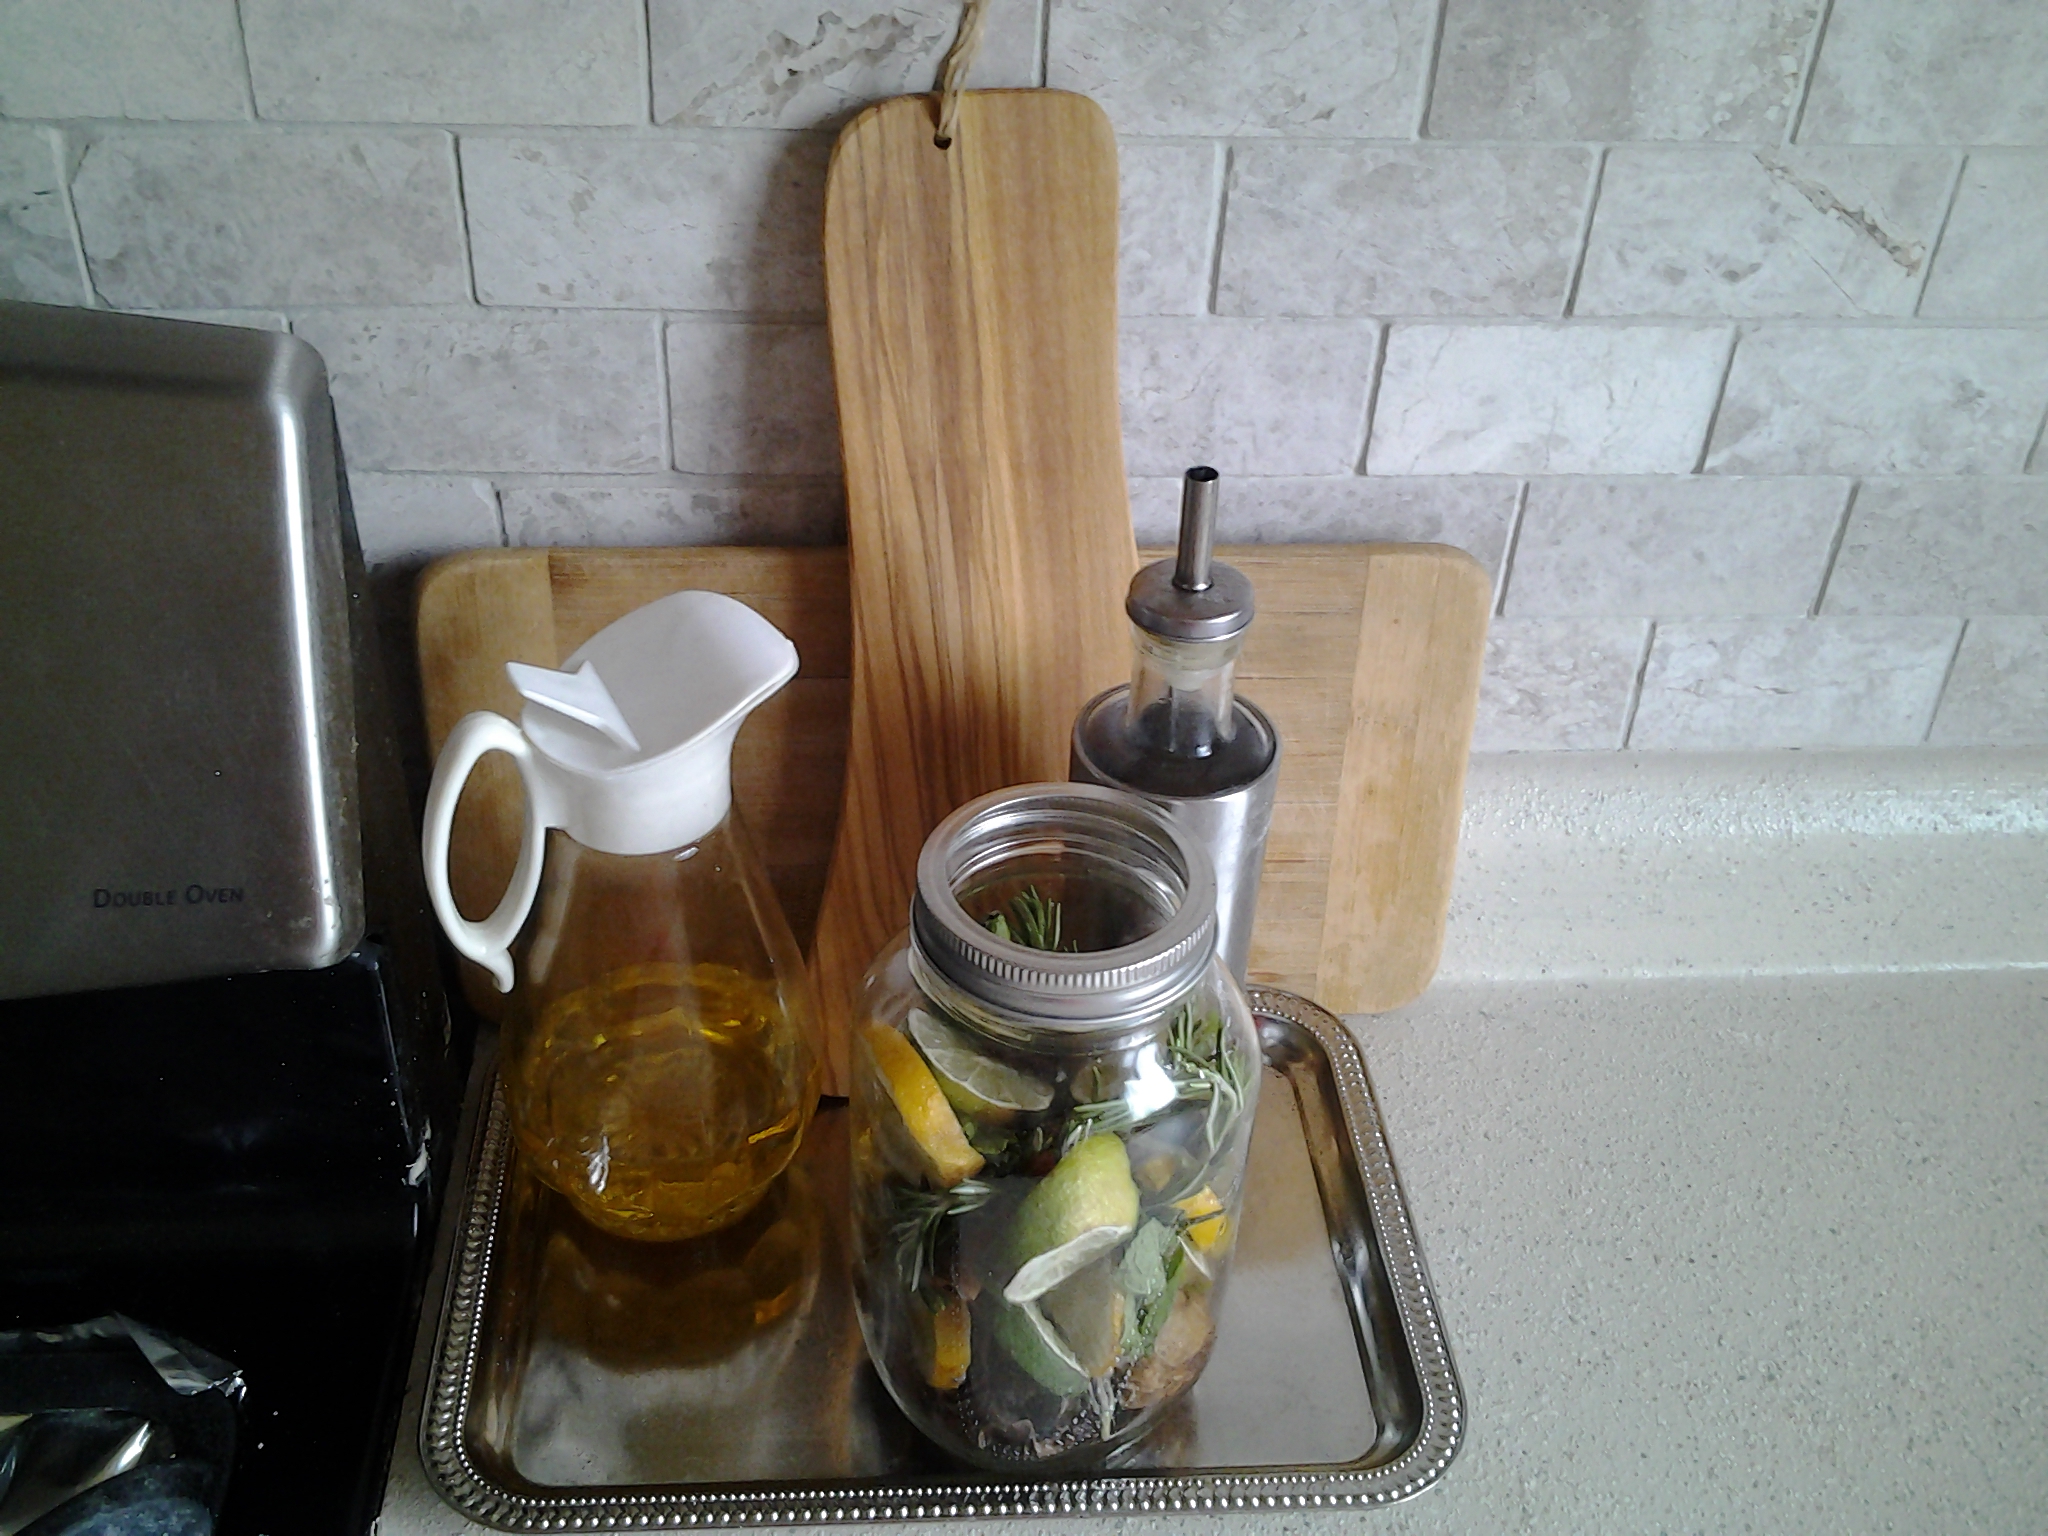
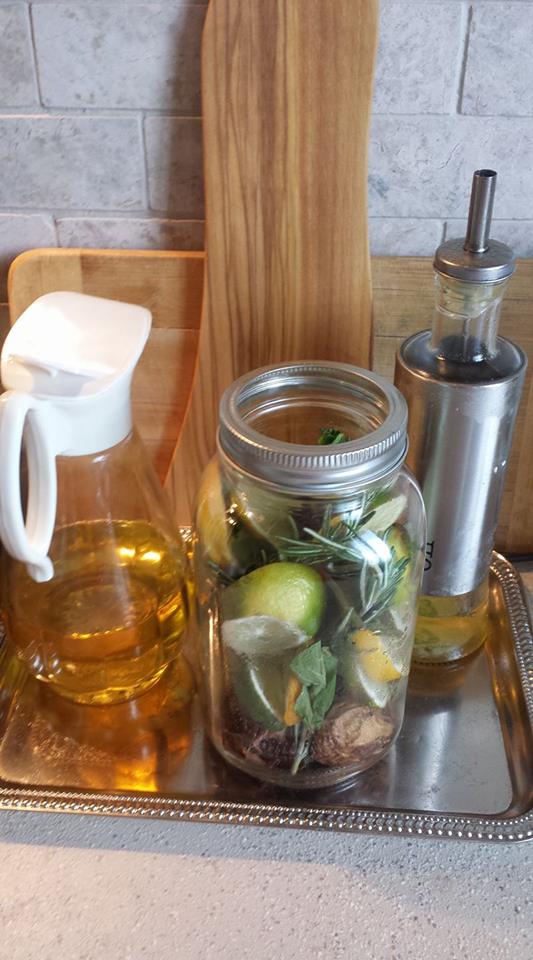
We (me + Husband) mutually loved the “Valensa 2×4 “Mosaic subway tiles at Lowe’s and we brought them rightway.Intially I wanted to DIY but it was so heavy and thick.It cant be cut without professional grade tile saw.Renting a saw worth more than I hire…this is the only thing we didnt DIY..once you choose your tiles,you need to buy grout.Its upto you to choose the shade of your grout ,went with the almost same/lighter shade called “Alabaster”.I removed this cabinet  from the wall between window and walk out back yard.I had no idea about results.I was really scared but I love the results,this wall become focal point of my kitchen and  needs a make over.

People at home renovation centers are very helpful .You can ask them  what type of grout and adhesive would be used . You can see here how they look like after grouting is done..I am more than happy and enjoying my marble subwway tiles.

20170409_205532If you like to know anything let me know,got so many questions  about my DIY cabinet transformation.Details coming up very soon(Hopefully )!!

Home Decor / DIY

Kitchen Make Over….Reveal!

I am so excited and happy to reveal the long-awaited project ever, I put all my efforts to make my Dream kitchen, It took more than 2 months along with lots of research, hard work and stress (everything) behind the biggest renovation so far…!!

This is not sponsored post, I have done almost everything all my self with help of my husband. However, I had to hire a contractor for our backsplash. I could n’t tell you details right now…I promise I will tell you each and everything step by step in coming weeks……Did I tell you… it’s not completed yet … our dishwasher is on its way …but I couldn’t wait for another couple of weeks for that, so please ignore that black ugly dishwasher at this moment….. I am so sorry for making you guys wait for long too…..Are you ready??

let’s start with the Before, I shared a few days ago…

20170121_222937

and the final result…

20170410_112420.jpg

Another before,20170121_222950

Here is after,20170410_112425.jpg

There are lots of choices for everything, it was really hard to decide what will look good in my kitchen. Initially, back splash was not on our “To Do” list but I always wanted it.

20170201_104738

here is after,

20170410_103046

I fall in first sight love when I saw these Marble subway tiles. I wanted to DIY but didn’t take any chance just because they are super heavy and thick, second, you simply can’t “undo” it..so better to hire somebody if you are unsure to DIY like me. I am glad we hired a professional…I love it after the grouting is done.20170410_102617.jpg

It’s more in Taupe shades than in grey in real…

20170409_205416

Next, I  need to change the counter-top, I had that black laminate countertop. It looks odd once my back splash is installed and I wanted to change it too ..I love Granite but that’s really out of the budget, I wouldn’t change it and keep it as it is until and unless I didn’t find the much cheaper option of “Stone Coating”.I love the result..you can see how it look ….in between, I DIY  this cake stand.

20170410_102524.jpg

Last(not actually) but not least, that took my most of the time …Yes…I painted my kitchen cabinets. It was oak but in pretty good shape…I sanded,2x primed and painted 3-4 coats of Benjamin Moore Advance, waited so much to let them dry. All you need patience but it really worth to wait.

20170410_103036.jpg

I changed all hardware, again I used 3 different types of hardware in my cabinets and drawers.Can you guys spot them.??.my stove top cabinets has Brushed Nickel knobs, the rest of the cabinets has BN handles and my drawers has BN pulls.

20170410_102417

I had to wood filling for drawers pulls because the size was different (again, details later).

20170410_102909.jpg

This Dollar Tree tray keeps my counter-top clean from oil etc and I DIY Mason jar ” stove potpourri”.I  used some wooden boards from Winners and glass decor to complete it. A little jug is perfect for cooking oil.

17884683_10154947562380791_5690470800568474471_n

On the other side of the stove, I used a wooden tray and my frequently used items.I bought these Chalkboard Tea and sugar jars from Home Sense, a utensil holder from Avon with colorful utensil set and a vanilla candle from Home Sense…it smells nice when I lighten it up.

20170410_102255.jpg

I have removed the cabinet from the wall, to have this marble subway tiles up to the ceiling and I am so happy with the result..this wall is waiting for a makeover.

20170409_210613

These blue Retro bottles are so cute but I  couldn’t find the tray/holder I  really looking for, so I used one of my old set of mirror art. It matches perfectly with these small glass bottles.

20170410_102133

Both bottles and mirror are from Avon.

20170410_103013

I simply removed the dish rack and I have no plans to use one since I am waiting for my dishwasher to come. This tall chic flower jug and flowers are from Burgundy.20170409_211143

These flowers are fake but look real.

20170409_211235

This green candle holder is  “Target” short-term stay in Canada and I really missed that store.

20170409_211150

I couldn’t resist buying the dish soap dispenser and dish.The smell of gingerbread makes my mood on.20170409_205432

On microwave I placed this wooden fold-able tray from Pakistan gifted by my dear khala, this faux plant is from Dollarma.

20170409_210020

This accent rug is from “Home Sense”, it matches the decor and love the tussles.

20170410_102344.jpg

I also changed the light fixtures, After a long search online and in-store finally bought this set from “Home Sense “. 20170410_103046.jpgI am so pleased with the result, I was so scared before I started it but trust me if I can do it you can do it too, all you need is patience…I won’t say it easy …but hard work that worth!!…the new tiles, clean countertop and new cabinet colour make you love it.

20170409_211555.jpg

I will tell the details of DIY and process of Renovation (selection/confusion/ failures etc)in separate posts in coming weeks. If you need to know more please leave a message in comments.

Home Decor / DIY

Kitchen Make Over (Before)

Hi Every one,

Finally,its time to start talking about a project I sneaked  peak  on  my Facebook page long time ago.Oh Yes!!.. I am  renovating  my  kitchen almost all by my self.I have learnt lots of lessons,  failures (and returns ) but before I start talking about what I am doing and what I need to do more.Lets start from “The Before”.20170121_222937.jpg
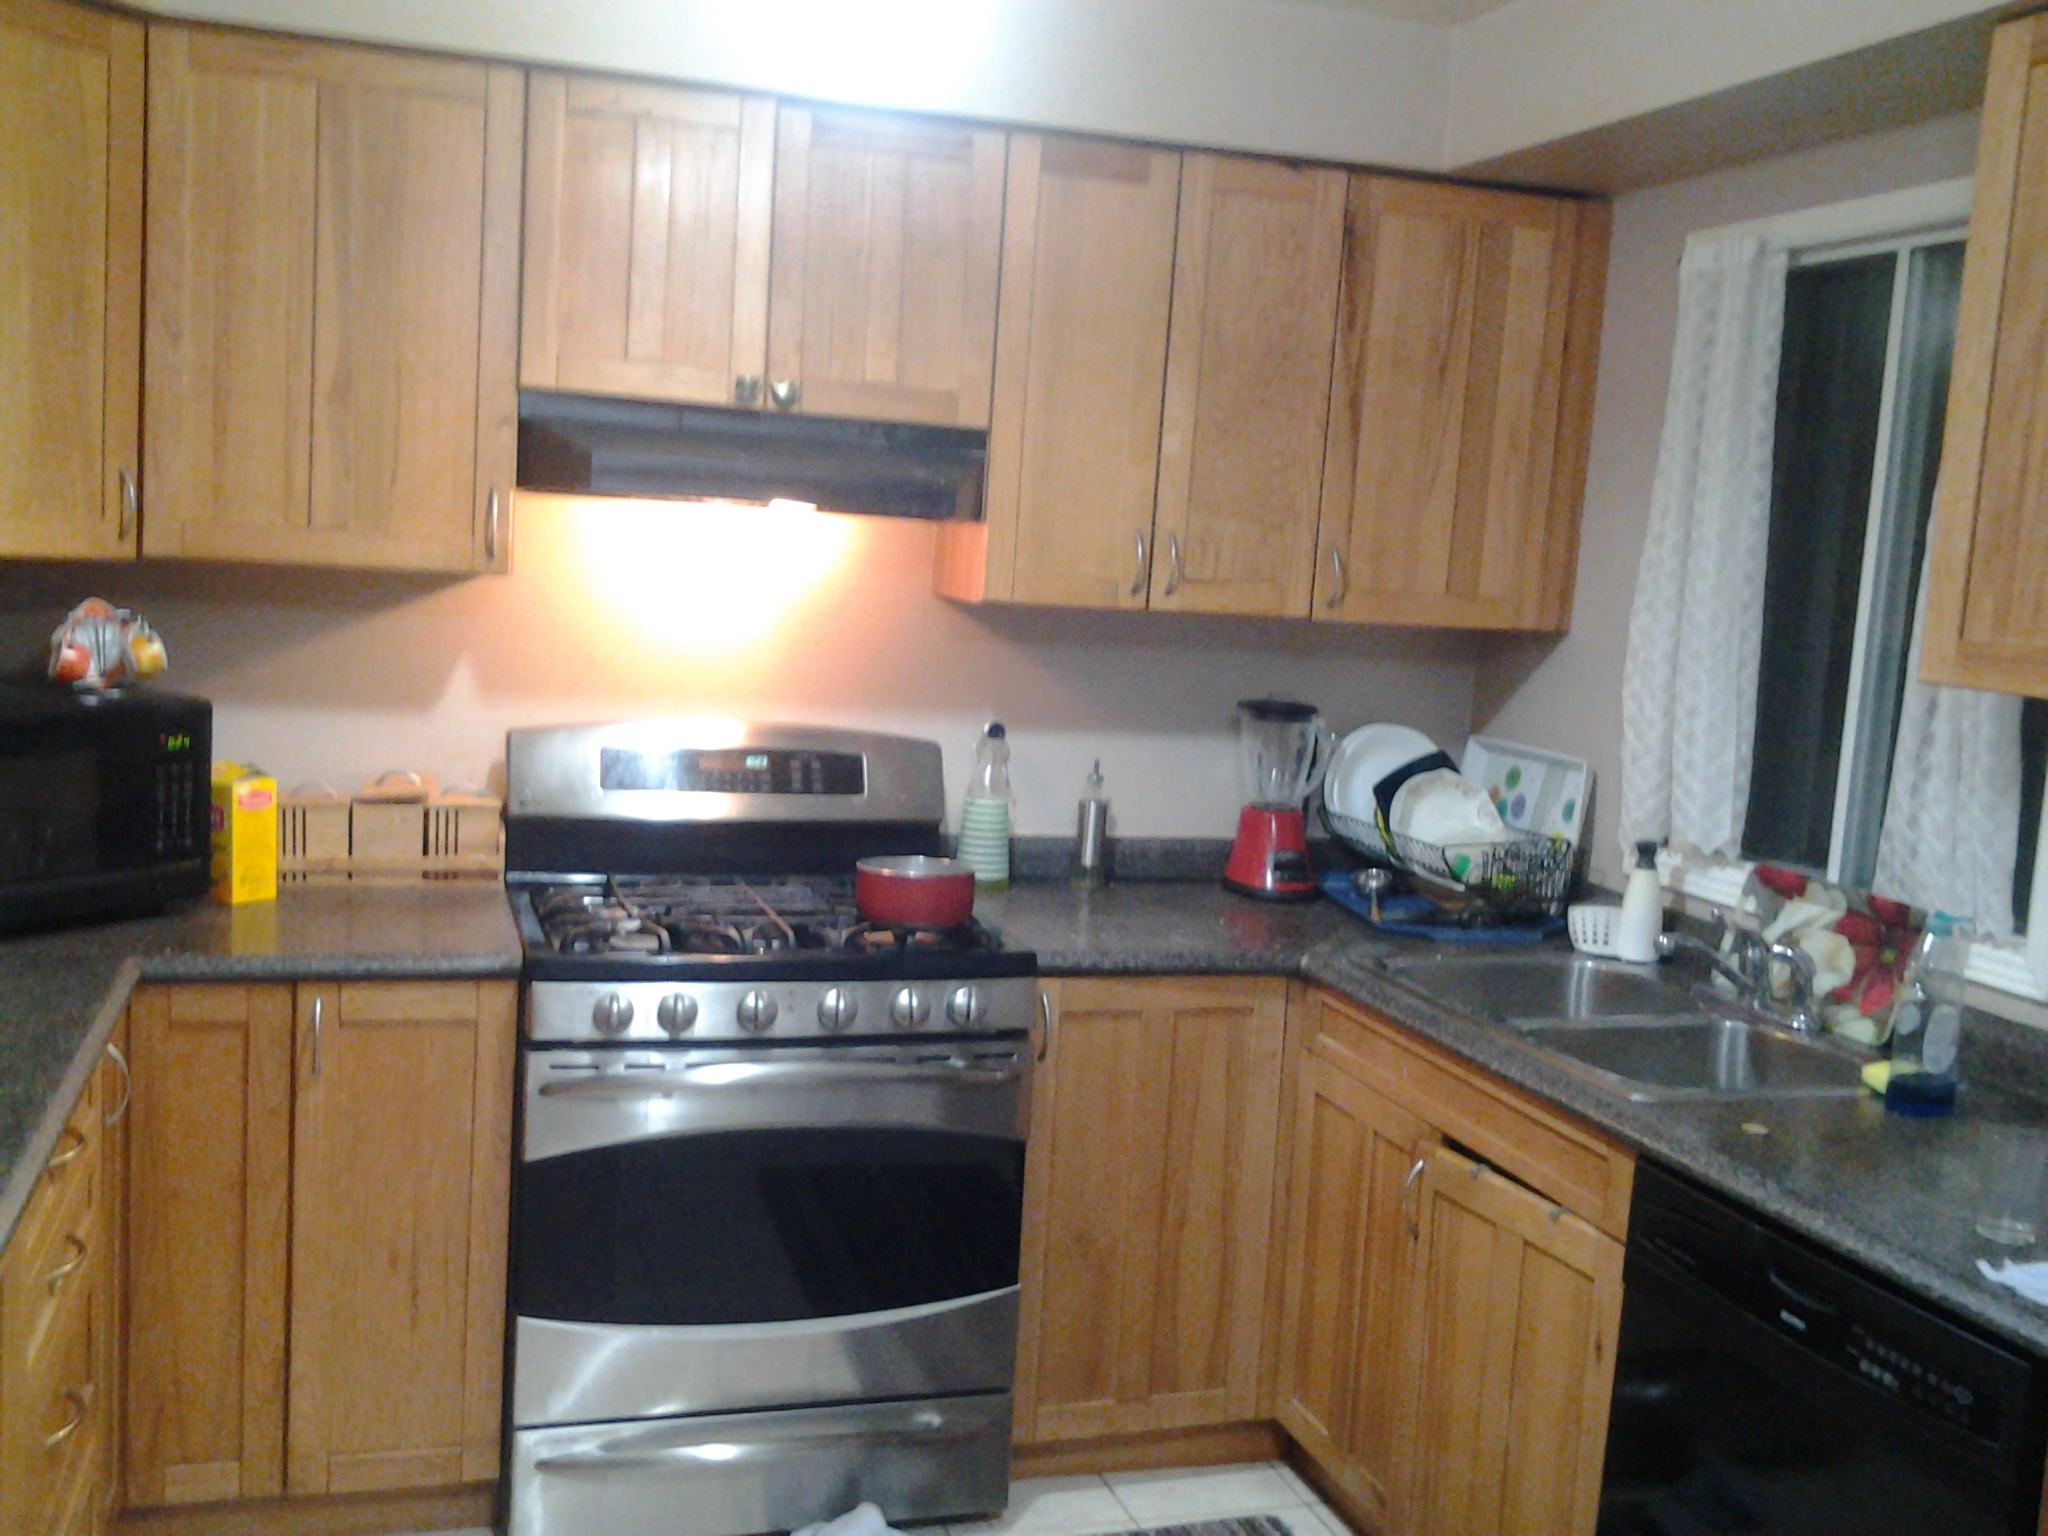
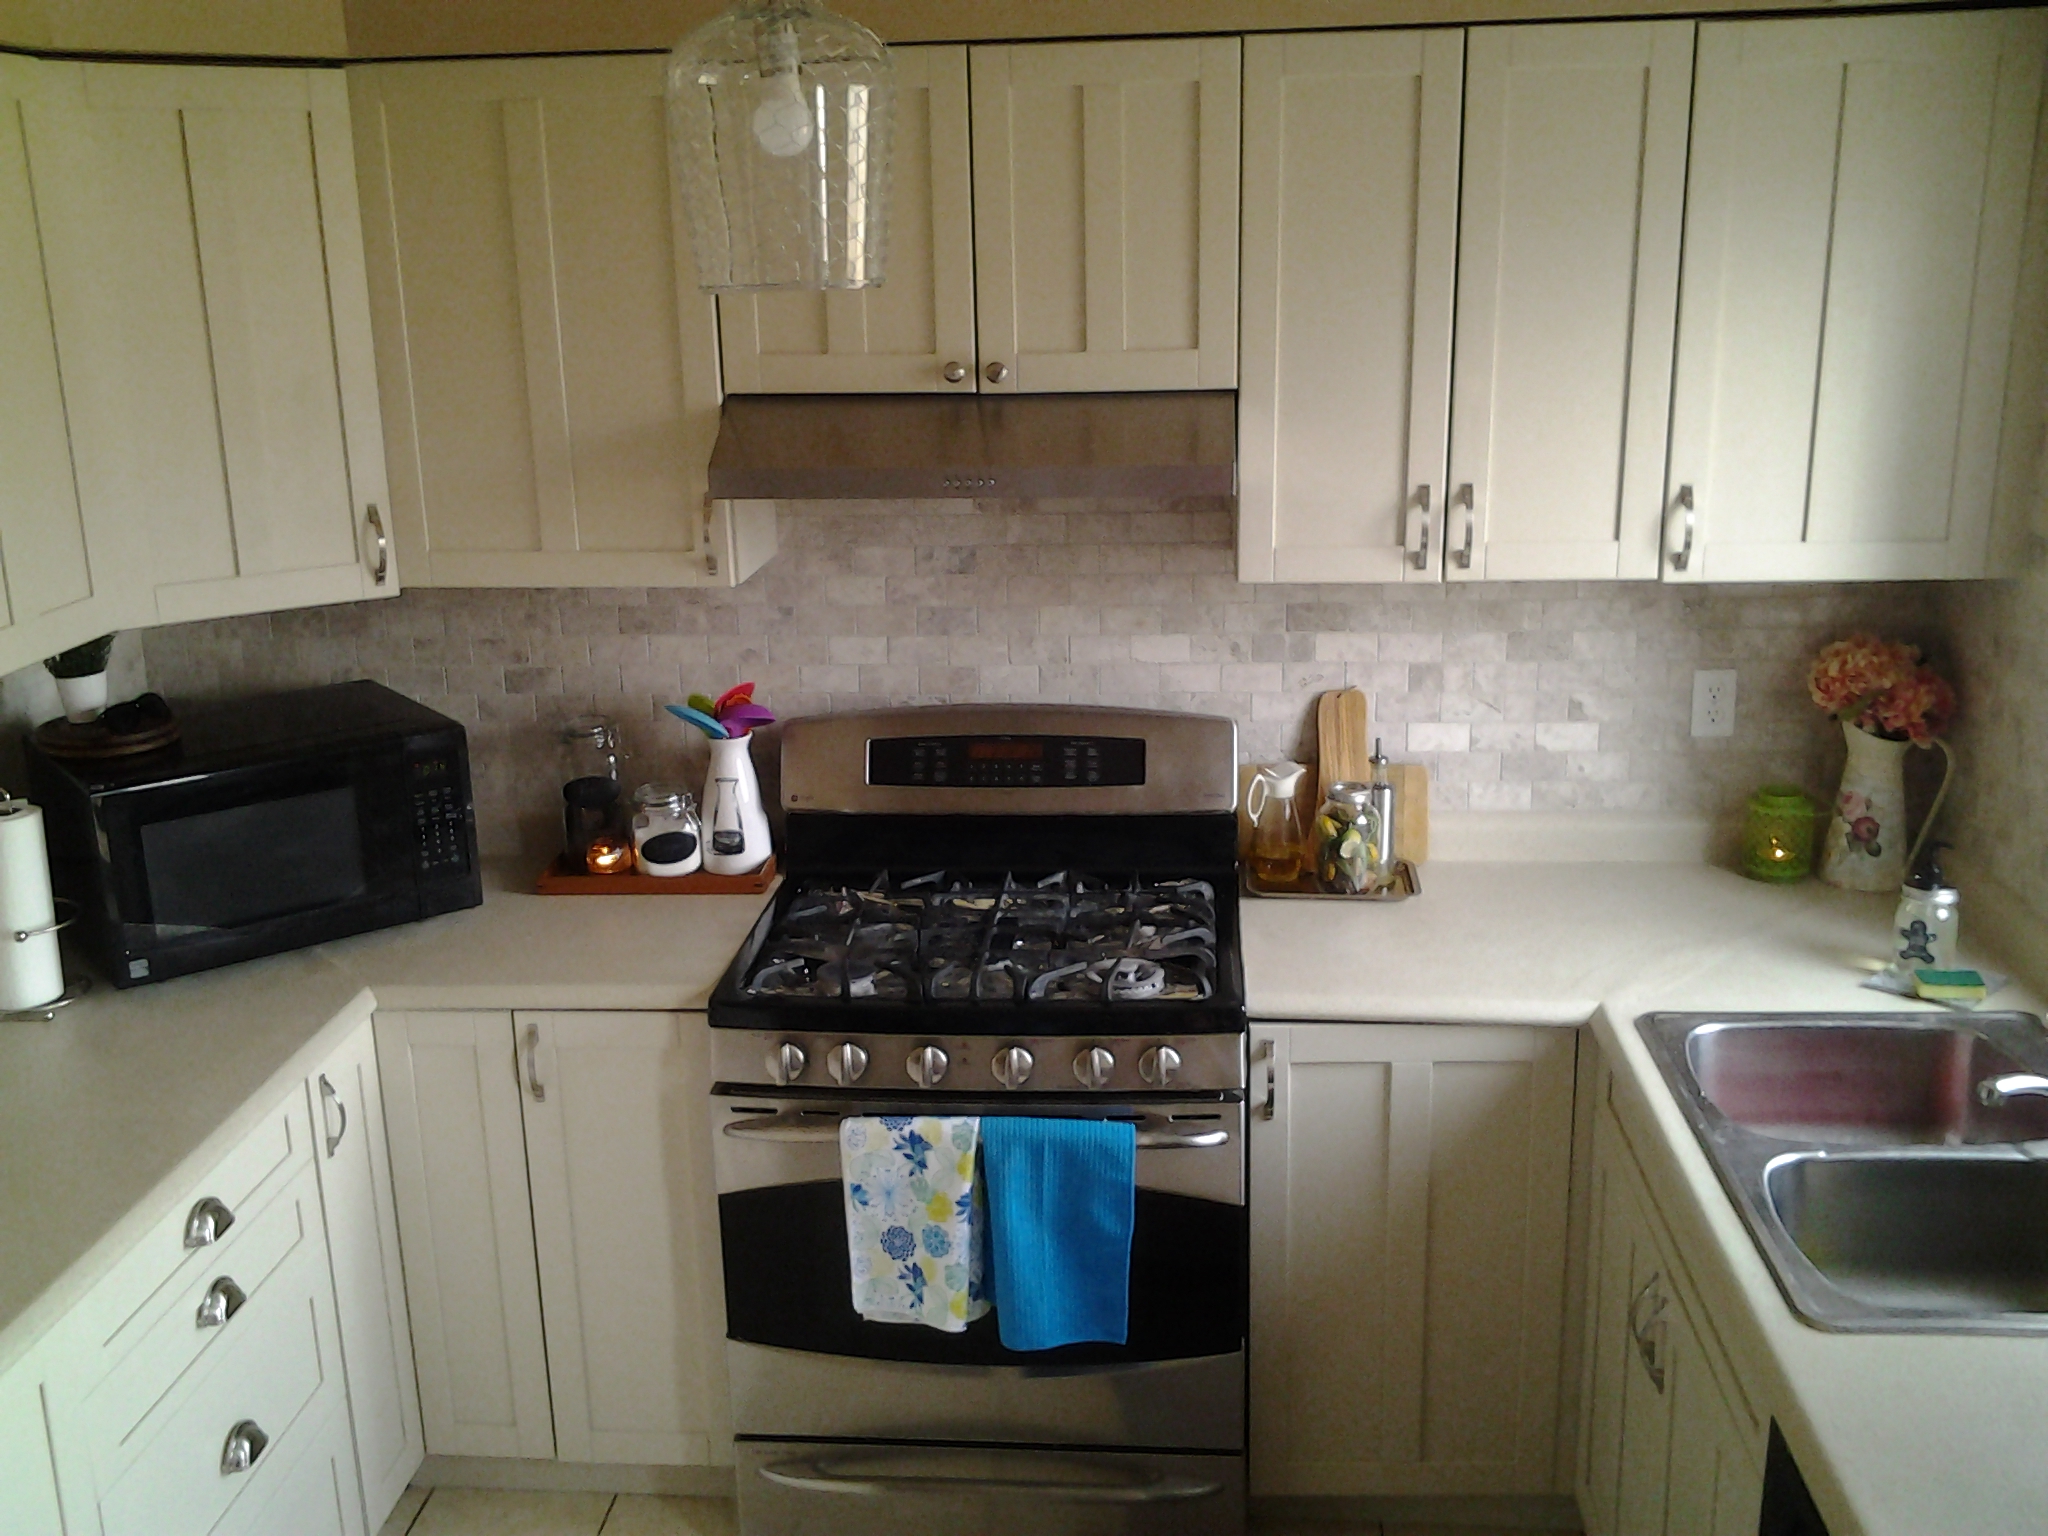
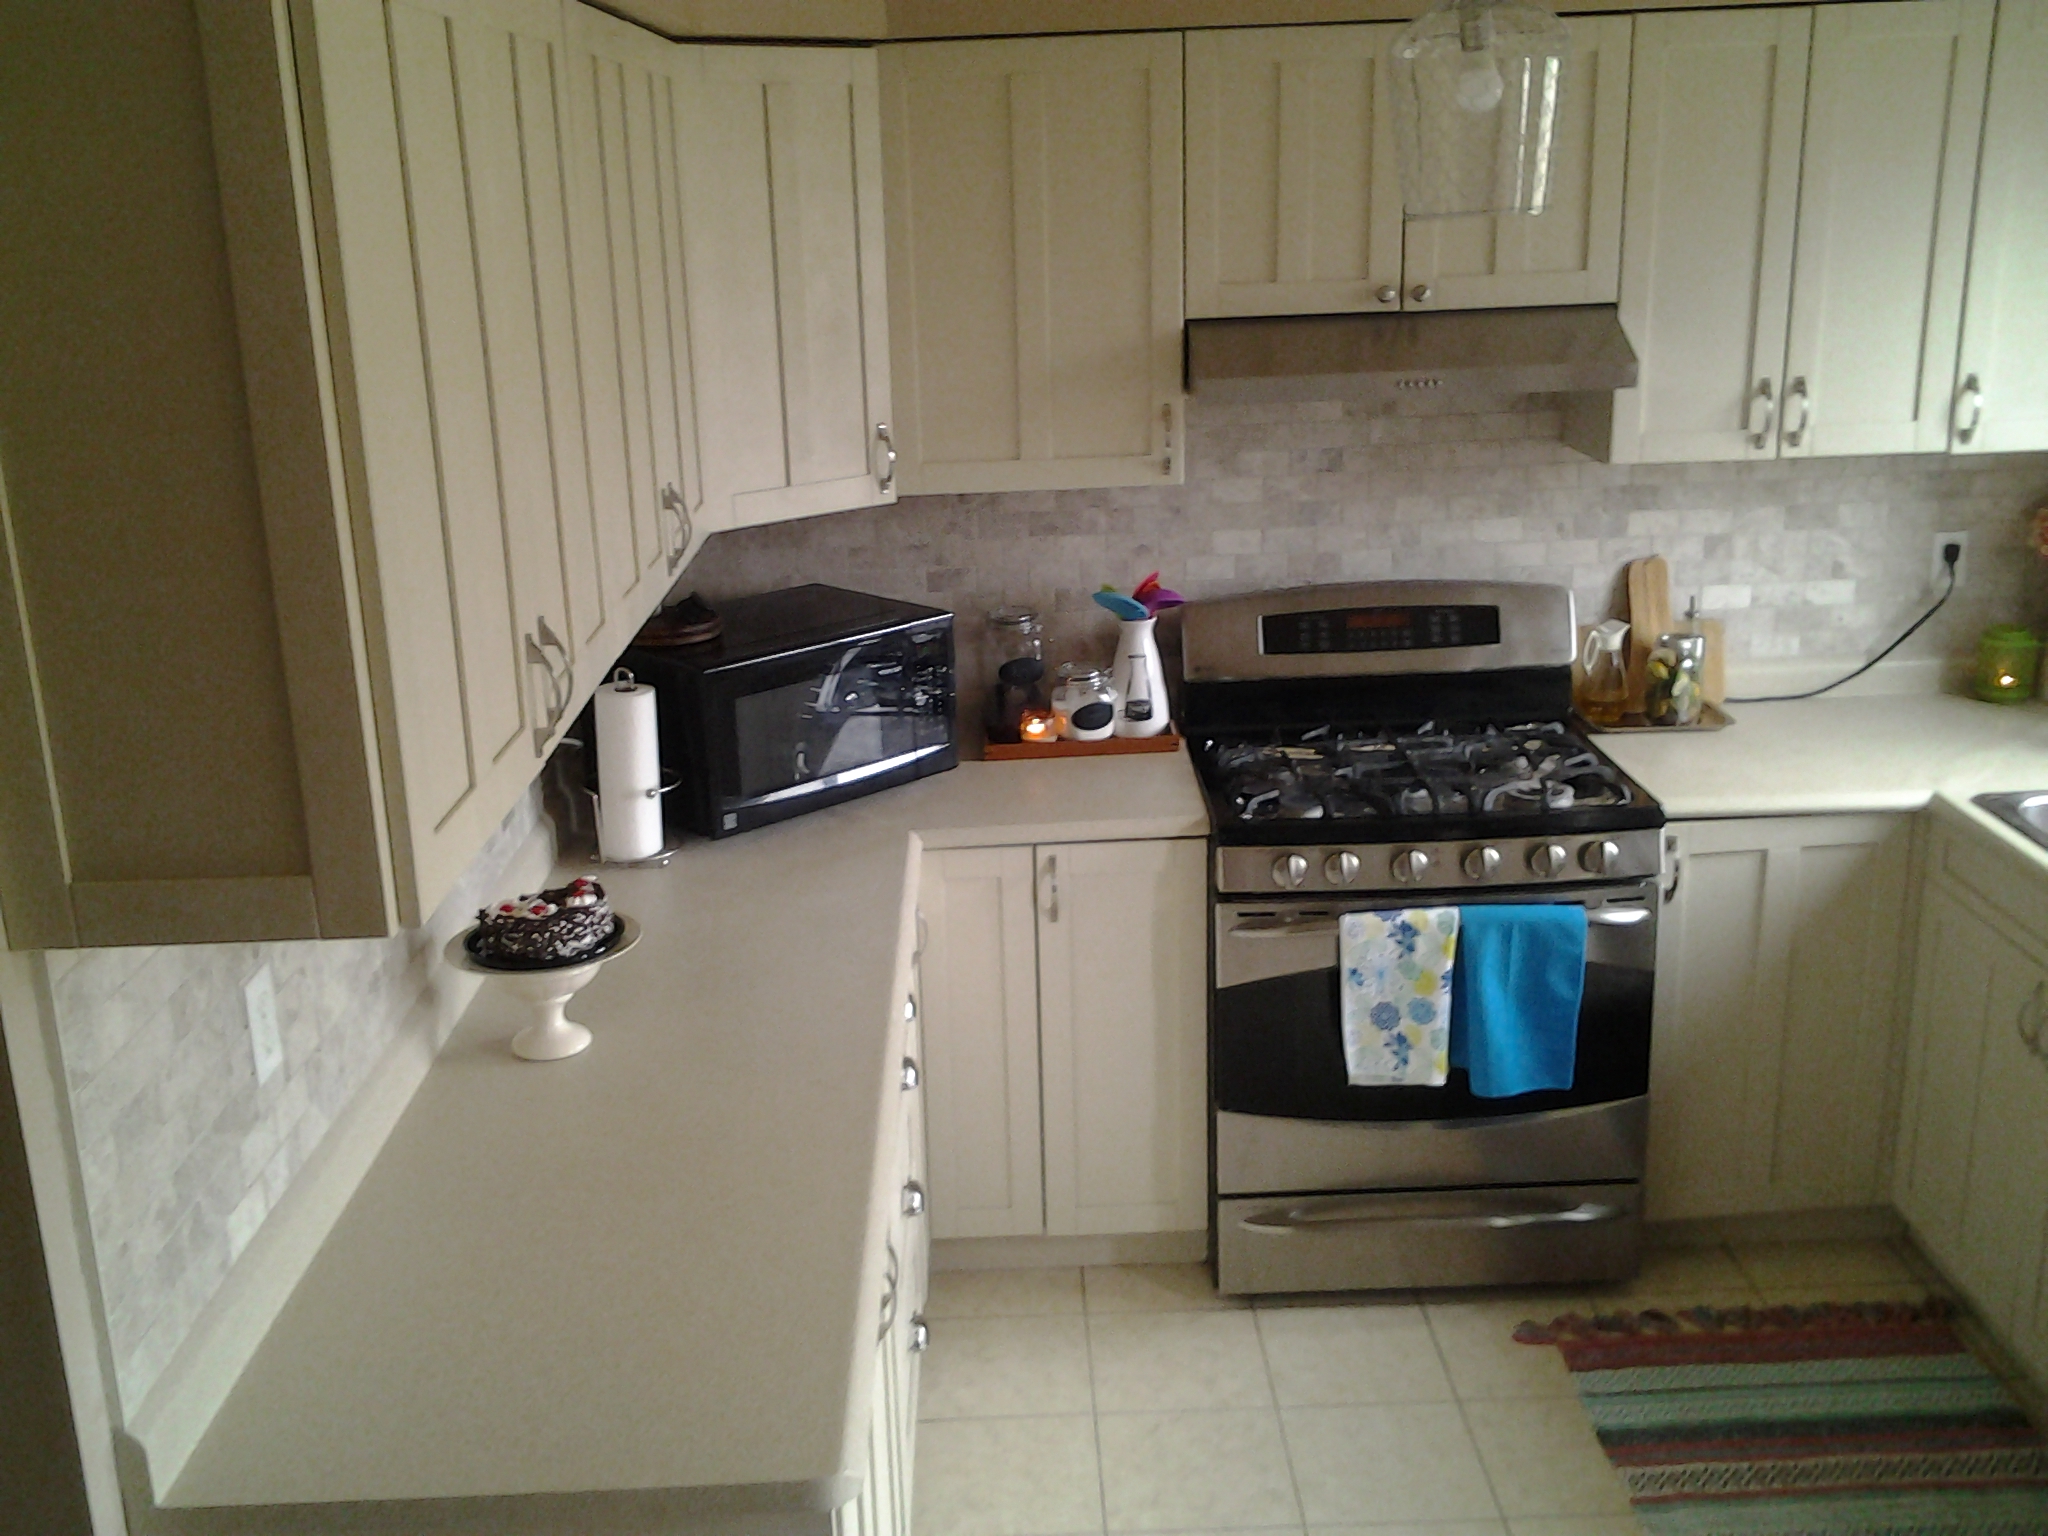
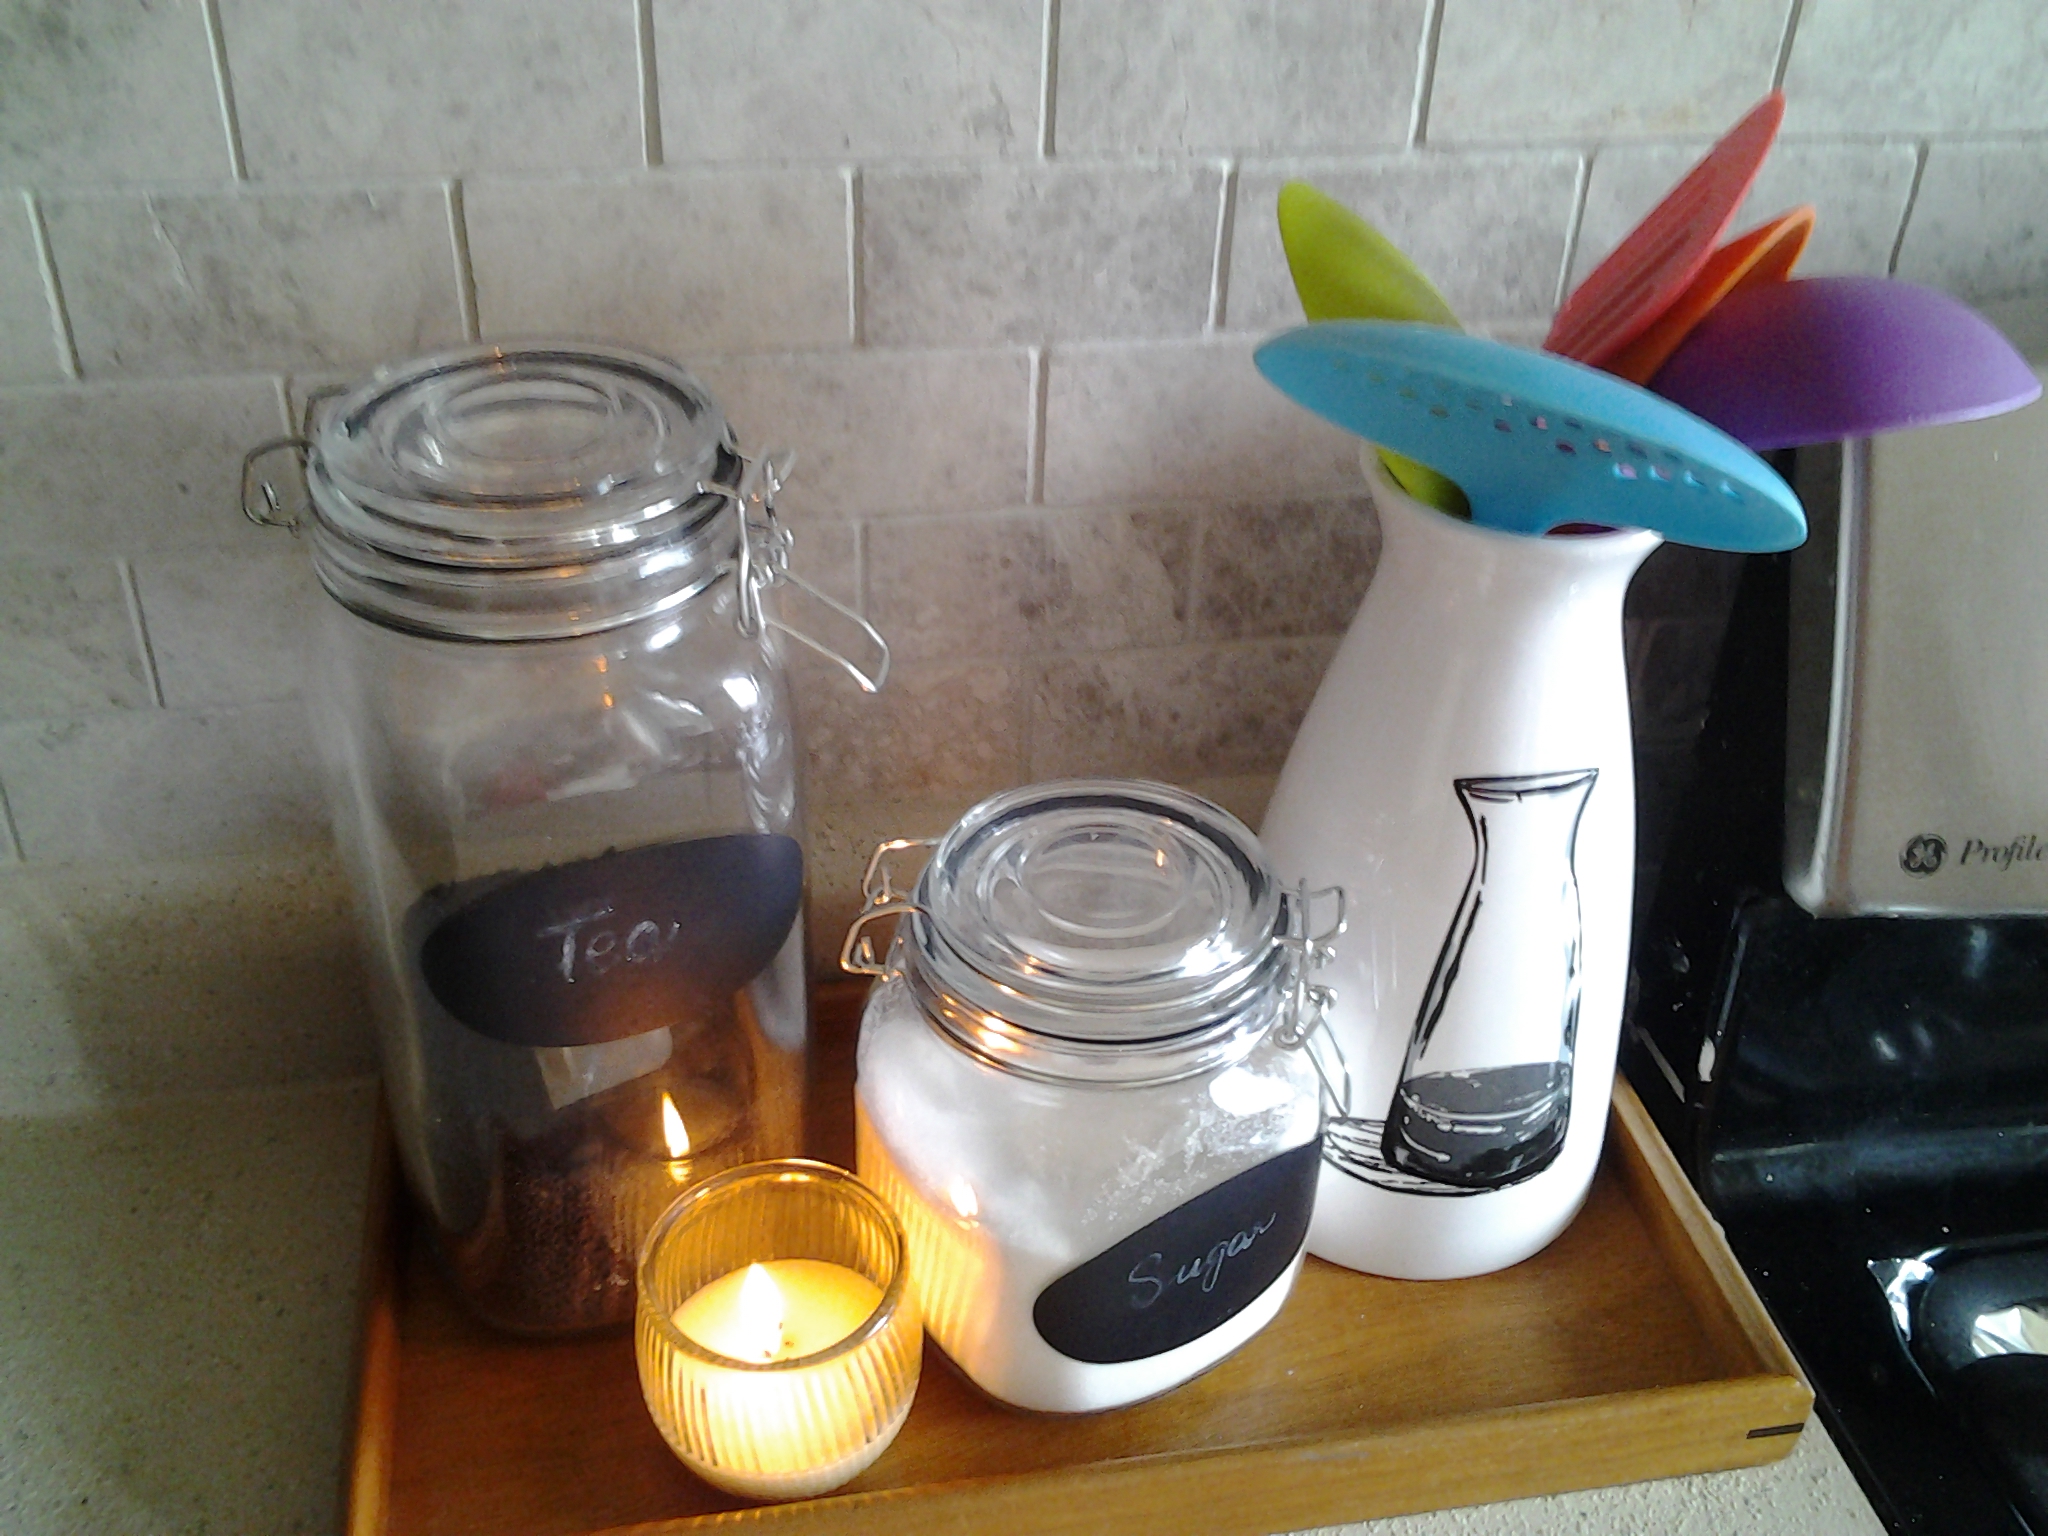
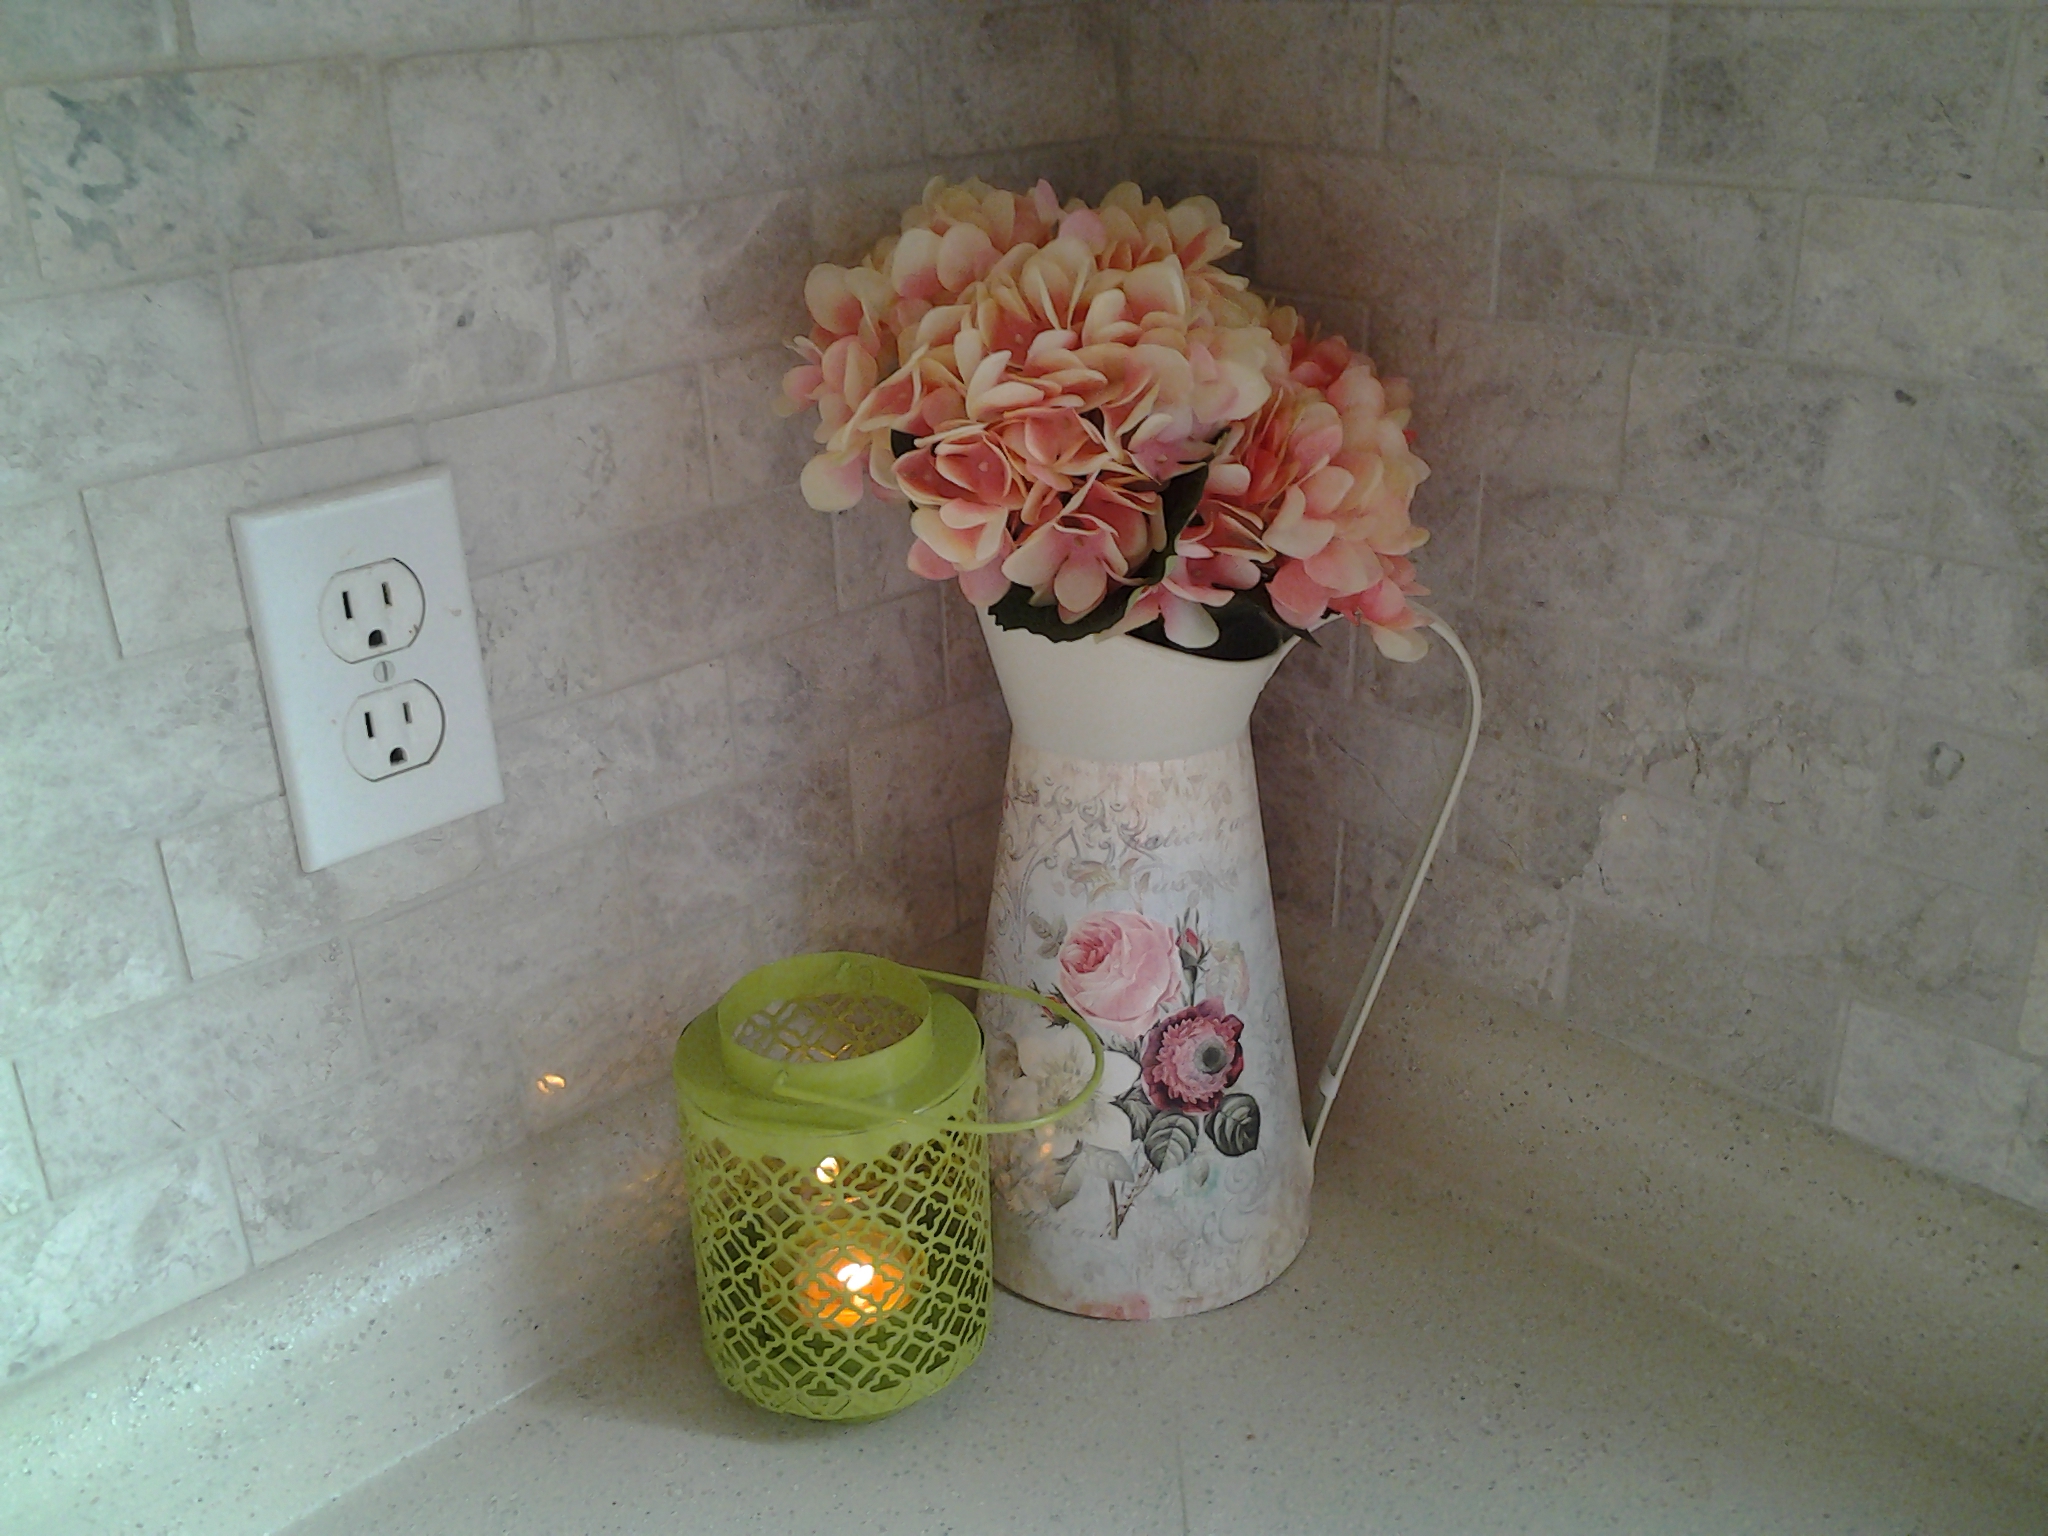
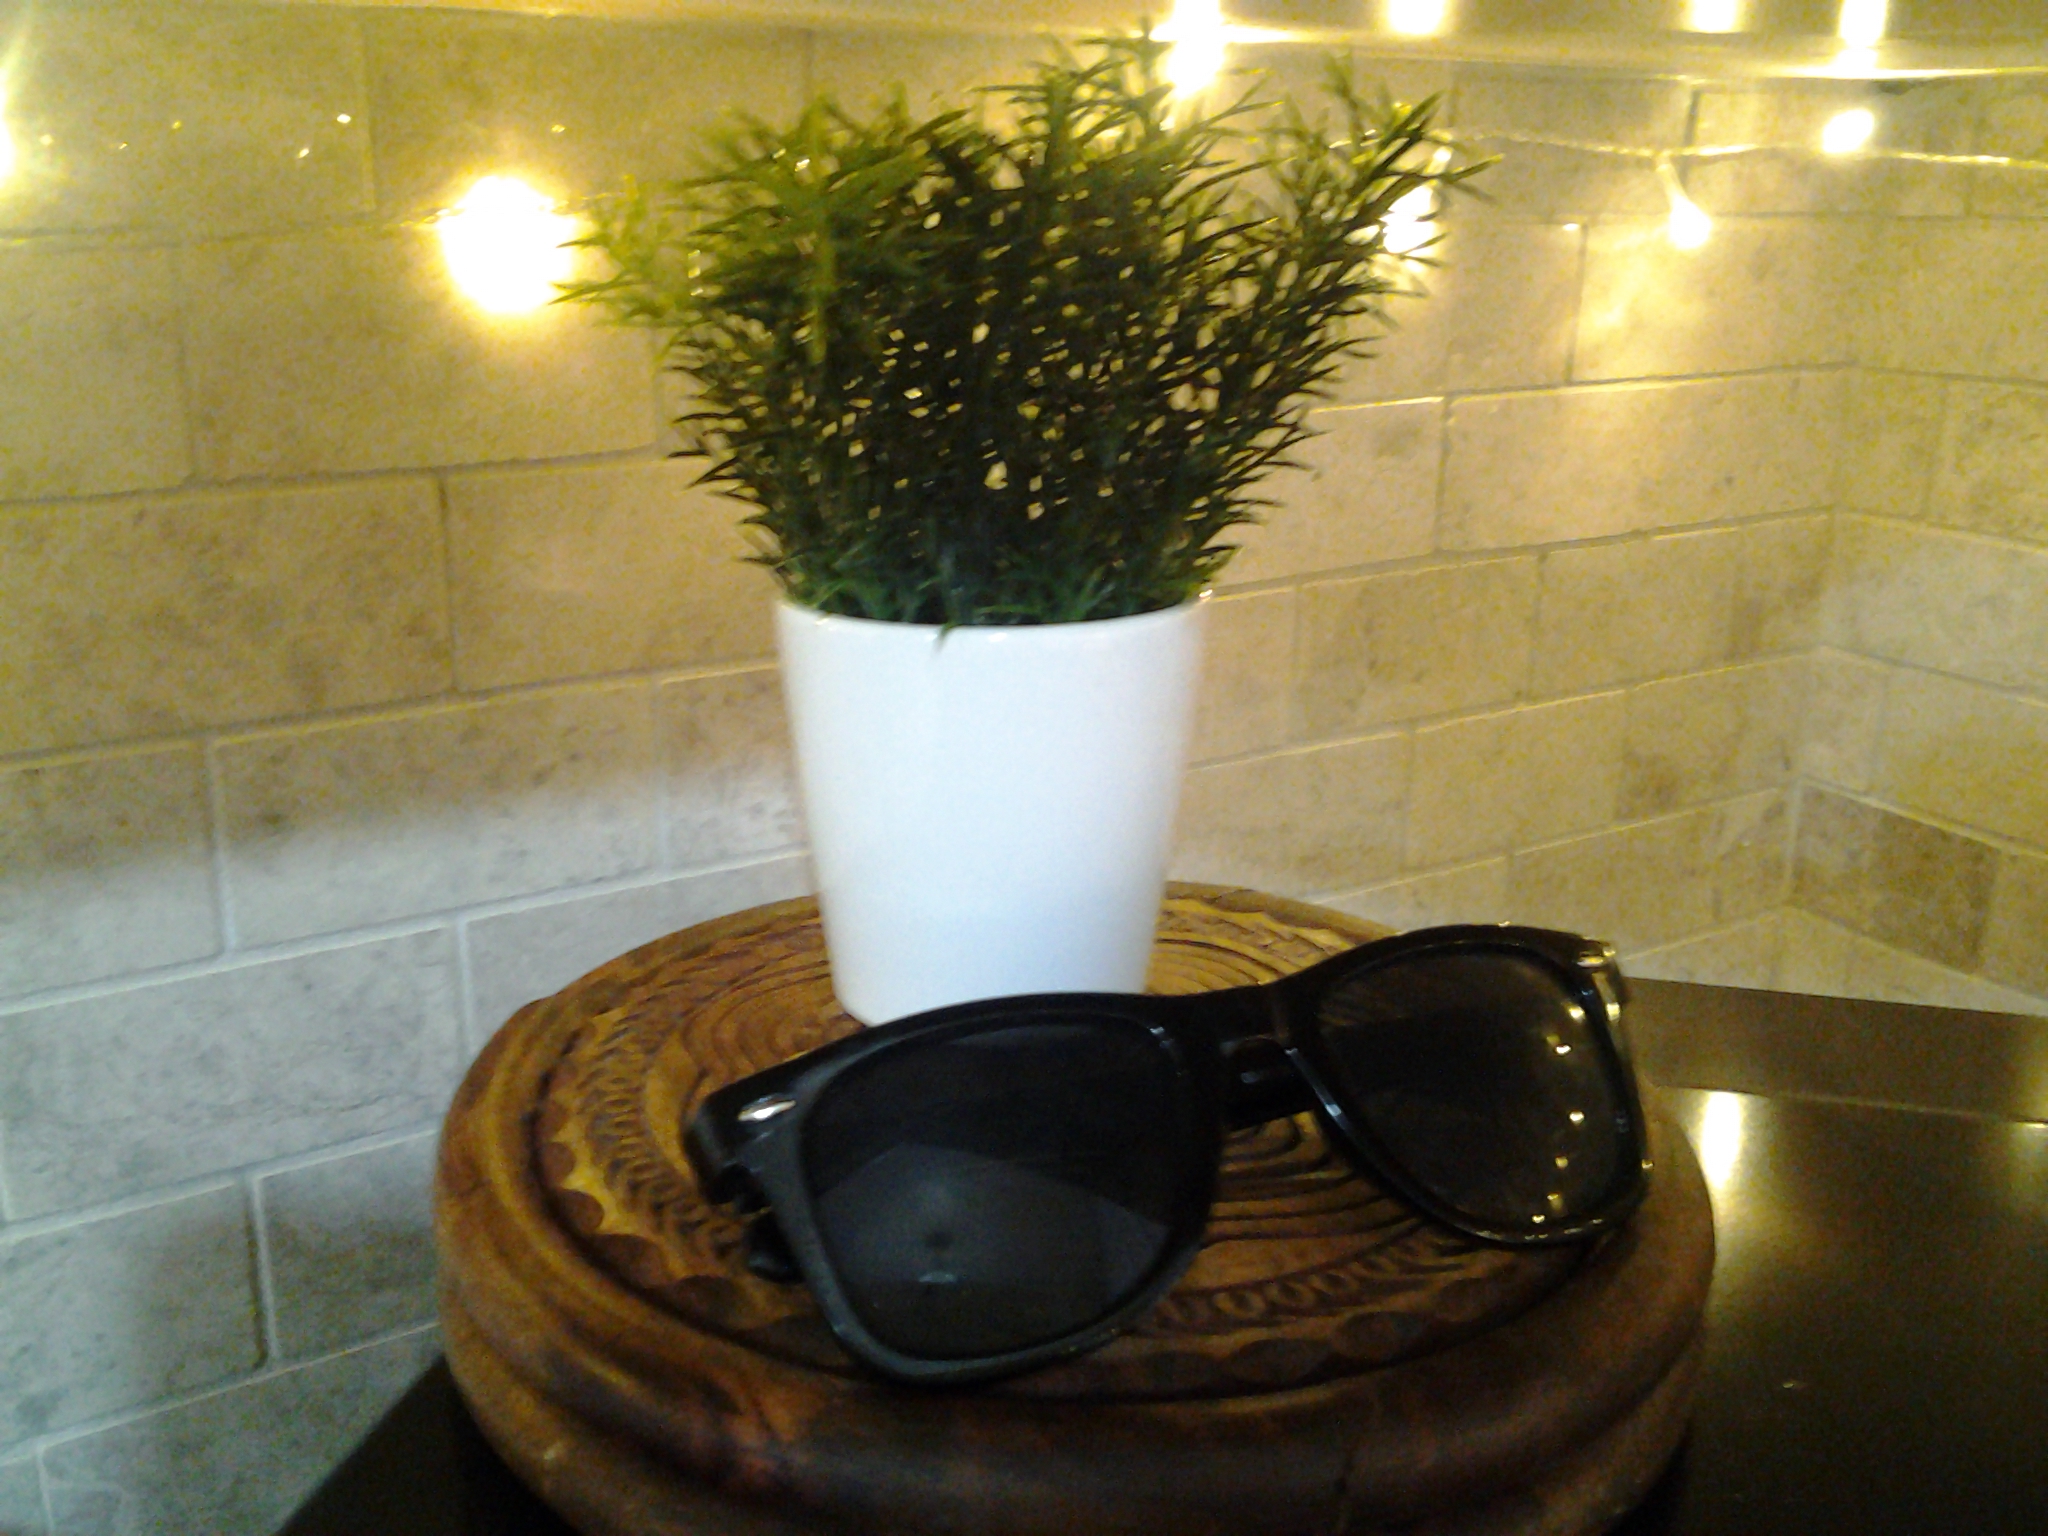
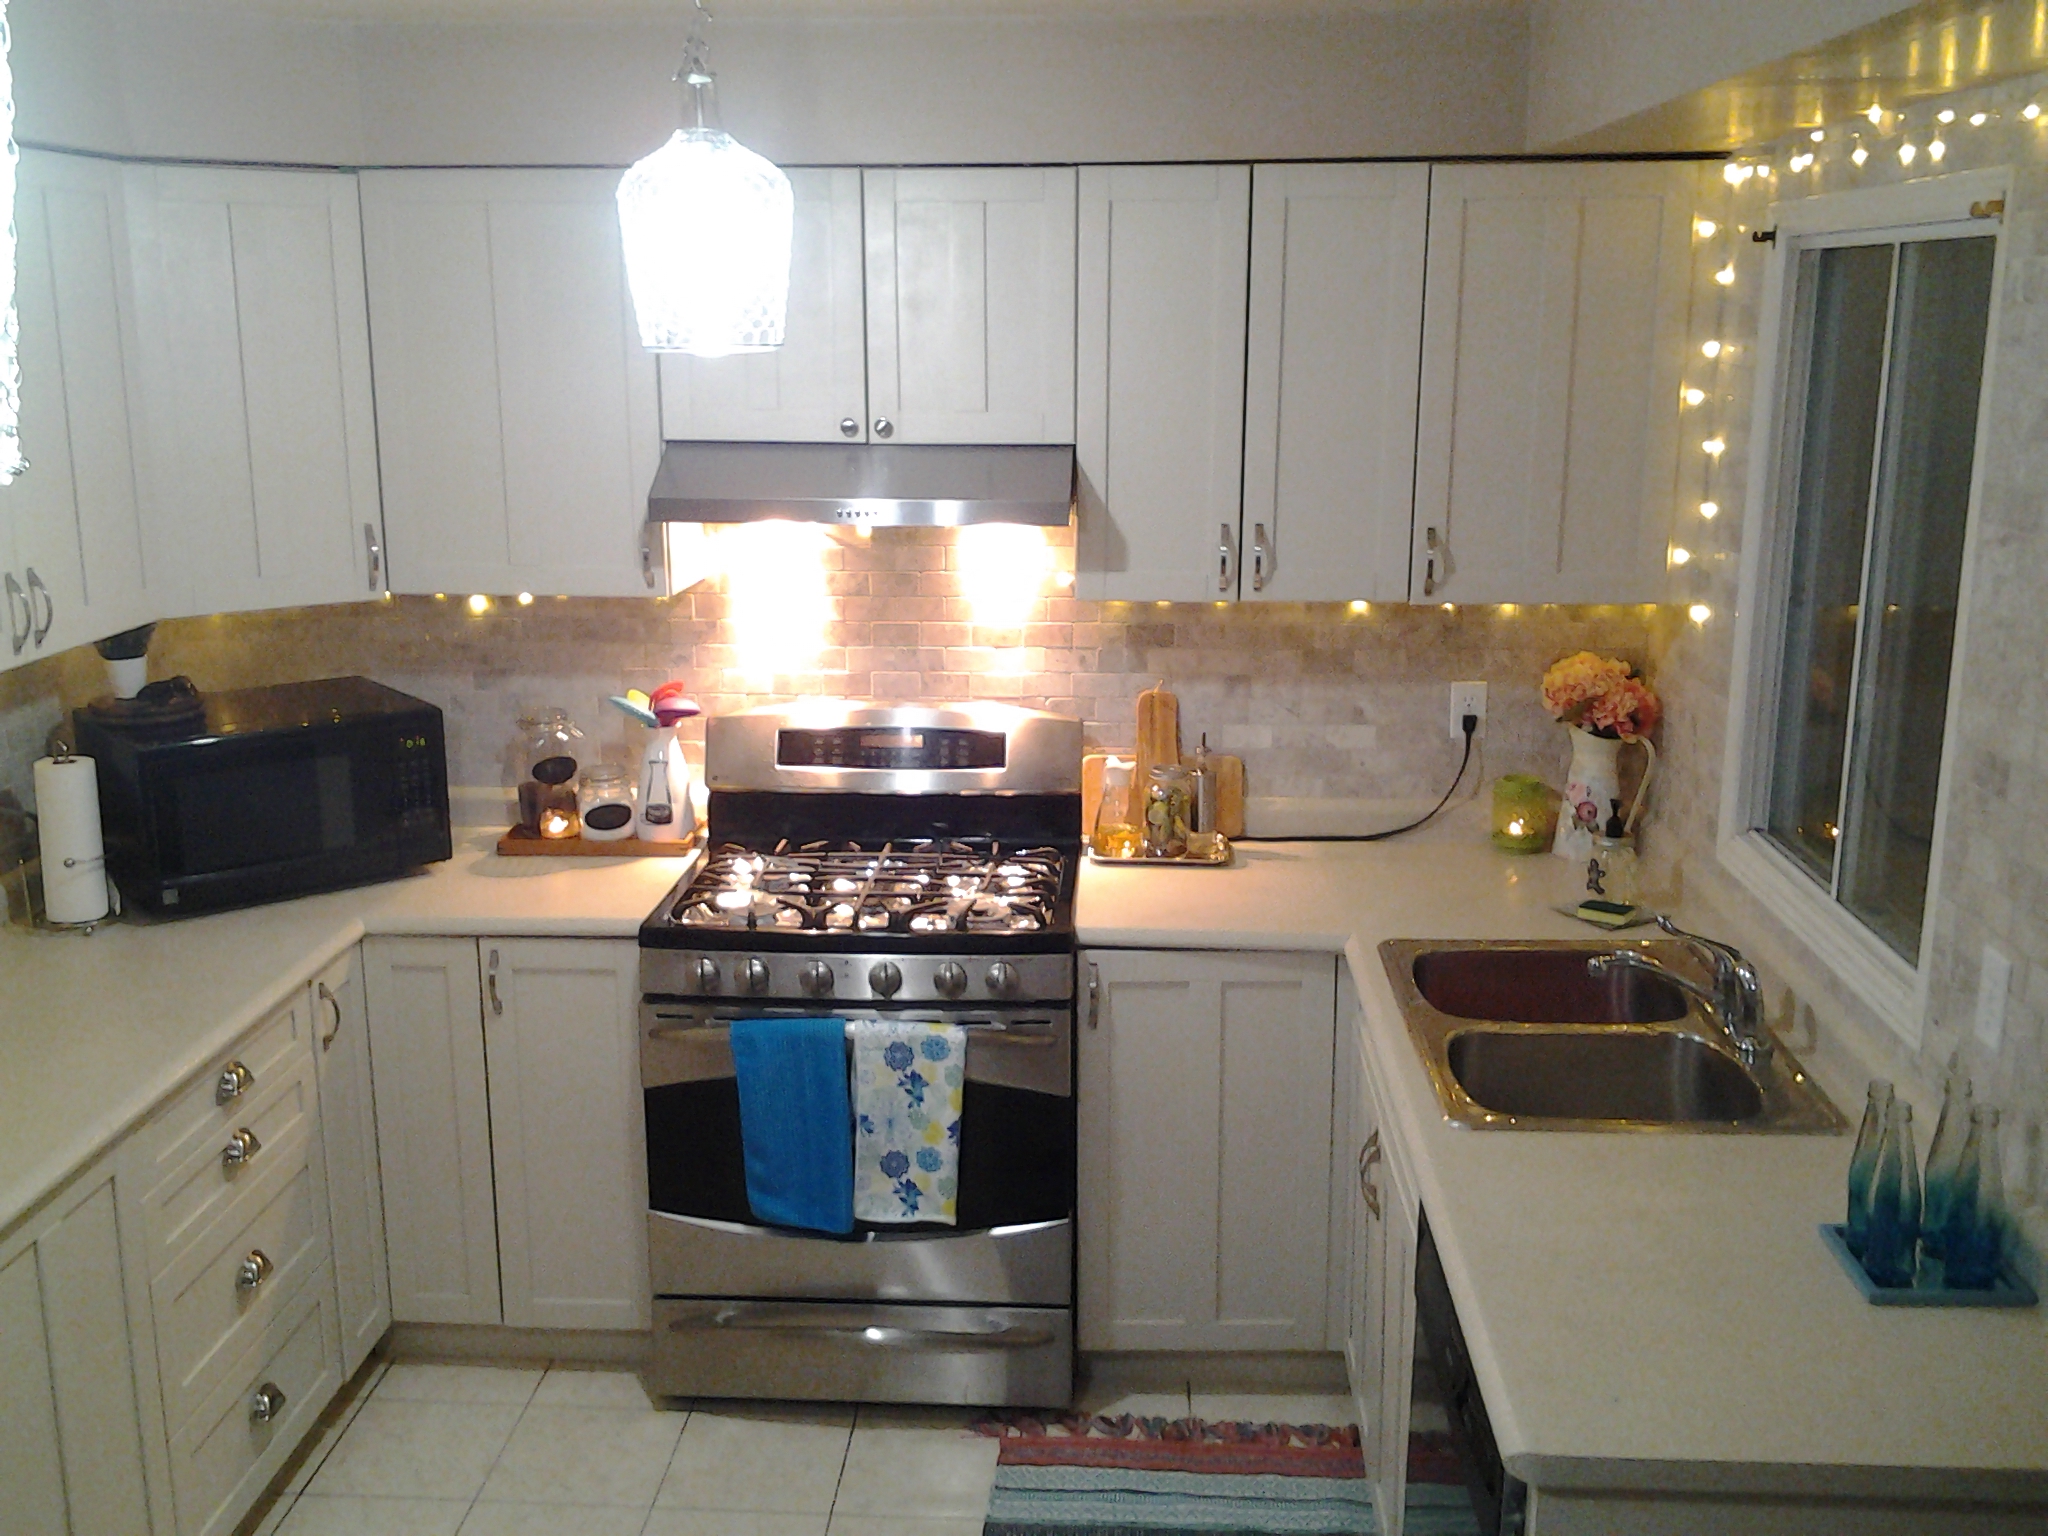
I really love my kitchen,a big and bright walkout kitchen with  lots of cabinet and a window above the sink .I didn’t touch and loved as it is more than five years ,now its time to do a make over.We updated our glass top stove 2 years ago to gas cooking range.This is the best decision I  have  ever made,I prefared to go for an upgraded model with a seperate bottom baking drawer for some quick baking and warming lunches.We choose GE profile,if you are tired  of using glass top stove I would 100% suggest you to switch to gas stove(will share my experience  soon).I desperately  want to change the ugly black range  hood which was intially white and I  spray painted black as a temporary update (that last more than 4 years).

My dish washer that comes with this house broke down I guess it was older than I expected, so we are going to buy new one soon.I definitely going to change window treatment,but no idea at this moment.

So what else is happening here…updating my kitchen  cabinet and counter top and yes back splash.You can see my oak cabinets,black laminate counter top and bare walls.

20170121_222950.jpg

My oak solid wood cabinets were  in pretty  good condition  thats  why I  want  to  keep  them.I am going to paint them.I have lots of cabinets  and drawers,Its a bigger than average kitchen.I need to be prepared for lots of work,lots of sanding priming and of course patience. If you are intending  to  paint anything you need to wait between coats and it may takes more than the estimated  time  you  would ever think of.I  wanted backsplash  that goes upto the ceiling and Wanted it so much so I already  removed  the cabinet thats right in between  my window and my walk out door.

You can see the big bare wall after we removed the cabinet.What else,I will change light fixtures  and other time to time updates and upgrades.Are you ready?I am enjoying the change so far,stay tuned  and get inspired with me.

Home Decor / DIY

DIY Jewelry stand(Cake Stand)

Hi Everyone,

I made this simple mirror jewlary /display stand with Aleeza for her room during March Break.We brought this glitter  mirror from Dollarama for $2 and got pair of candle sticks from  Walmart 70%  off for only $4. 99 . I used only one candle stick from the box .

received_10154876857665791


I simply used gorilla glue(you can use any bond or strong adhesive  )and attach the mirror to the base of candle stick.Leave it over night with some weight on.

received_10154876857565791

You can use any round mirror or plate.You can use it as a cake stand or display your favorite  items on your vanity.Isn’t  so cute and  easy?

received_10154876857620791

Home Decor / DIY

DIY Play Dough

March /Spring break  just started here and kids are home for more than a week.I am planning to do some indoor activities  and crafts with them as much as possible to get their eyes out of the gadgets.

Soft or play dough is highly recommended  for preschoolers and toddlers to improve their “Fine Motor Skills”.It helps to make  their muscles stronger and strengthen grip .So allow your kids to use play dough ,I know its messy thing to do but its ok you can give him with a sheet down to the floor or a carpet.

I am sharing two ingredients DIY play dough recipe with you and I am quite sure you have these two ingridents handy/home.I made this with my kids and we all enjoy it alot.Play dough or soft dough you can find any craft /toy store easily but if you can make at home it will be so much  fun…trust me…lets start.

20170311_114918

You will need just two ingredients.

Any Shampoo with Conditioner: 1 cup

Corn starch/flour: 2 cups

Food color (optional)

Method :

You need to measure the shampoo but it *must* have conditioner , now add color into it in a big bowl.I didnt have any food color other than regular yellow food powder (zarda rung),I simply mixed water and make it (if you don’t have it ,you can still make white soft play dough)Now start adding corn flour and make a dough.Kneed it untill your dough is not sticky any more.You can check the consistency ,its Aleeza started playing right after we make it.

20170311_122748.jpg
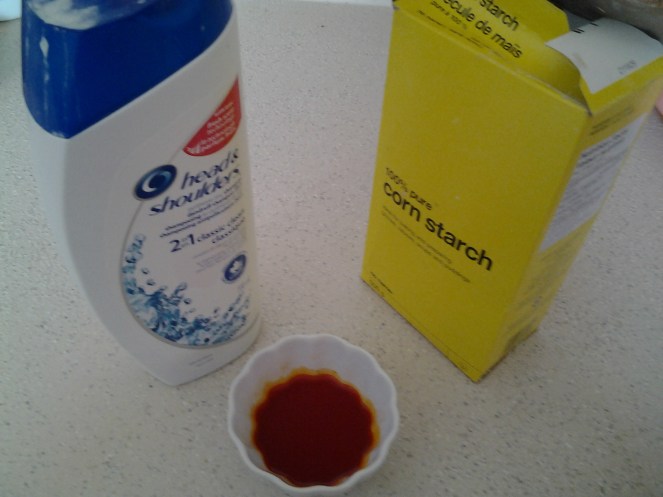
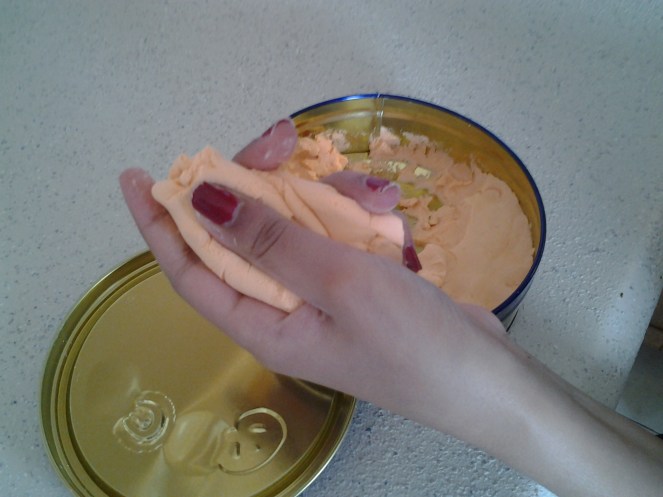
The dough is ready you can store it in a zip lock  or tin /air tight  container  so it wont dry .We stored it in empty cookie tin .

Home Decor / DIY

Toys Organizer Reveal

Hi there,

I am so excited  to share this new piece with you guys.I was sorting  out my kid’s stuff/ toys and wanted a kid’s  accessible organizer for my basement .I searched  for a cube organizer at Ikea online and really liked some of their organizers but they sadly dont offer free shipping even at Ikea pick up centers and I don’t have any Ikea near my house .I also went  “Canadian Tire” but didn’t like anything there at all.I asked my  husband  to check Walmart  and finally find the one I was looking for.”Home Trends” 8 cube display shelf, the perfect color (Rustic Oak) and size for my basement. I grabbed it right away.

received_10154705590335791

It is really  heavy , we didn’t even imagine until we had to carry it in the shopping cart and all the way home.I asked my husband  to assemble  it,It took almost an hour to do it.I wanted legs to make it above from the ground but was so unsure about it since, it is not solid wood, there’s a risk factor to try it on .I thought why not try wheels . I brought wheels and wood screws from home depot.

received_10154705590475791

I   asked again my husband  to attach wheels to it . It was the most wise  decision( fearful ) I  have  ever made.Wheels not only make it movable  but also make it more attractive.Make sure these dresser units  are steady enough and safe.You can attach it to the brackets if you have any doubt,it’s always better to be safer than sorry,especially  if you have little kids.

I wanted to use specific sized bin and baskets for this unit  but those were $12 and I needed  6-8, it was not economical  for me at all.I got plain ones for $4 each ,I have a bad habit to customize  everything .I was thinking to paint those baskets,than I thought better   try stencil this time.I got stencil and  fabric paint from Micheal’s.

received_10154705590530791

I simply attached the stencil with frog tape and applied the paint with stancil/foam brush.Its really very simple and can be done under 5 mins.

received_10154705590420791

I hang a long sport organizer for my elder son Abdullah’s  sporty items.I put his hockey sticks,base-ball bat ,his gloves and knee pads etc. I don’t have  a before pic but It was not messy but not organized either.I used big tote and bins for toys etc.I am doing some more things around that area ,will post soon.

received_10154705590330791.jpeg

Its  time to  organize my cube organizer .My little one has tons of cars ,Thomas and friends and train tracks .I wanted to use tags to label it but I was so excited to share with you guys,  I couldn’t   wait.I used  some of other bins too since the toys come along with that he knows the blocks belong to that bucket,so it easy to clean up after.

received_10154705590350791.jpeg

My kids toys are  now organized.I really feel so good,just ate my chocolate  bar…what you guys do when you are happy?

Home Decor / DIY

Home Organizing Tips and Tricks

Hi there,

I am back, was busy with kids, organizing home and doing some reno’s around my house.I am still in between and to be very honest some of them aren’t even started yet……will post when once I am done…taking my time with many breaks.

My crafty soul doesn’t allow me to throw anything but its time to donate that’s  a better option.Here are some useful tips I followed, sharing with you guys randomly.Sorting out clothes, jackets, accessories and other stuff is a time taking process.Try to do one closet at a time, move to another one after.Follow the same rule for everything.

A “guest” attack sometime give me a panic attack because my kids play mostly right on the main floor, making that area clutter-free and spotless within five mins if I know where I need to put all that things back.Storage ottoman and baskets minimize the mess.Try to keep toys in a basket and teach your child to clean up after.

Ask your kids to be part of it. Sounds weird I know, they probably want everything and will say they gonna use it. Give that thing to them and believe me after two mins they will throw it in donating bin by themselves.Its better they know and you should explain to them why and how donation makes someone happy.If they give it happily, treat them like King/Queen.

I have learned, your child’s involvement is very important, whatever you doing try them to be part of it.Take it as a project, assigned them different task and it not only gives them the sense of responsibility but also give some moral values.You need lots of patients (I don’t   have much ) as the kid may losses his interest after making a mess and more likely in between, but still he/ she learning.

20170106_114024

Don’t keep things you’re not using. Kids clothes /shoes are top of the list since they grow so fast.Don’t keep it, until and unless you have another child who can use it.I do save my elder son clothes for his younger brother if they are like new and gently used.Put in a box and labeled it with age etc and store in storage/ garage.If you don’t have similar gender kids, donate it people might put in a good use.If you want to sell, lots of Facebook selling groups are up.Don’t save it.

Sort out winter and summer stuff.Wash them and store in boxes or in suitcases if you have storage room.During winter my home gets messier especially when kids get home after school. Make sure you have a proper place or basket for hats and mittens.Sort out your summer shoes and sandals.You may not be able to use until 4-5 months.Make space for your winter boots and jackets, these items take a lot of space.Try to put rubber mat and tray for snow boots, mostly wet shoes make more mess.

Donate your own outdated stuff including shoes, bag and other accessories that you are not using much or your size or sense of style got changed. Thrift store and shelters are best places to donate.Even you can ask some “kids charitable “organizations who offer and gladly pick up right from your door.

20170106_114031.jpg

Sort out toys or other baby / outgrown toys, throw broken items in garbage and other kids item that are not your kid’s appropriate age anymore, give away or sell it.Ask your friend who can use for kids otherwise daycare centers gladly accepted gently used toy and books.

Check your kitchen and washroom for unused utensils and crockery or beauty and cleaning supplies.If they are chipped or expired garbage it right away. Rest you can donate.If you are intending to buy new furniture try to sell out the old one first.You may repurpose it if you have space.

Keep things in boxes and baskets. That not only organize your place but also you have things handy.Labelled your boxes as much you can.Keep your important documents filed and properly placed.Discard your unwanted mail and bills, you may scan these documents and save a softcopy if you think you might need after.

Don’t rush, take your time. If you do it in a rush, believe me, you will put most of the things back. You will feel really good plus your home will be actually clear from an unwanted item.I shared some DIY for clutter-free kitchen counter on my Facebook page…http://grillo-designs.com/declutter-kitchen-counters-ideas/….These are so simple and easy , I am going to make some of them too.

Home Decor / DIY

DIY Message Board

Hi everyone,

I am going to share a simple DIY message/white board , its so easy even your 10 years old can make it( my daughter helped me & wrote down blog name too..!! sweet💕)

You will  need just two things to make it,

1.Picture frame that has glass (any  size)

2.Decorative /hard gift paper.20161230_123403.jpg
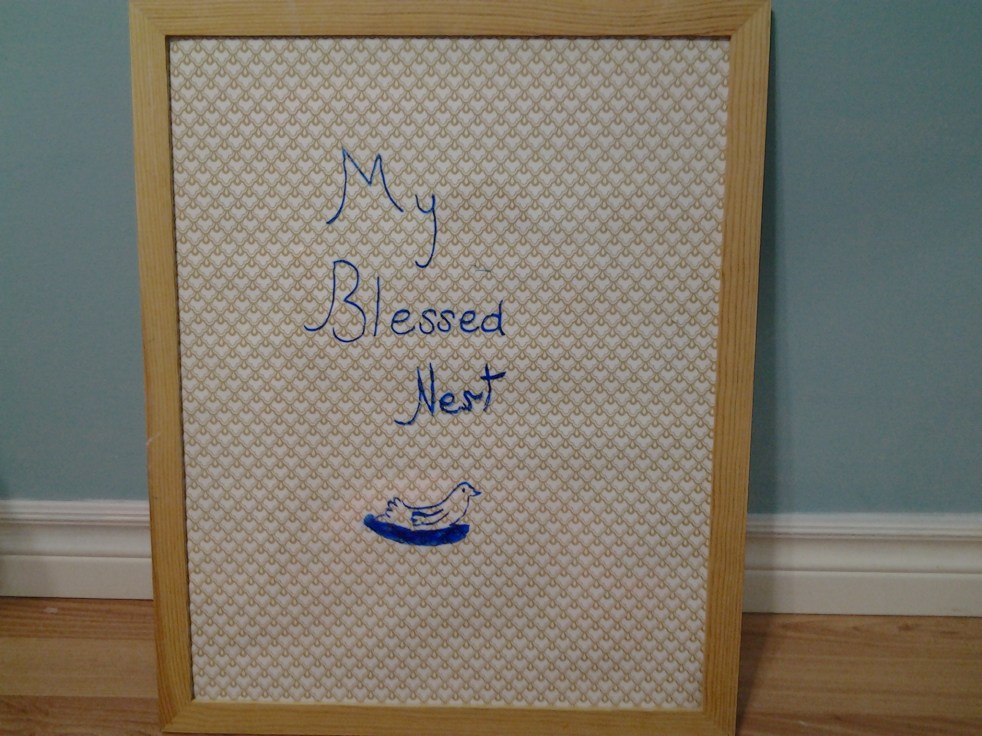
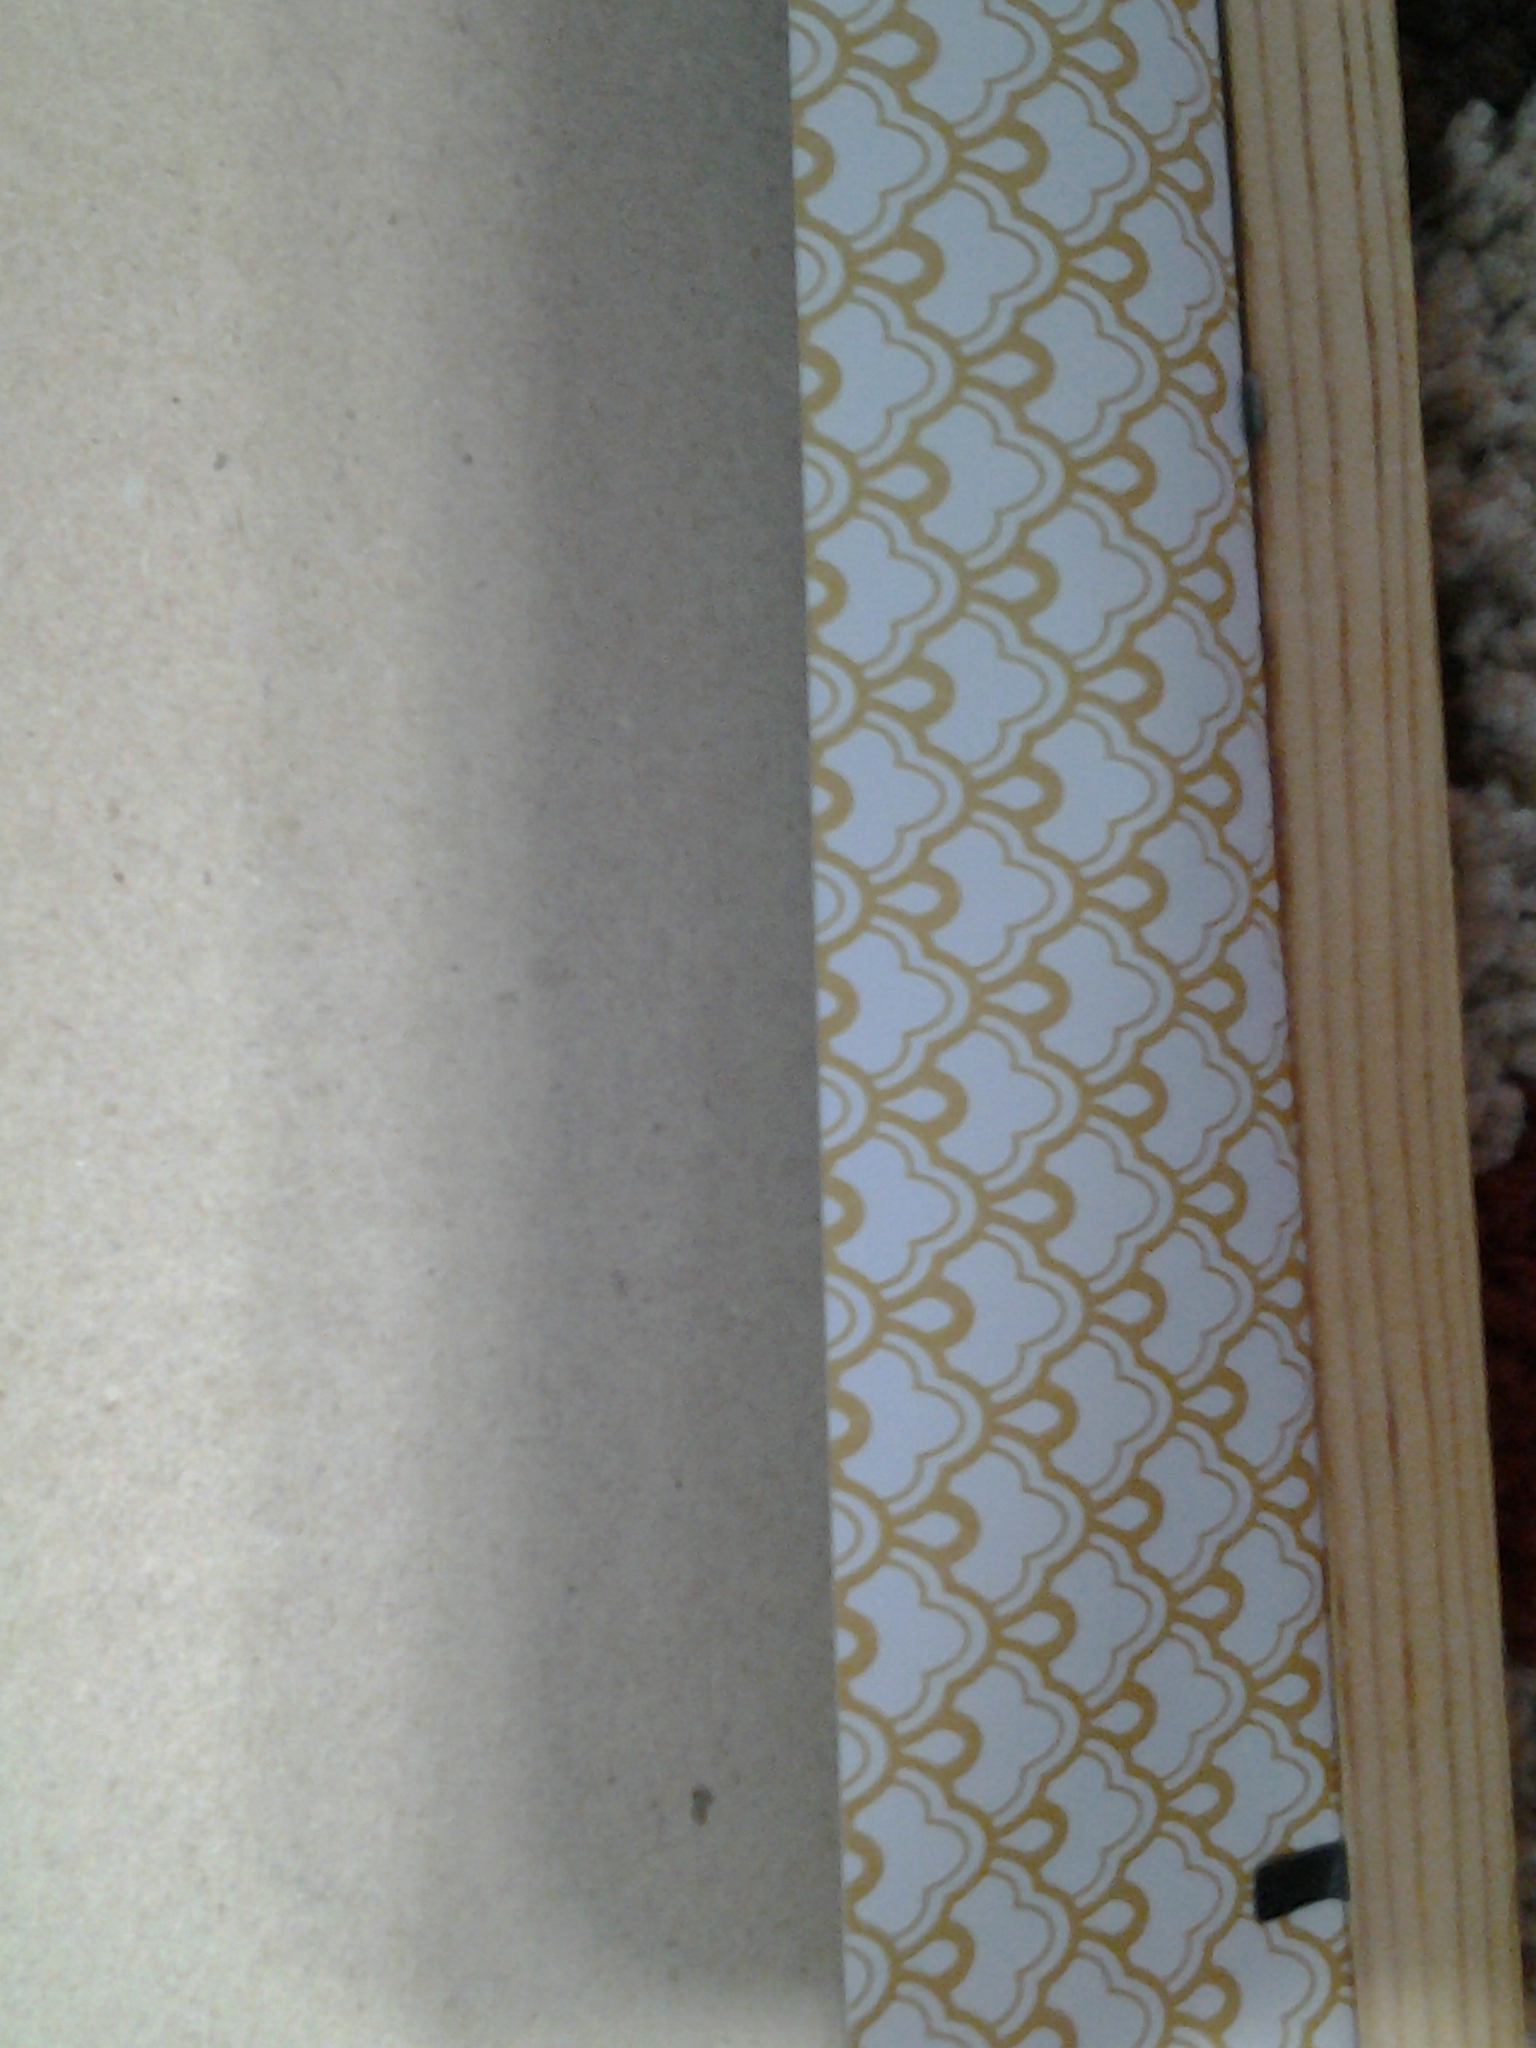
I have this IKEA picture frame  and I  got this decorative paper from Walmart.

20161230_123610Simply open the frame ,cut the desire size of decorative paper and attach it on the back of the board (comes with frame). You can use tape or glue.

20161230_123743.jpg

Place the glass first and attach the decorative board with frame clips …Taraaa!!! Its ready to hang and write.You can write down on glass with any marker and wipe it down.20161230_124321

Home Decor / DIY

Media Cabinet Redo.

Hi everyone,

Today I am going to share my biggest and time-consuming project I have ever done so far.My basement needed a media console, where I can place TV and kid’s Play station and store DVD, games etc.

I  love mirrored and mid-century furniture and wanted one for my home too, I didn’t find them in local furniture stores like Leon’s, The Bricks and Ikea etc, so searched online at “Way fair”, I really liked some but not affordable even with free shipping. Luckily, I got mine from ” Estate sale”, someone who was moving abroad and wanted to sell their oversized furniture.I  sent my husband to go and have a look and I absolutely love the picture he sent me..it was still pricey to get it second handed but I knew the fact this console /sideboard is *not *cheap but solid and must be expensive.I asked him to haul it, it was really a beast, solid wood, heavy and tinted mirror make it handle ” with care” but quite neglected, scratched and much-needed love!

15492618_10154591905725791_4027777169640745337_n

It rested in my garage more than four months for sure.I needed it to be done inside my home, I can’t refinish it in my garage because it’s really cold during winters and hot in summers plus I needed space and my garage is always filled with my pending projects. My husband and my brother (luckily he was here for a visit) lifted directly to my basement.It was really hard to carry it inside and then all the way to the basement, I  was so happy and Thank full to these two men who both are really close to my heart.

I was really excited to start it before you start to paint  or stain, you MUST need to prepare the surface first.I cleaned the whole cabinet with glass cleaner and cleaning wipes.It should be clean and dust free.I taped all the mirror and edges with frog tape.

I sanded it with a sanding block, wipe down and started it initially with chalk paint in coffee color after I did half of that, I  didn’t like it, can u believe this? almost painted  60% of it BUT it was not something  I wanted.I wanted a rich shade, the chalk paint make it so boring.I thought better not go for it further, it doubled my effort but ended well so no regrets!!

I sanded the whole piece again, wipe the dust down.I thought better try a  stain, I tried gel stain and one coat made a huge difference, its kind of pudding and you need to wipe down the excess stain..wait for a day to apply another coat (you need lots of patience I don’t have much). I applied two coats of stain and I reveal the beauty to my husband, he loved that too.it was really the toughest project I have ever done. My legs and back literally hurt every night.Finally, I applied a top coat that seals not only paint but also protects from scratches since it’s a media cabinet so my kids are handling it more than us.I  applied water based top coat for stains.I also changed the legs and got it from Home Depot.

15355773_10154591904970791_1097279156148018247_n

This project  I have done three years ago for my basement and it still as it is as, lots of storage and organizes games, DVD, books and my crafty thingy.This post is requested by my close friend who loved it and every time she visits me , praises it more!