Home Decor / DIY · life style

DIY Ramadan/Eid Decor

Ramadan Mubarak ,

I am so sorry for being MIA (missing in action)here but that doesn’t mean I am away from my Instagram here and Facebook herefor sneak-peeks,so follow me.

I  am someone who loves to create or DIY  and gets inspirations from all over the social media.I got an inspiration from @shehzeen’s Ramadan decor that she got from Target and I thought I should give a try.20190507_173359

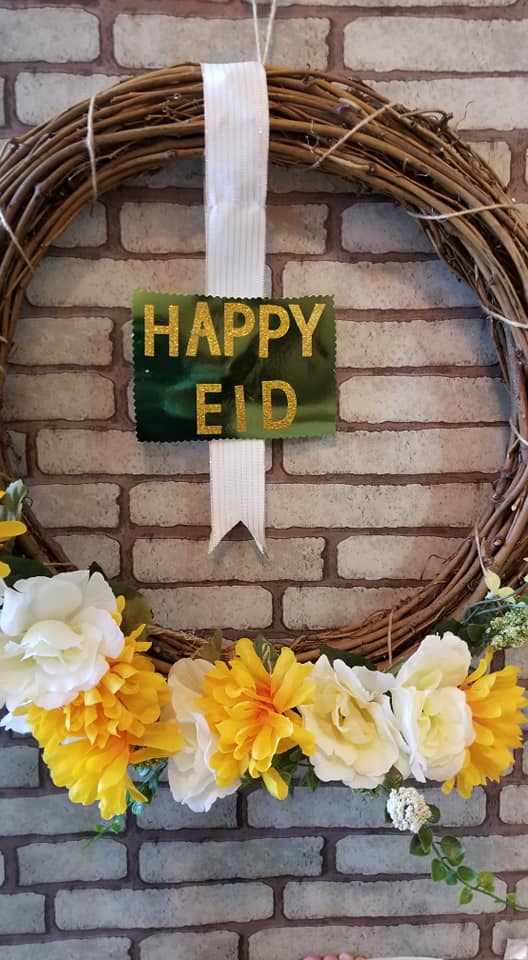
I wanted to use Gold tin but since I was so lazy to go out and find it at some home hardware store I tried to make what ever I had available at home.Are you ready to make a home decor you can use around the year for sure because it so simple and pretty and whats more I have added some more “juggar”and make it double sided.You wanna see??

20190507_140926

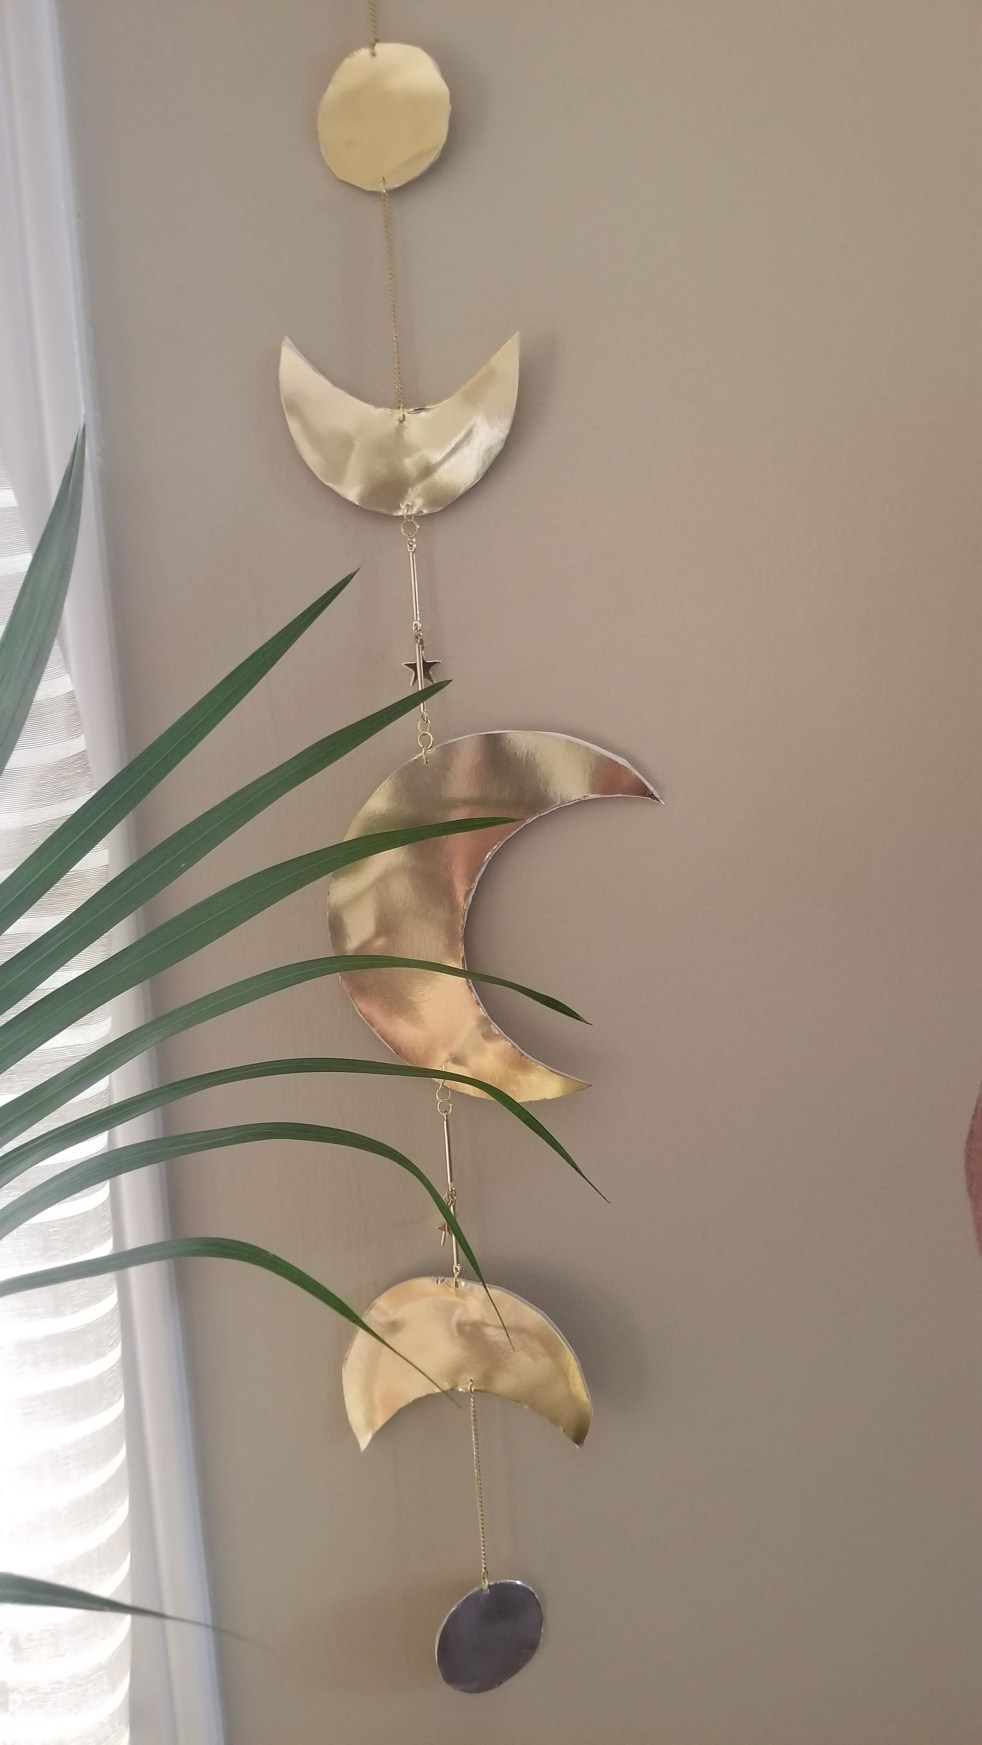
It is double sided,You can either use it gold or silver or mixed and match,lets make it!!
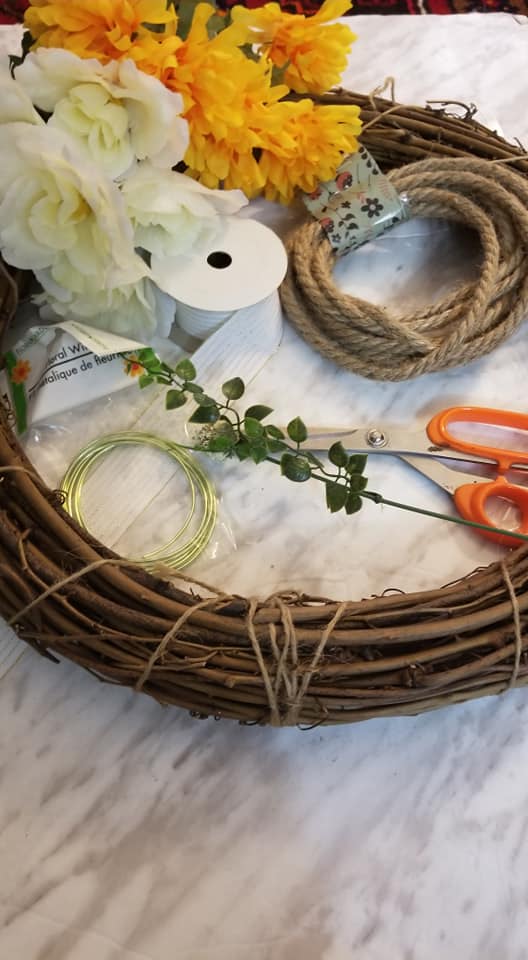
You will need,

20190507_114809

Gold poster card.

Silver Poster card.

Gold Chain.(I got another after that has star so I used that instead of the shown in picture)

Jump ring

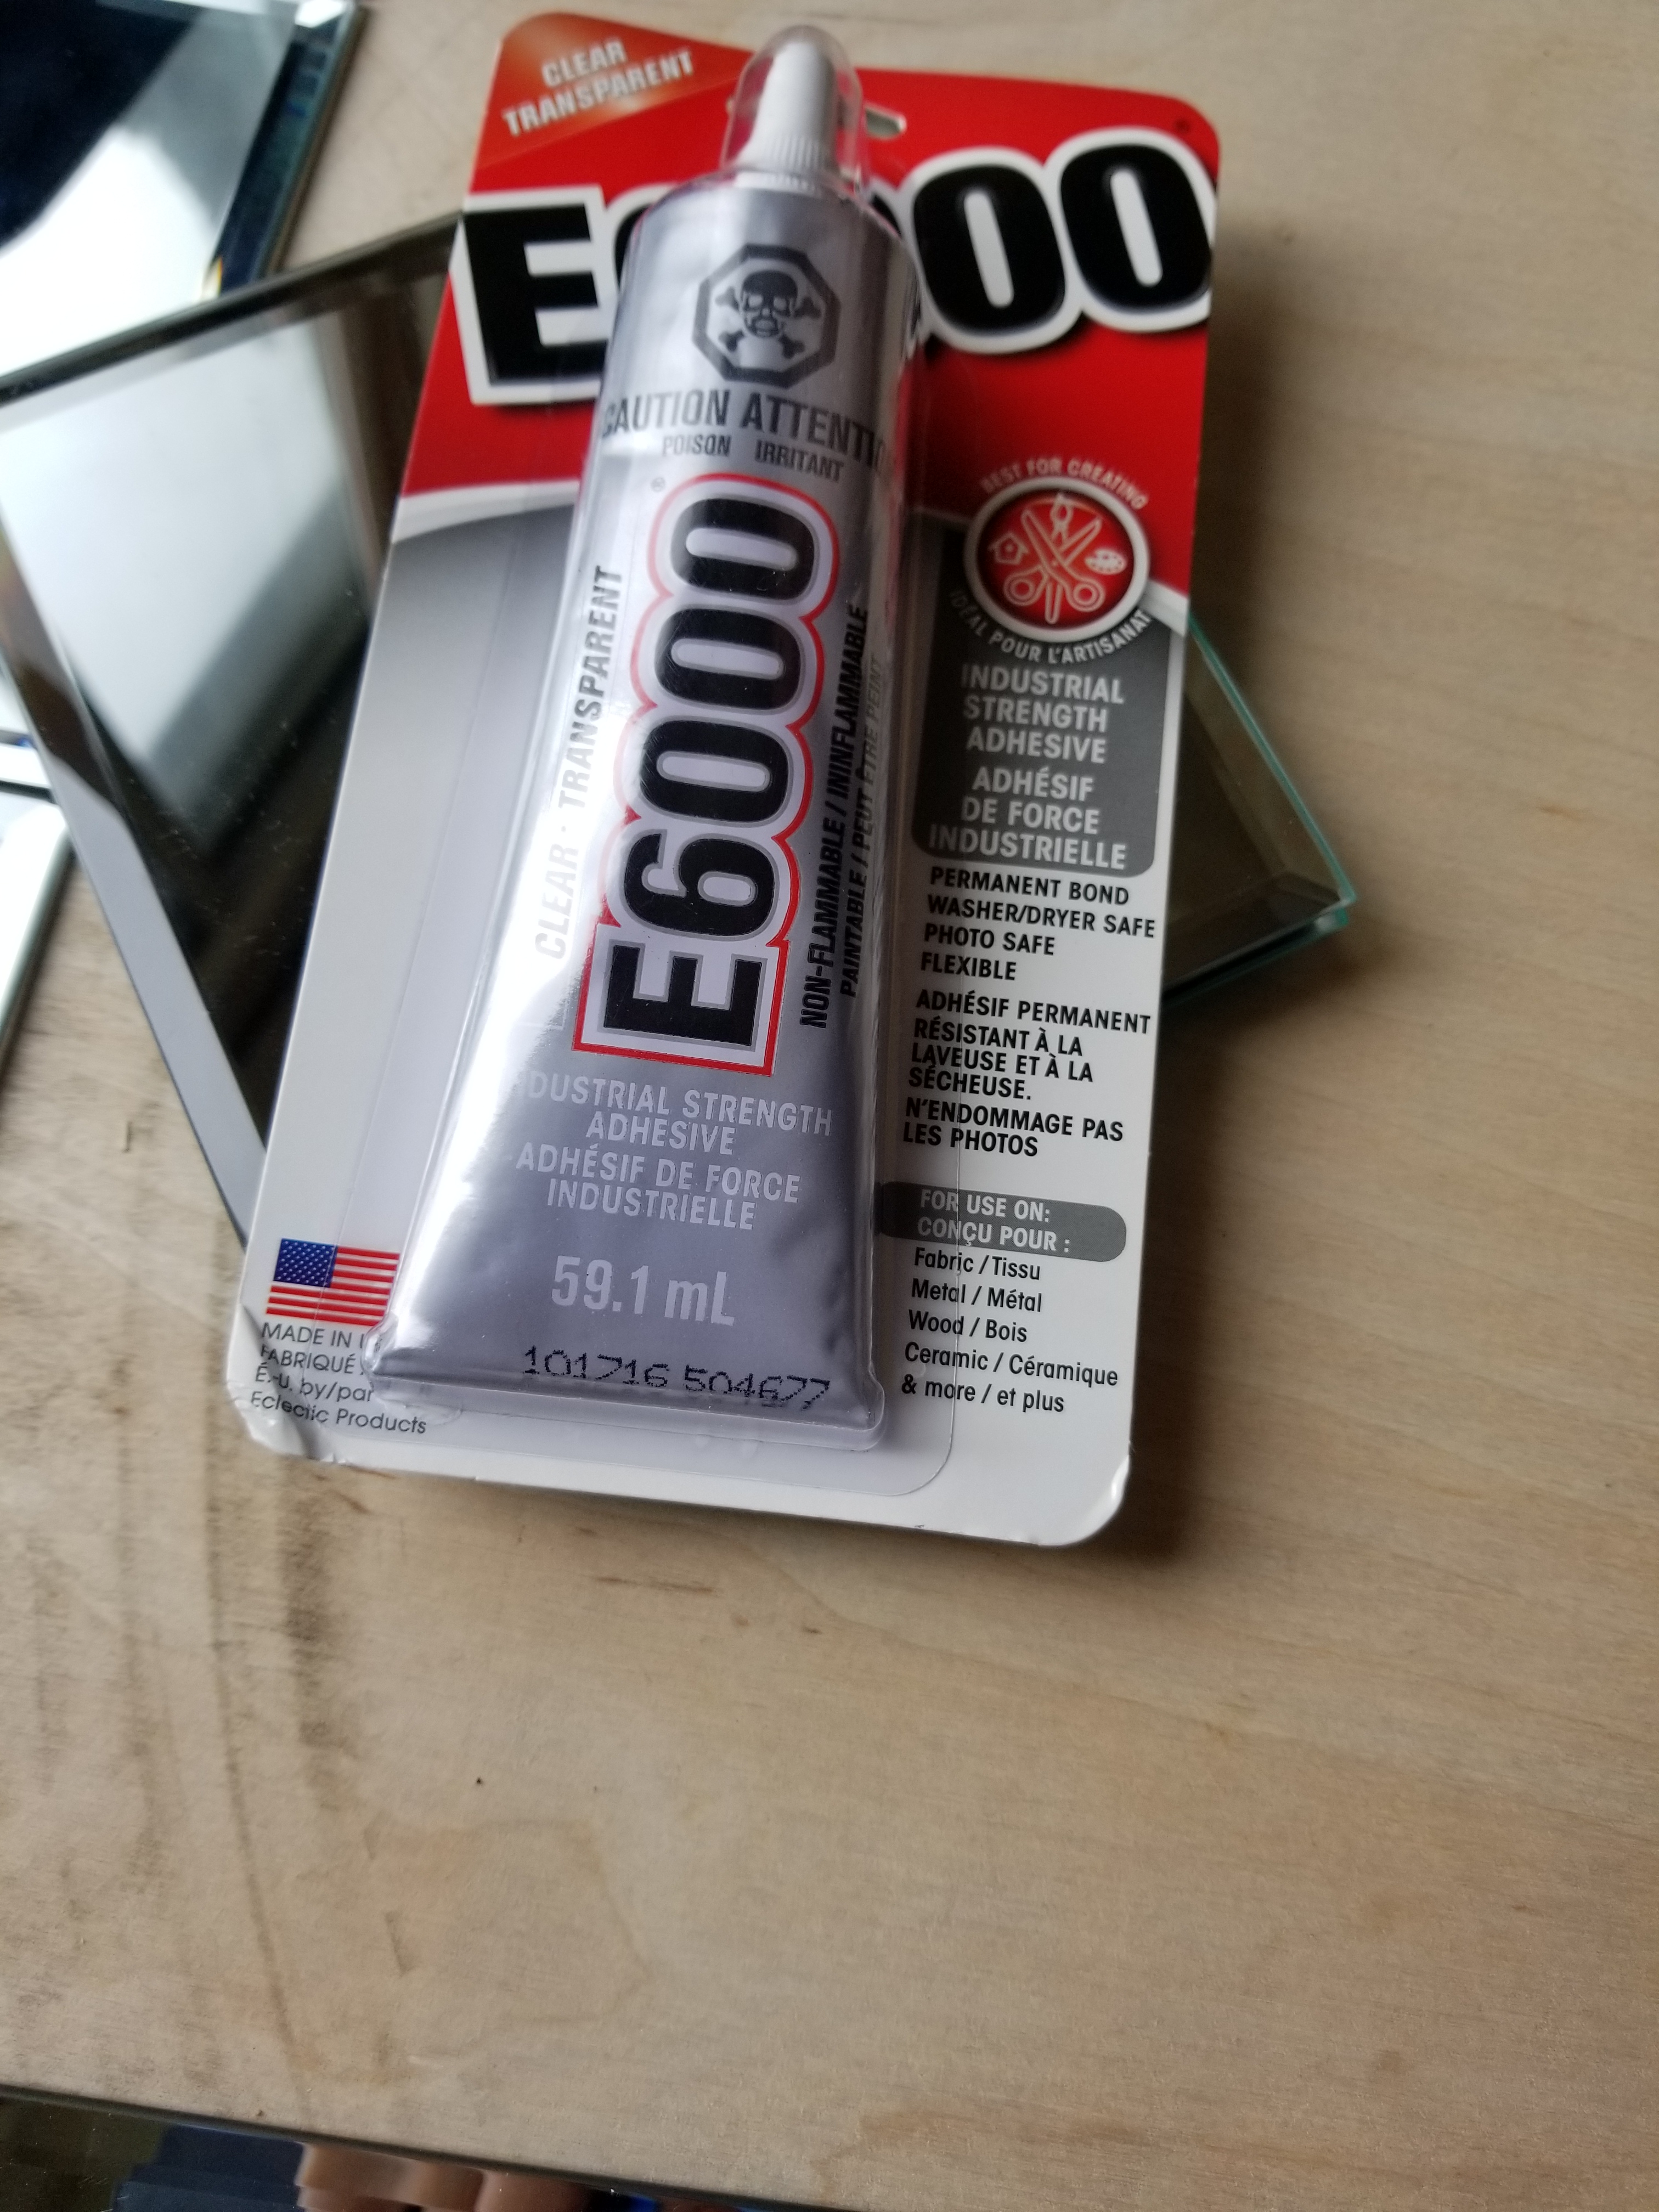
Hot Glue Gun or any strong craft Glue.

Punch  or some pin to make hole.

Compass or something to make perfect round/crescent.

Scissors.

How to Make it:

  • With the help of compass draw some circles on the back side of each poster card.(I did 2,5 and 7.5 inches circles).
  • Make Semi circle/cresents (make 2*5 and 1* 7.5 inches one)with the help of any Pop can or glass.
  • Cut them carefully and with the help of Hot glue gun, glued them together,trim if required.


  • With the help of jewelry cutter or scissor cut the desired size of chains.It depends on you how long you want.
  • Make a small hole with the help of pin(Yes I changed my mind to use punch)
  • Attach them together with the help of Jump Rings.20190507_123315
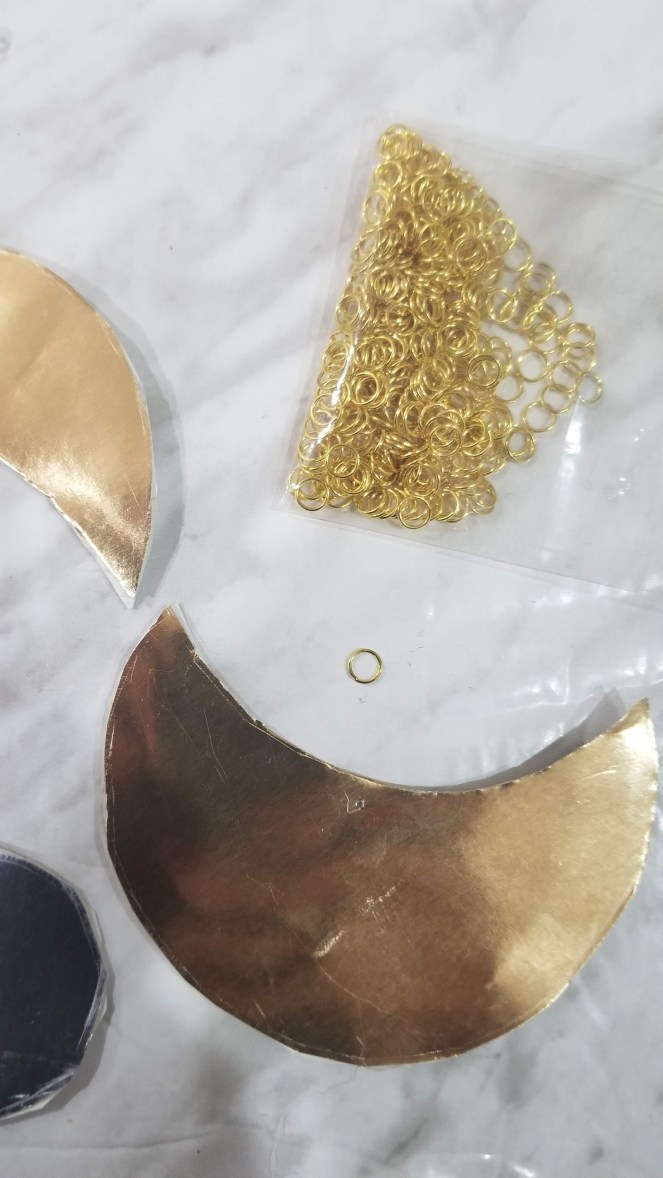
  • I used Jump ring ,to make it more easy to attach chains.
  • Now attach a Key ring to make it complete

20190507_140831

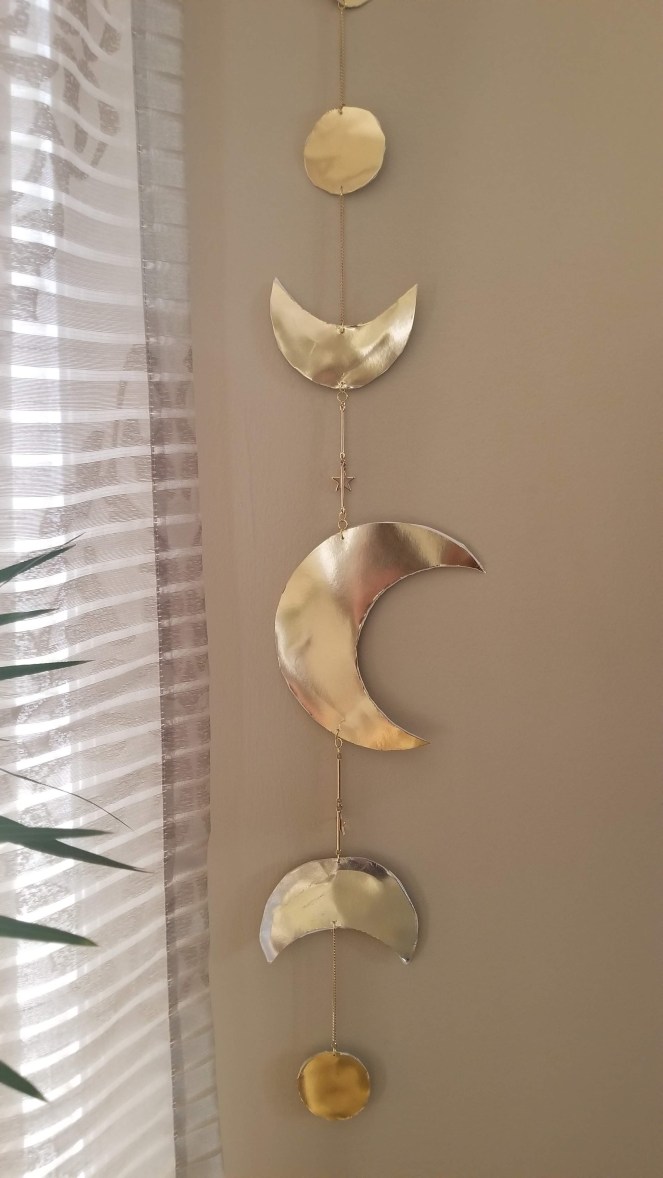
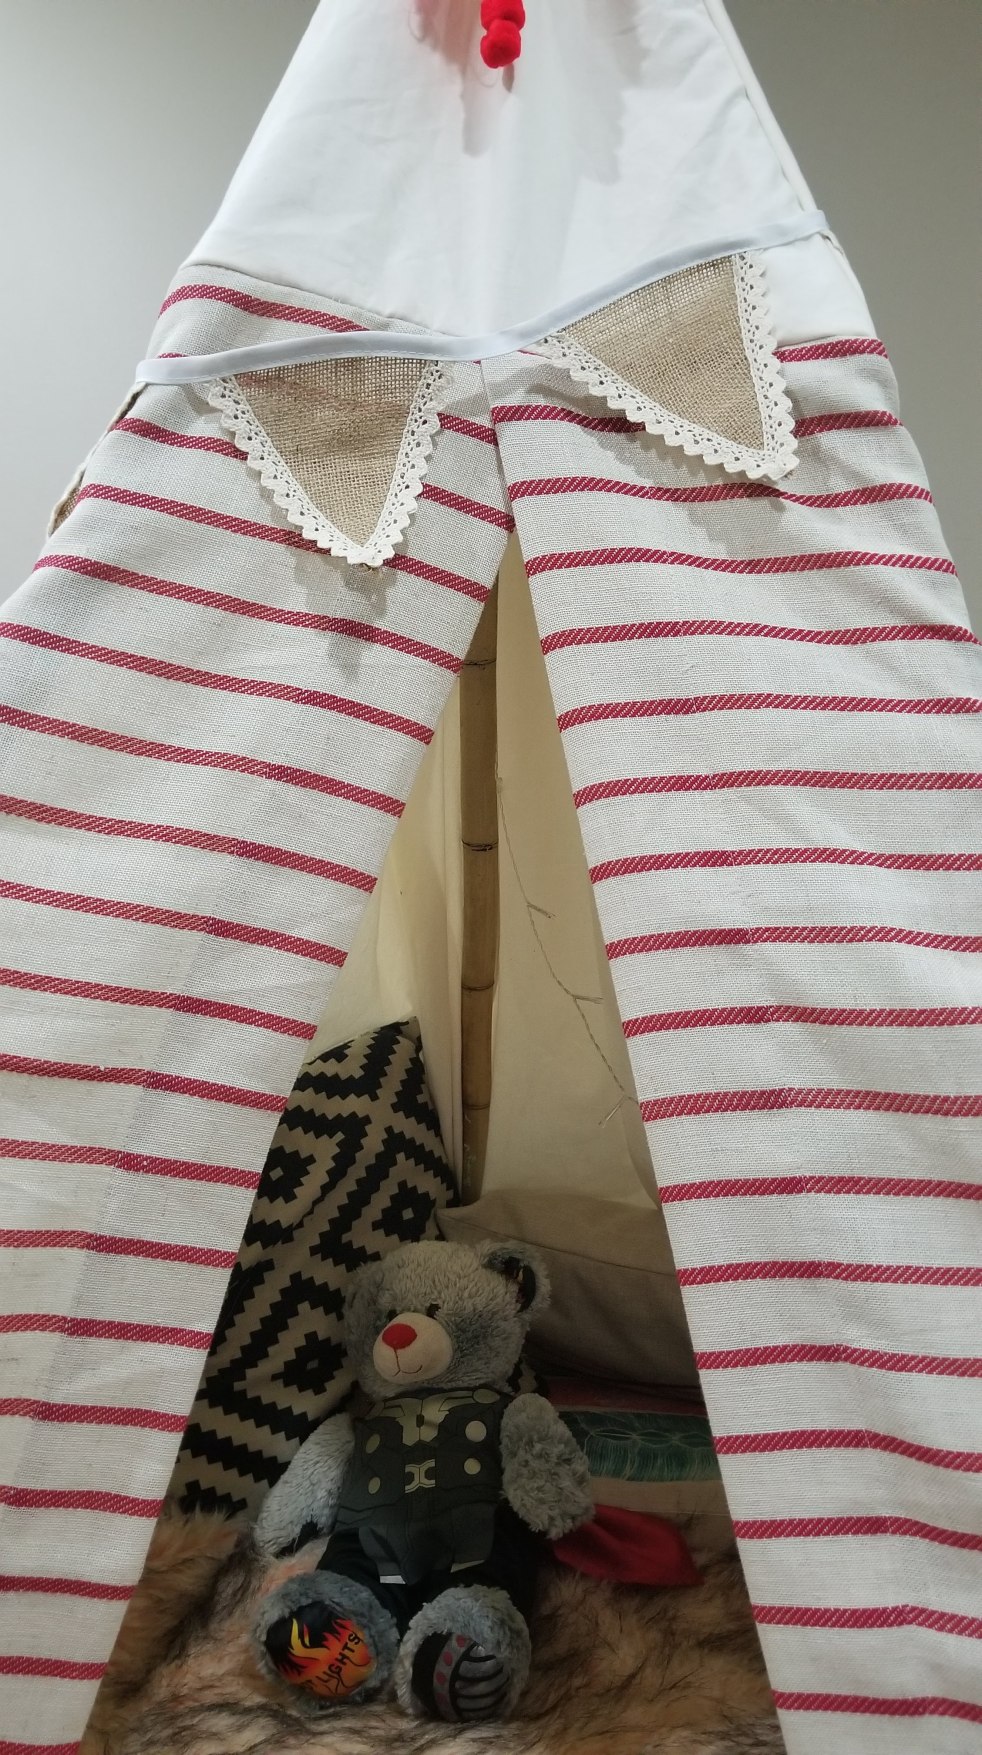
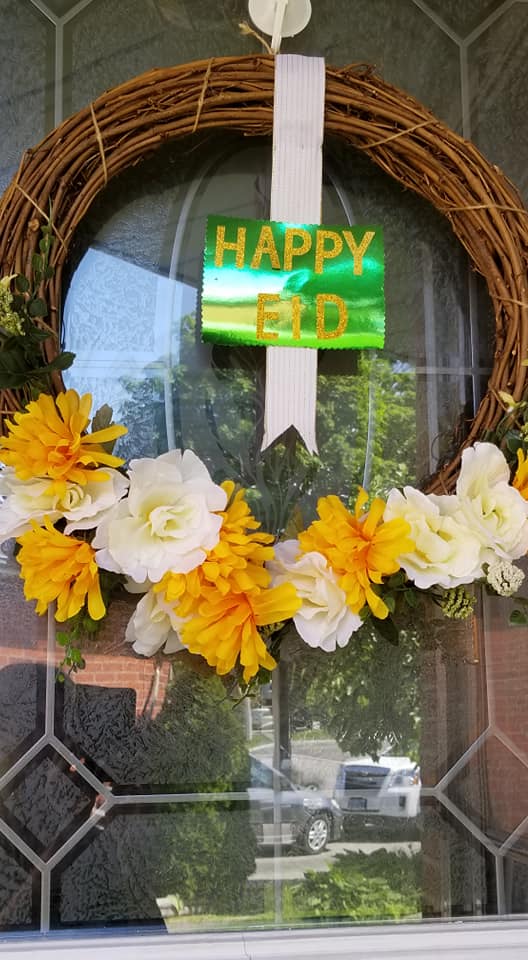
A little more closer look,I made it double sided to make it more customized.I love it and it perfectly matches with my decor.

If You want a tutorial,Follow me on instagram I am gonna post some videos on my stories

20190507_173021

It super easy and so chic..Hay na?Give it a try.

20190507_173147

Let me know what  You want me more to post?A recipe or a DIY or some stuff that I got from Pakistan.I wanna hear You all..!!


Home Decor / DIY

DIY Body Pillow

Let’s do a little DIY that doesn’t break your bank, and looks so elegant. I made this body pillow from a rug I got from the clearance section from Home sense and made it under $10.

20180830_164840

I hand stitched it and super easy to make, need some basic sewing skills and voila, It make your bed more comfortable, cozy and complete.

you will need!

20180808_145128.jpg

  • Any soft rug
  • upholstery cotton thread
  • Heavy duty needle
  • Cotton Filling

20180831_121836

I made this draft to explain to you, follow the dotted line and use the cross stitch method or whatever you like with a heavy-duty needle and thick embroidery thread.

42325014_10156369803945791_8174429134978547712_n
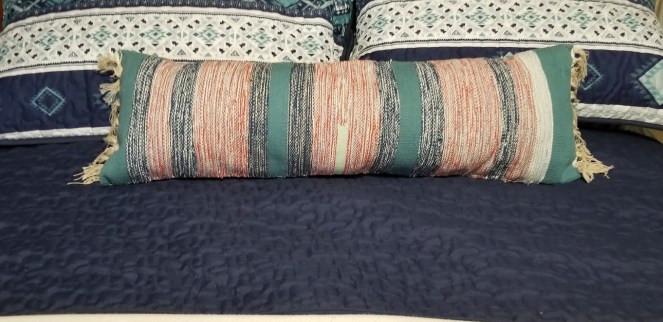
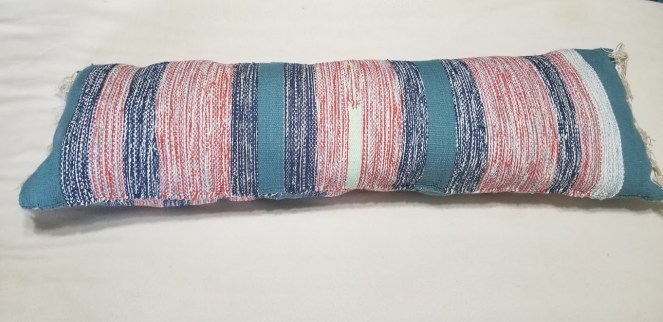
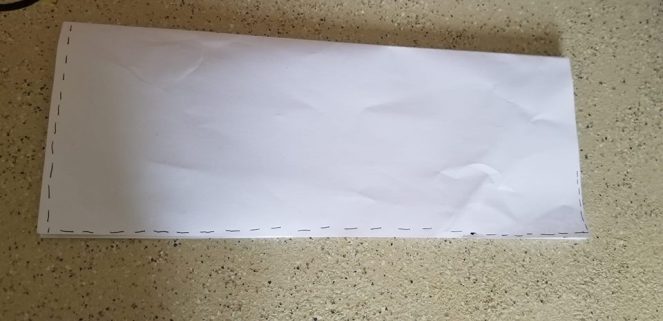
Fold the rug in half and stitch all the three side and leave one side a bit open to fill the cotton filling. You can use a sewing machine but I preferred hand stitching.

20180831_121852

Its super easy and took only a couple of hours to make it, so if you find a cheap rug grab it quickly! You can check A DIY Lumber Pillow I made earlier.


Home Decor / DIY

DIY Kid’s Teepee

20180802_142343

Making a tent out of sofa cushions is one of the favourite things to do when my kids home. I often made a temporary tent with a sheet and pair of chair and Bilal loved spending hours inside. When I saw some DIY tents and Teepee tutorials on Pinterest and YouTube, I thought I should give a try just because I knew that whatever come after he will play inside happily.

20180802_143743

A not-so-perfect teepee but it’s surely a worth sharing project with you guys. I posted some stories on my Instagram while I was making it so let’s have a look my not-so-perfect Teepee(I will surely give another try but it’s literally a pain in a bum and a time taking project). Lots of stitching and measurement required with some sewing skills.

20180802_142444

I will share tutorial later just because I can’t keep you guys waiting, who asked me about the project follow-up plus I was so excited to show you guys the end result. Isn’t it cute?

20180802_143701.jpg

This is an outdoor/indoor TeePee/Tent and portable but does need little bit assembling every time I move. I put some blankets and cushion to make it more cozy and comfy.

20180802_145029

Not only my little one but the two elder kids love to hang out for hours too. I also add some battery operated LED light string and some DIY banner and garland (feather).

20180802_143800

I tried my best to take some decent pictures with a super excited kid. I need some paperwork before I post a tutorial so if you have any queries just let me know.

Home Decor / DIY

Green Lamps Make Over

Thank You So much, Everyone!!… I didn’t know I will get so many compliments and kind words on my yesterday’s post Here.

36941125_10156206592435791_3872775747424747520_n
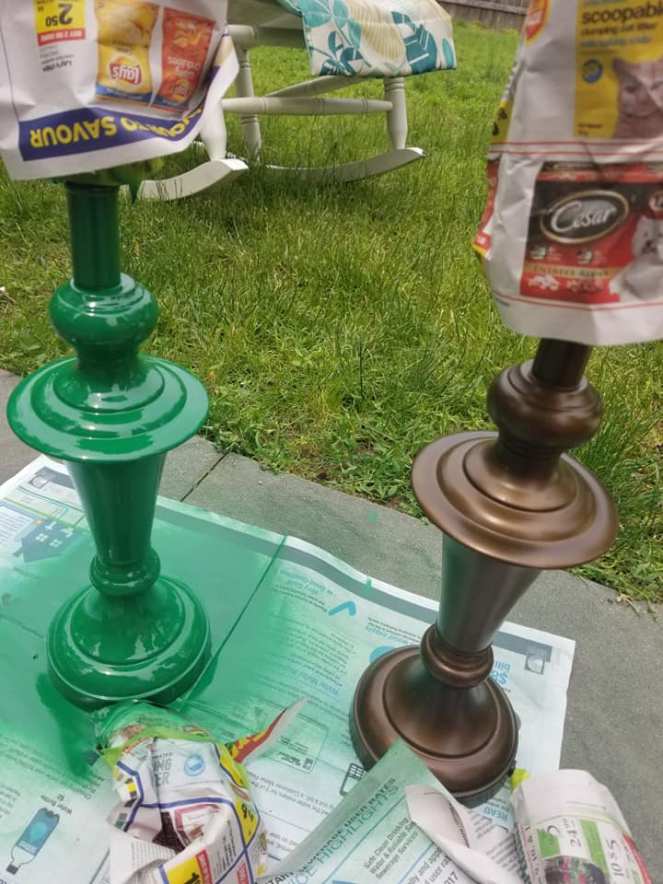
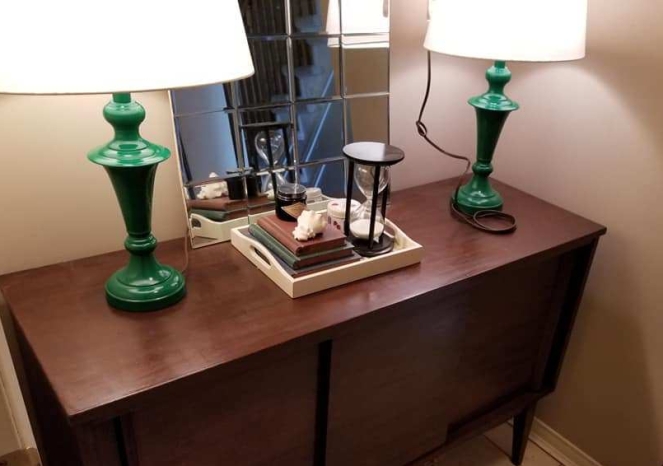
As I promised I am here to share a fun makeover (sooner is better for me). I scored these lamp base from online bidding site and if I am not wrong, I paid just $10 for the set(Not Bad At All ).

37028739_10156209770845791_2605336430293024768_n

I put my bid just because I loved the shape but unexpectedly the condition of the lamps was good. I  liked the bronze colour but didn’t match with my decor at all. I wanted to do a fun makeover that instantly pop up the space.

37102559_10156208669345791_129714884286873600_n
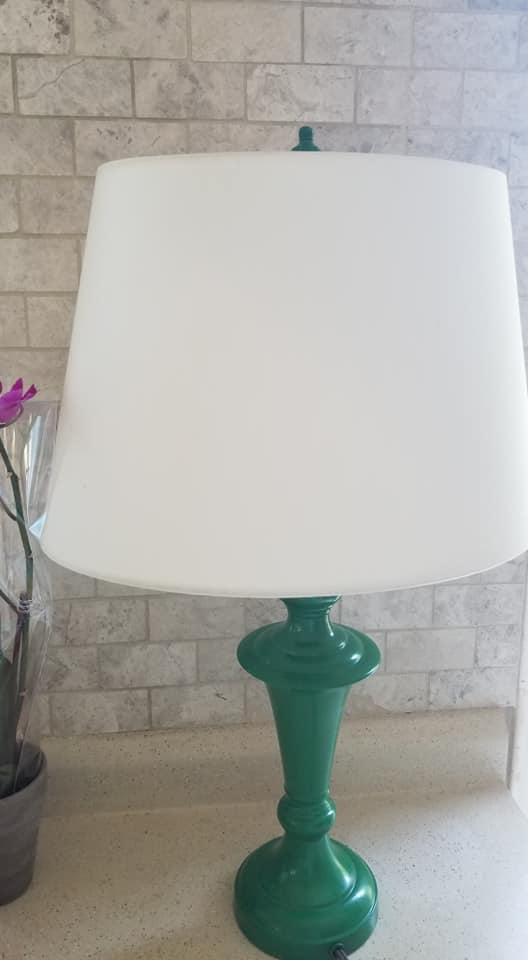
This is the only before picture I have, it had little rust on the lower part but overall it was in great shape. I wanted a quick makeover and spray paint works great especially on metal but let me share some basic tips before paint any piece.

  • Clean  (wood/metal) with wipes or glass cleaners, remove all dirt and grime.
  • Lightly sand with fine grade sandpaper.
  • Wipe off again.

37069503_10156208669415791_6849709599956664320_n

I love spray paint because it gives instant results. I used Rust-oleum Painter’s Touch in “Meadow Green” in the gloss finish. It has primer so I didn’t use any primer before starting to use spray paint. Always try to use spray paint in the well-ventilated area, cover the area with old papers or sheet. Tape the cord and lamp kit (the area you don’t want to paint)with painter tape and paper.

37102559_10156208669345791_129714884286873600_n

Shake well the paint can and hold it and start painting from 10 cm away from the surface. It will give maximum coverage if you use too close it will give paint drips. Wait between each coat and give multiple coats as needed. I  waited at least 2 hours between the coats and gave three coat and left overnight after a final coat.

37059043_10156209770800791_1563257543285800960_n

I love spray paint and it perfect for someone Be-sabra like me who wants instant results. I always use spray paint for small projects, especially on metals. It gives a smooth shiny coverage since it has a gloss finish.


37121538_10156209770770791_4421234700232687616_n
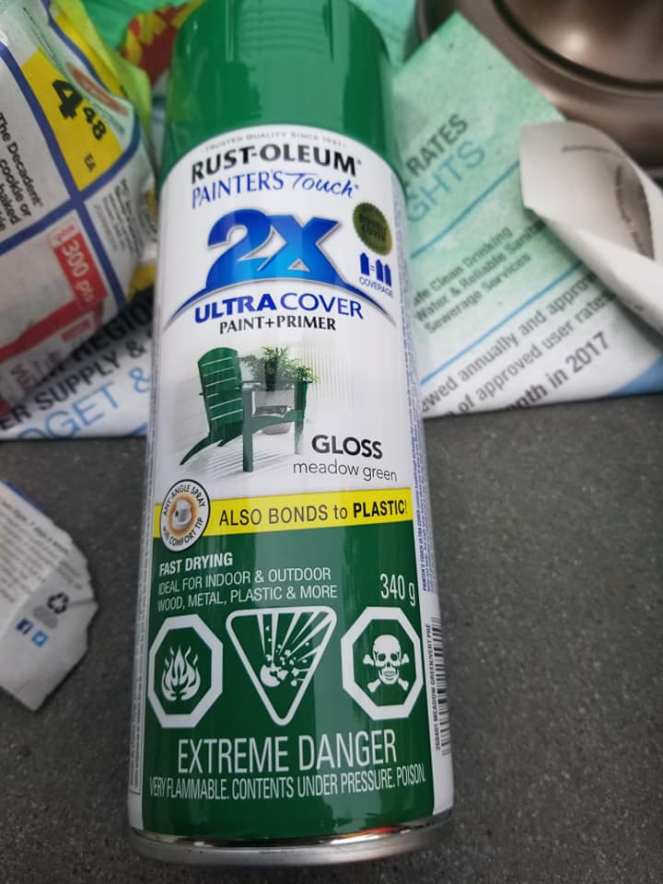
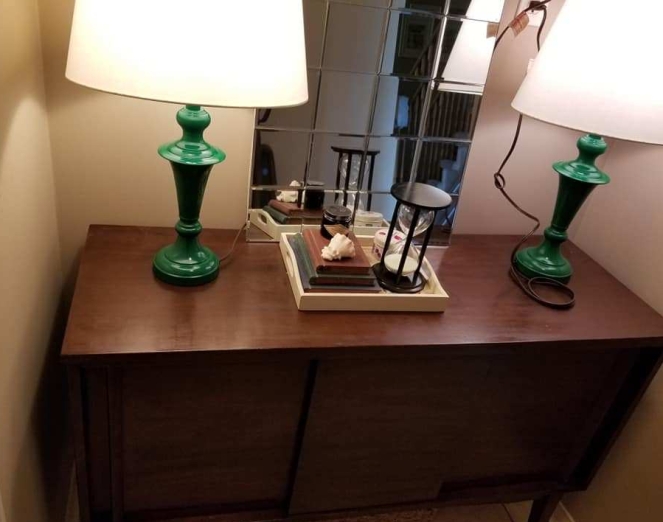
I love the final look after I turn them on. The shades are also scored from the Wal-Mart Clearance section and marked down 50%. Yes, many of you asked me how did I get such cool piece for few bucks, will share my Budget/ Thrifty scores and tips soon….It is an addiction and I am literally addicted!!


Home Decor / DIY · life style

Pottery Barn Inspired Mirror (DIY)

36929122_10156205303745791_3604749880980930560_nSome of you probably know I am a DIY addicted. I get inspired by taking window shopping(without kids obviously) around home decor stores like Pier 1 Imports, Home Sense and Pottery Barn, but their price tags sometimes give me a mini heart attack.

screenshot_20180711-123522_chrome

I just love these “Eagan Multipanel Mirrors “available at PB website but their price range is $400 -$ 1000+, depending on the size and style. I would never ever pay this much for a mirror(even won’t accept it as a gift) that only for decor purpose. I know people buy such things at this super expensive price-tag and I don’t have any issues (with other people) but when I can make a similar version(not exactly obviously)which make me happier then why would I  be breaking my bank?

(SO sorry for bad pictures just because I made this last year and captured all pictures from my Tablet).

20170516_120924.jpg

This is one of the projects that I loved more than original inspiration after it is done. I spent around $50 for this DIY.

BaseBoard: I got from Home Depot

Bevelled Mirror/Candle Plates: 25-30 (depending upon size) I bought from Dollar Store, You can find similar at Any craft store or Walmart.

Industrial Grade adhesive: I prefer E-6000 over Gorilla glue.

Cut the baseboard  the desired size i.e 20*25, I measure the size by putting mirrors on the base and trim the excess wood off. I put four mirrors on each horizontal row and set mirrors in five vertical rows.

36943080_10156205303490791_2708281741201637376_n(1)

Use E-6000 on the back of each mirror and carefully glued it to the base. Leave it overnight put some weight ( but not very heavy that breaks the mirror), I used the mild weight like plant pots, some wooden light-weight items

37062146_10156205303375791_432167829890924544_n
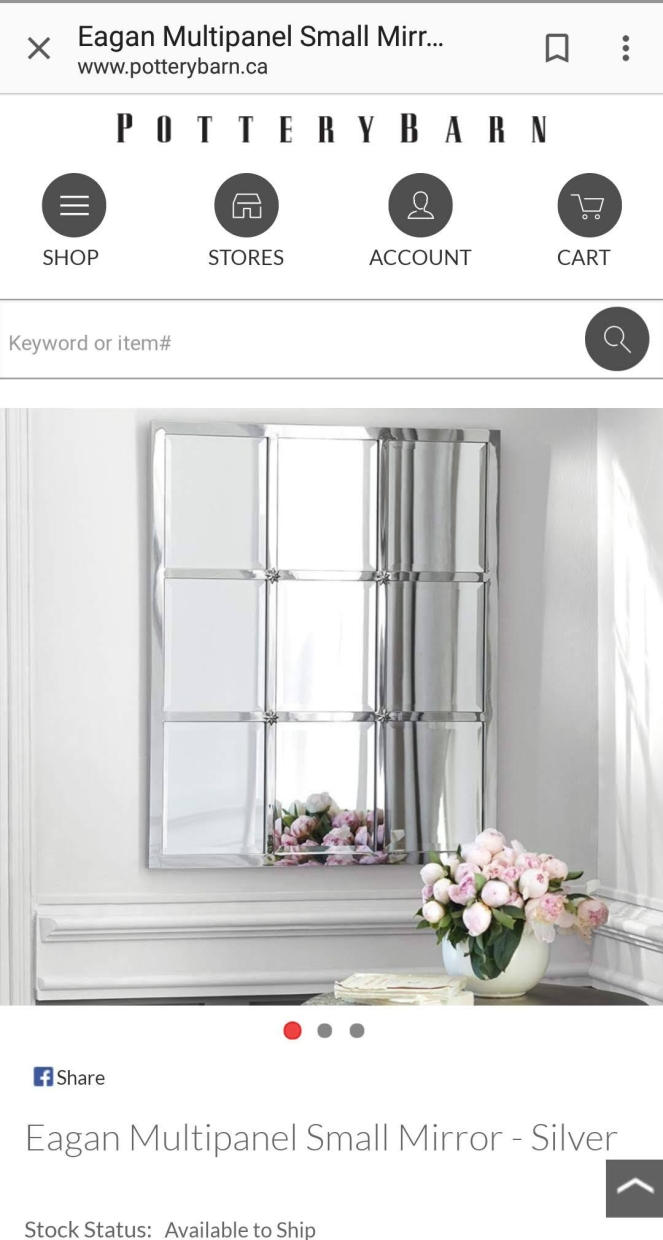
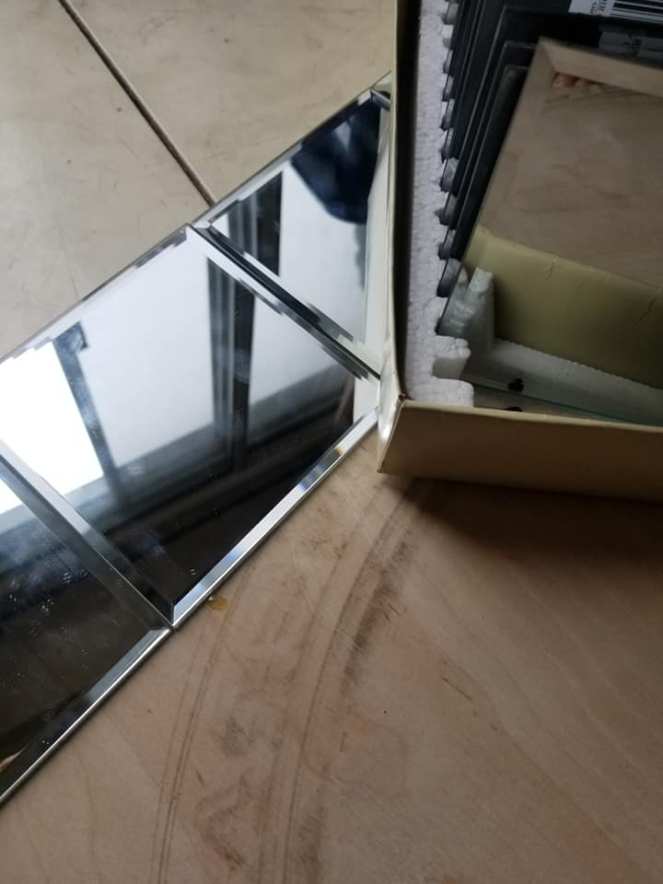
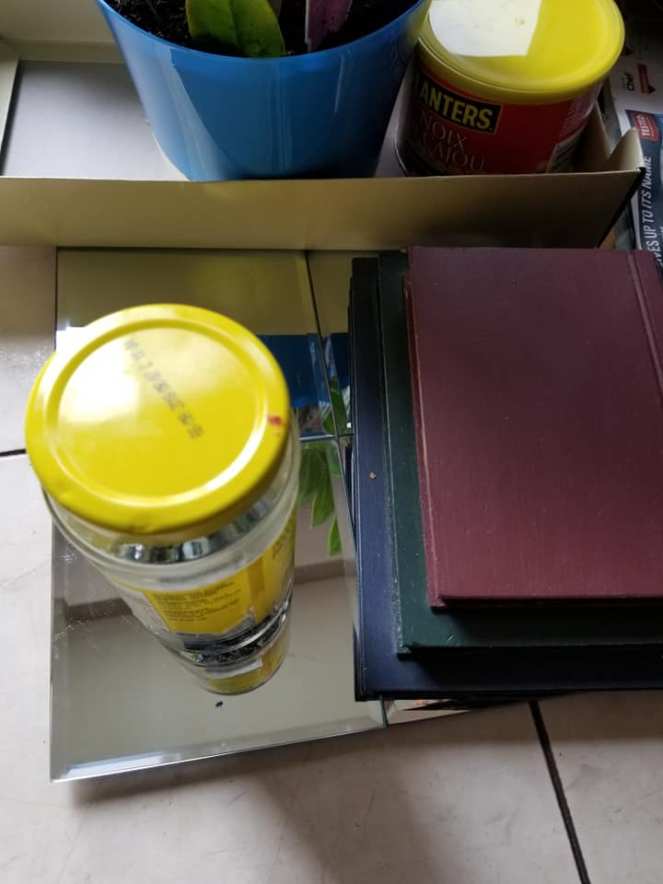
If you like you can use the back of any large frame but make sure the baseboard/frame has to be thick enough to hold the weight of mirrors. (You just need to be sure what are you using since mirror has weight but on other hand, are delicate to handle, can be broken easily.)

screenshot_20180712-005643_gallery

Isn’t it so easy? I put this beauty on my server which stores all my dinnerware and dishes. I will make another one soon for my basement (needs a makeover) but a different version for sure.

36941125_10156206592435791_3872775747424747520_n

You can either hang on the wall or even use it like me, it is beautiful, isn’t it? I got so many compliments from my guests. I even stained this second-hand MCM server/buffet (I love this piece of furniture) and painted these cool green lamps, both are garage sale/online auctions finds. Want to know the detail of this makeover??

36929122_10156205303745791_3604749880980930560_nIf I tell you that everything on this server is either I painted or my thrift/garage sale find. don’t ask me the price, it will give you a real shock..lol…want to know more just let me know…;-)


Home Decor / DIY

DIY Pom-Pom BookMarks

20180626_150012

If You are a book reader and love colours then join me in the five-minute craft challenge. A DIY, you can try with your kids and have some fun by giving this book tag to your favourite person or your (Bookworm)Friend.

20180629_004948.jpg

I made this cute book tags/marks and it takes hardly 5 minutes. You need a pom-pom (I bought some from Michael’s), paper clips and a hot glue gun.

20180626_142412

I have a crush on rose gold nowadays and I bought rose gold paper clips from “Urban Planet”, you can use any type, size or colour that’s easily available craft stores or dollar stores.

20180626_1433411

All you need to do is, hot glue your pom-pom on the paperclip and make sure the clip is upside down. Put a little pressure and leave it to dry for few minutes. I always use rubber pad whenever I used my hot glue gun.

20180627_104935 
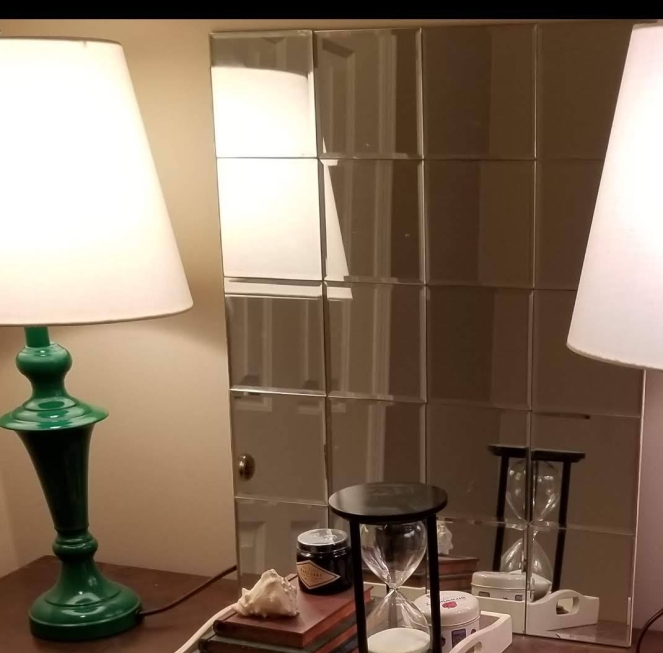
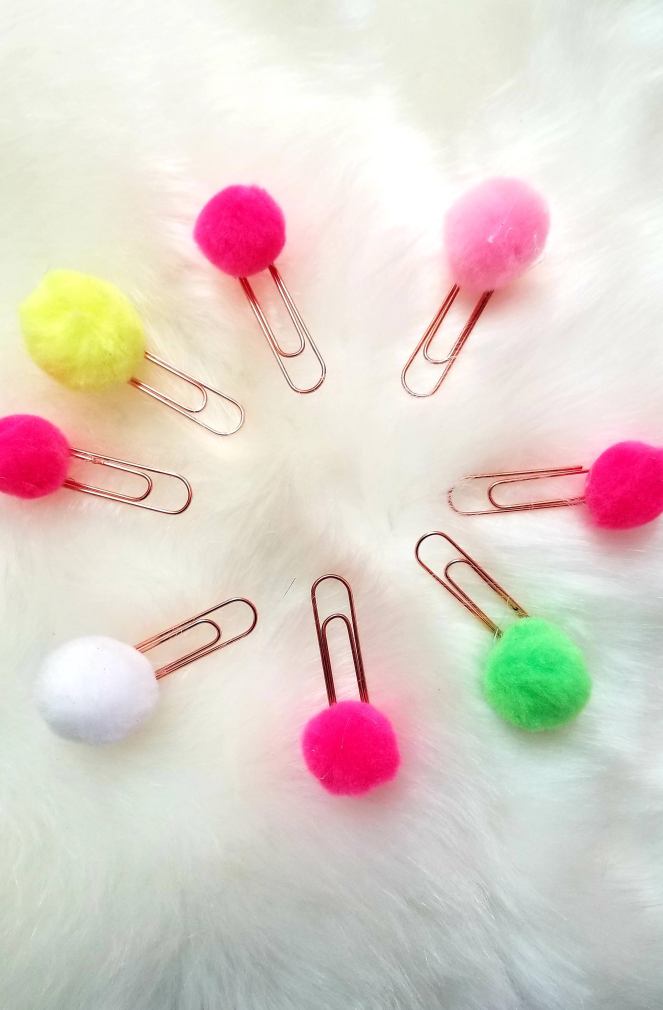
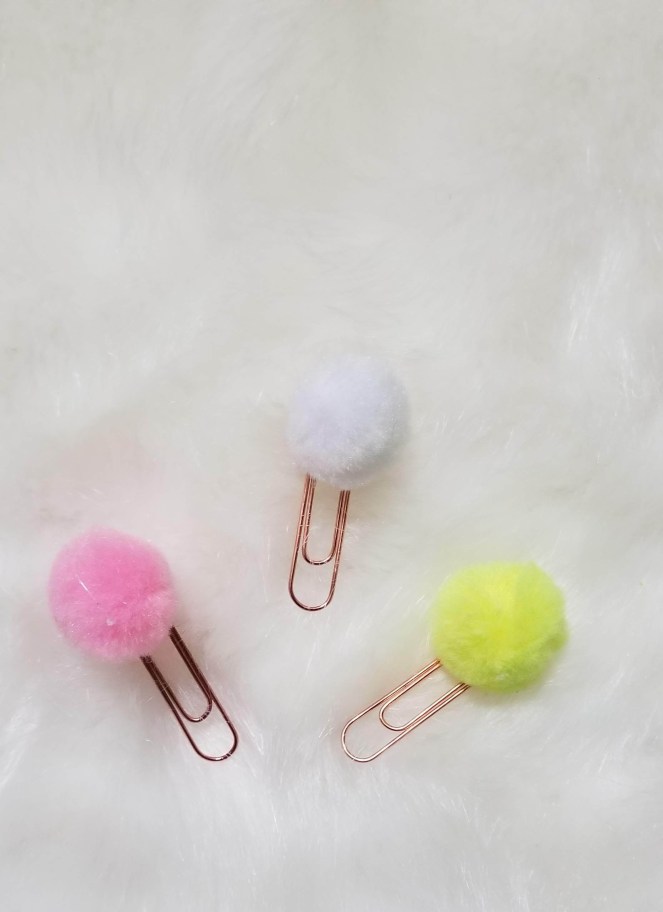
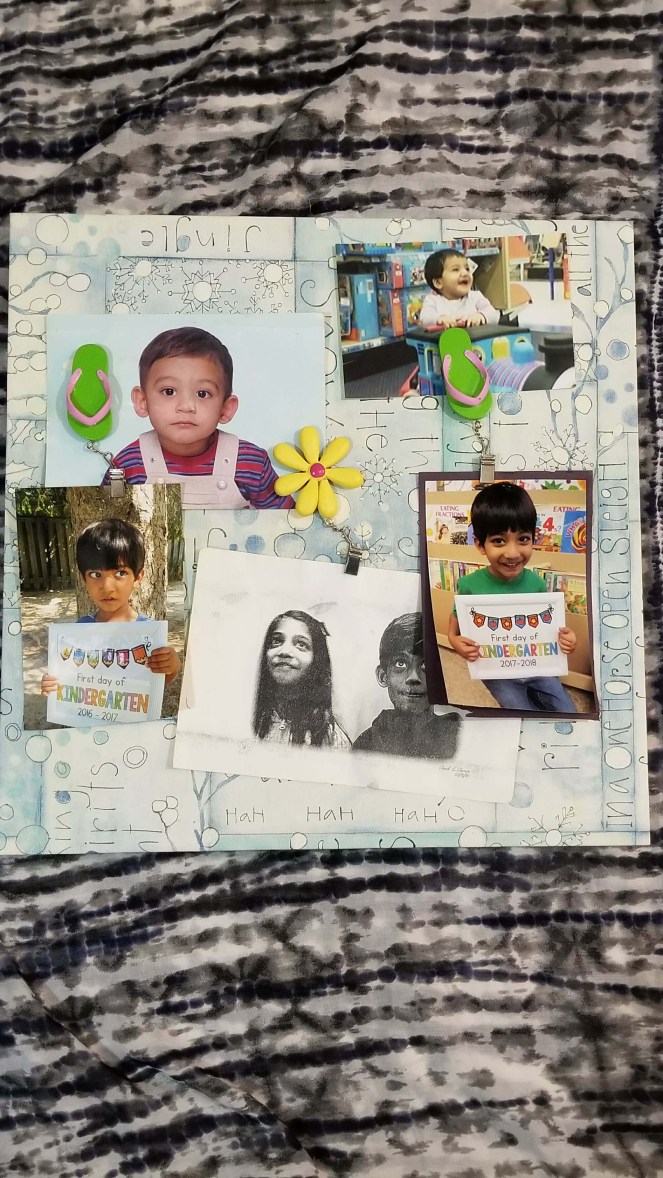
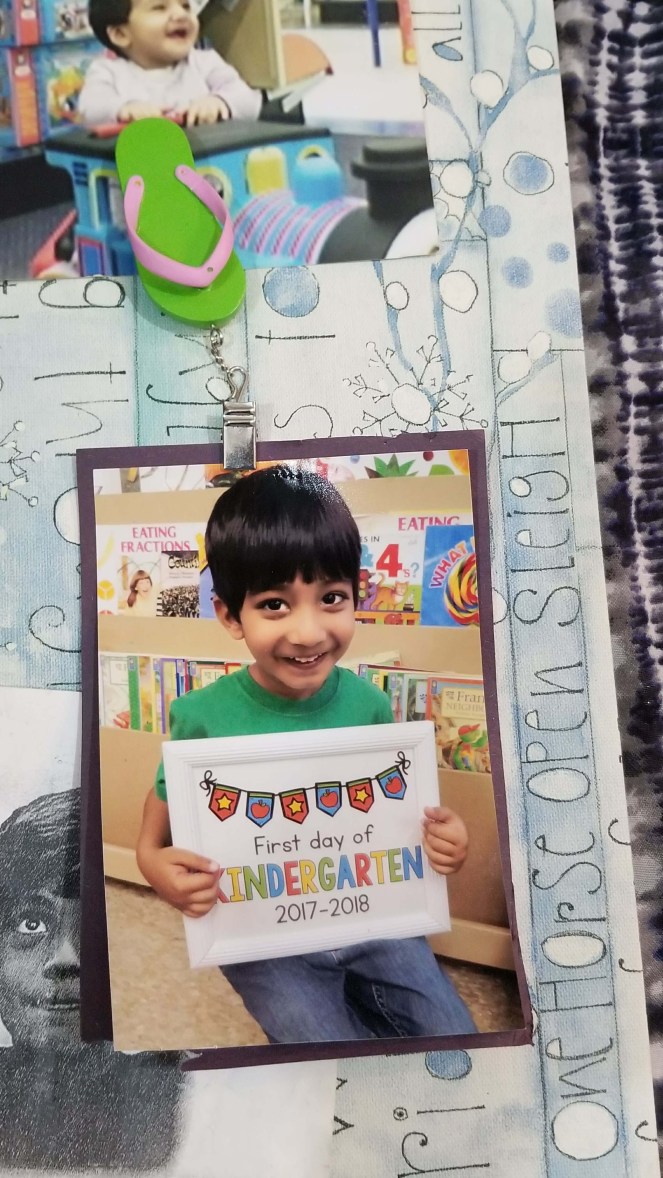
I add this Book tag on the thank you card along with some Homemade Eucalyptus Pink Bath Salt for the year-end teacher’s gift this year.

20180629_005131

I love these tags and made few for myself too…Isn’t it so cute, tag the favourite person you want to share with!!


Home Decor / DIY · life style

DIY Eid Wreath

Eid is less than a week away, Hope the last days go well and we make the maximum benefits of this blessed month of Ramadan. I already start missing Ramadan but we are also excited for Eid, although we don’t have Eid holidays as such(like back home) but will be going to get a day off that will proceed to the long weekend if it’s on Friday.

Preparing for Eid is so much fun, I already shopped for Eid dresses and jewellery. Along with that, I do some extra to make the day more special.

34743667_10156128268875791_7273060982975365120_n.jpg

I always decorate my home with fairy lights, banners and garland but this time I wanted to make a wreath for my front door and I am happy to share this DIY with you. I made it under $15 and mostly dollar store items.

34838315_10156128269050791_8358254843348910080_n

SUPPLIES:

Any basic Wreath I bought this from Wal-Mart for $5.(dollar store has some similar ones and also wire/foam)

Artificial Flowers (of your choice)

Ribbon.

Scissors.

Alphabet Stickers and poster board.

(I bought some stuff as shown in the picture that I didn’t use at all )

34731826_10156128269110791_9214436189891723264_n

I didn’t follow any rule, just start from the right side, I used the floral twines and then start inserting the orange and white flowers. I simply twisted the flower wire and make it secure at the back. I didn’t use any extra cord or wire, you may need if you use the wire ones.

34701787_10156128269165791_7347770659189030912_n

Fill up the empty space with more flowers and finish it with some branches of orchid and Snapdragon. Try different combination according to your taste and decor.

eid wreath2

I made an Eid greeting sign and hang with ribbon, I used my E-6000 to secure it with the wreath.  I had countless ideas in my mind but I love the simple Eid greeting. I Just cut the card and paste the alphabet stickers.

eid wreath1

I  use a suction hook to hang it with my front door. You can hang an Eid card or wooden sign, or even make any welcome note to greet your guest.

Isn’t it so pretty and affordable…I fall in love with this…I will add fairy lights a night before to make it more festive.

34743667_10156128268875791_7273060982975365120_n


Lots of things going on here, I am going to send Eid gifts/goodies to my kid’s school friends to share the joy and make our Eid occasion more special, will try to share ya…! More posts are hopefully on their way.

so, how you guys doing on your Eid ? have you bought your eid dress etc, do share if you make anything extra to make it more special….share some with me…Happy Eid everyone!!


Home Decor / DIY

Eucalyptus Pink Bath Salt

received_10155808341005791
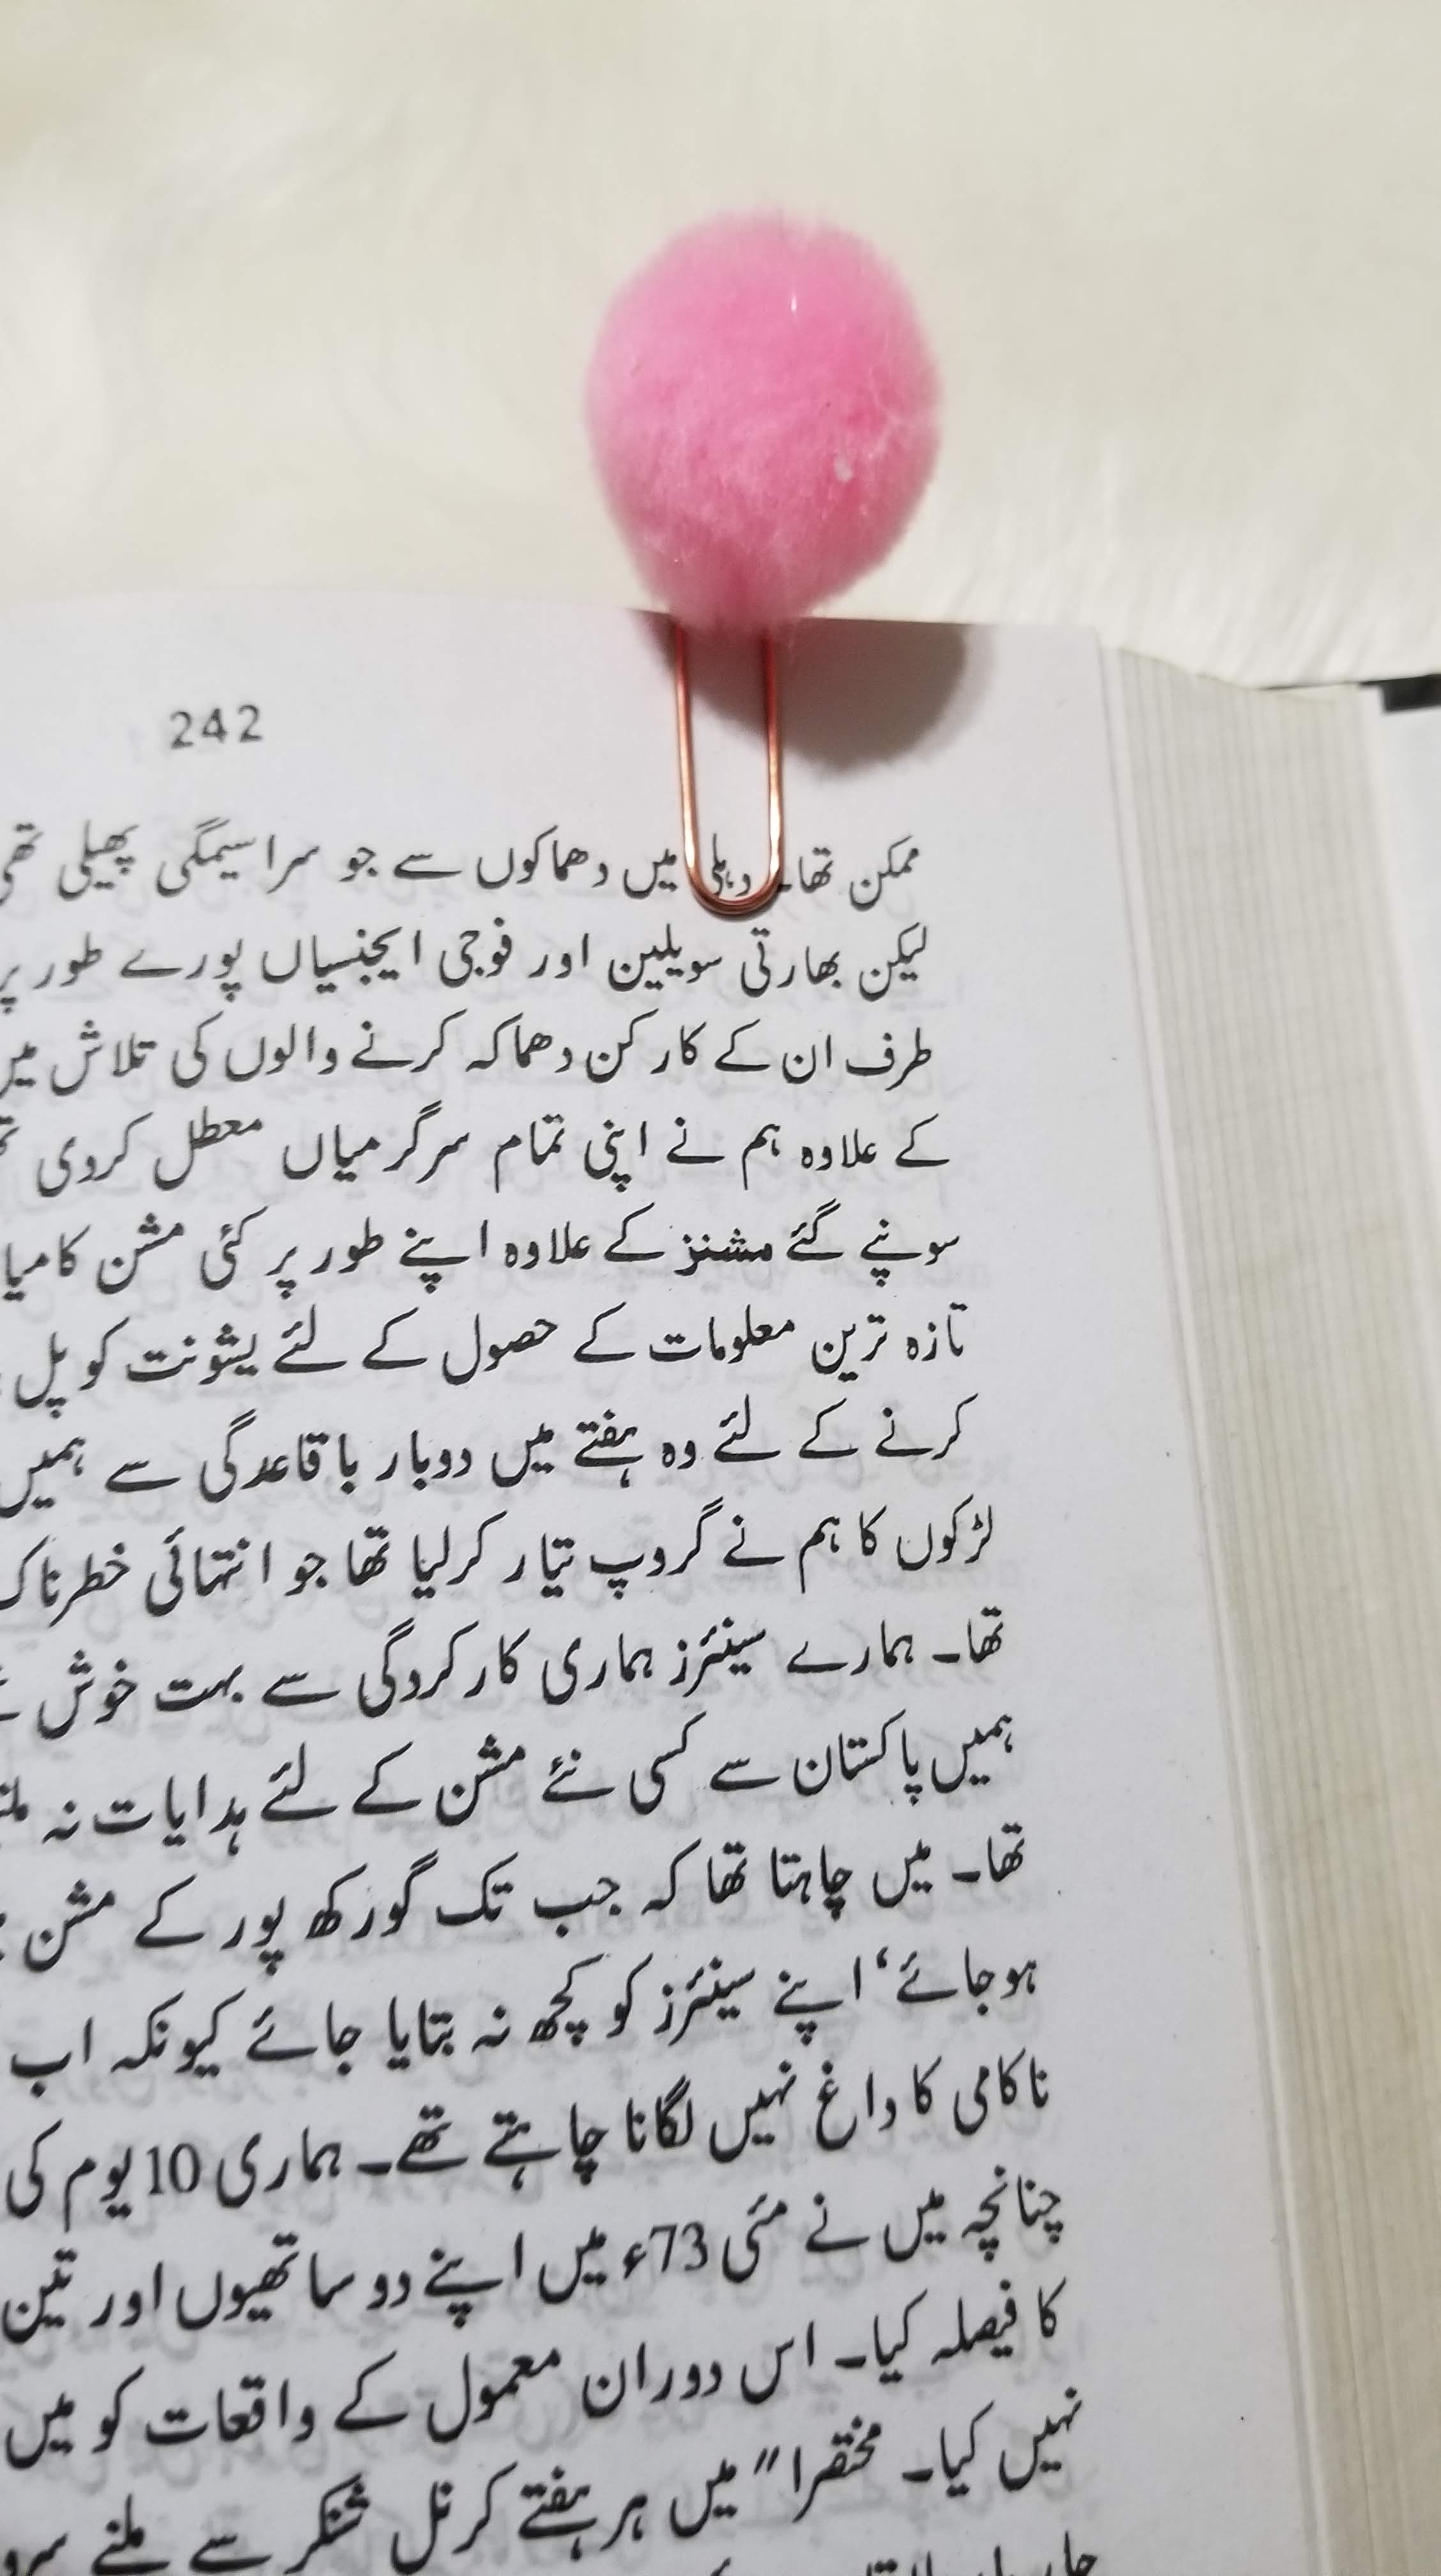
I was running out of DIY  Bath Salt that I made a couple of weeks ago. My whole family  love it, especially during this cold and flu season.This time I tried the Combo of Pink Himalaya Salt and Eucalyptus essential oil.Eucalyptus essential oil is the main ingredient of Vick’s and has exact same Vick’s smell.If you have Flu or sinus than give this DIY Bath salt a try.

Let’s discuss the recipe!!

received_10155808340990791


Pink Himalayan Salt: 1 cup

Epsom Salt: 1 cup

Sea Salt: 1/4 cup

Baking soda:1/2 cup(optional)

Eucalyptus Essential Oil: 10-12 drops

Olive Oil: 2 Tsp

Red Food color: Few drops (optional)

received_10155808351350791

Mix  Pink Himalayan Salt, Epsom salt, Sea Salt and Baking soda together.I hand mixed it or use any spoon.

Add  Eucalyptus essential oil and Olive oil.If you like add few drops of red food color.Mix everything  Well.Store in airtight glass jar or container.

received_10155808340980791

Sprinkle a generous amount of bath salt into warm running water and allow to dissolve.I just love using this recipe especially when I am tired or have back/body pain. It works like a charm and relaxes my muscles and also helps and give a relief in the sinus or flu.

Home Decor / DIY

Homemade Toilet Cleaning Fizzies

blog.jpg
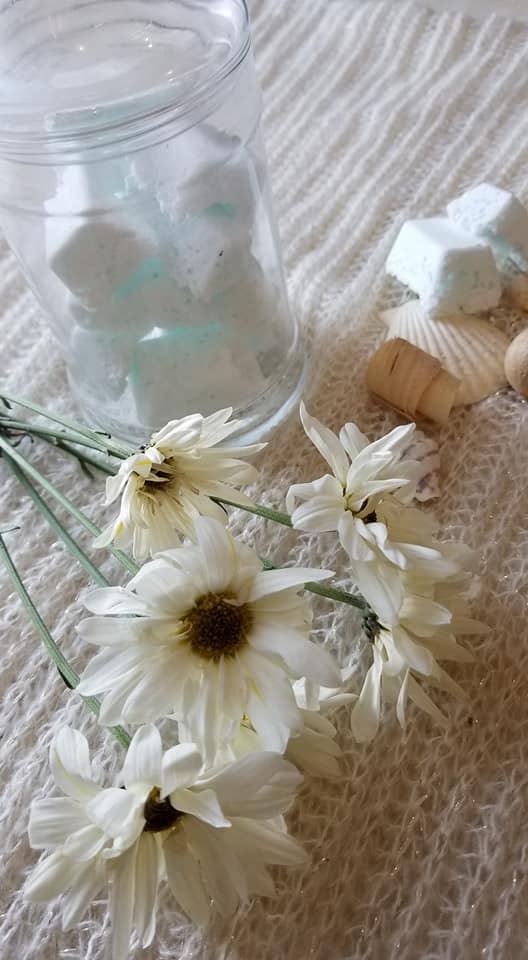
It’s really hard to keep my home clean and tidy all the time with a busy family. I do enjoy cleaning up messes and cooking but toilet cleaning is one of my least favorite chores.I saw many tutorials on Pinterest and online and end up making toilet cleaning tablets with 3 natural ingredients without any harsh chemicals.

20180127_162747

Baking soda:1 cup

Citric Acid:1/2 Cup

Dishwashing Detergent: 2 Tbs

20180127_163707
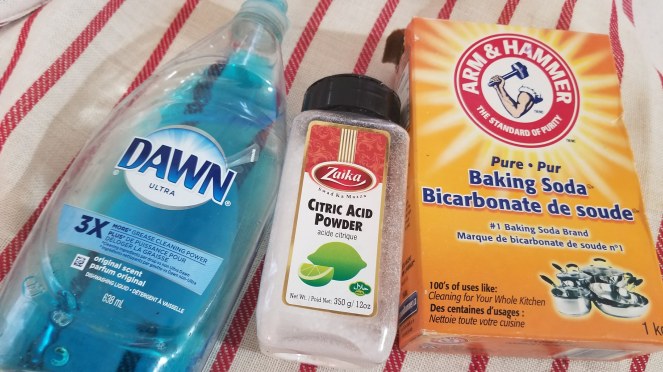
Mix baking soda and citric acid together and remove lumps.

I used my favorite  Dawn detergent and mix it well .combine everything together.

20180127_163927.jpg

Use an ice-cube tray and press the mixture firmly to make a shape of tablet.leave it overnight at room temperature.

27337316_10155798617915791_2298702764149584025_n

I used these tablets mostly at night-time to fizz and disinfect my toilet bowl.Just drop a tablet, let it fizz and flush.It cleans and removes odors.


Home Decor / DIY

DIY Fridge Magnets

27144652_10155770411700791_169898060_o

If you remember I showed this super cute table weights here.Honestly speaking I didn’t buy it for this purpose never intended to use them as table weights.  I just wanted to have them because these are super cute.I thought let be more practical and make a good use of these adorable clips.

20171103_104017

I bought magnets from a craft store and You may find it easily at dollar stores.I used my all-time favorite super glue E-6000. I glued the magnet to my table clips and waited 2 hours.That’s it…Isn’t so simple and easy …doesn’t need any advanced skills!!

20171103_104349

These are super cute and has a clip as well so I could use it on my fridge or magnetic board and hang my pictures with the clip.

27140816_10155770411695791_571674627_o

You can make your very own fridge magnet by using a craft magnet and glue.It’s really fun to have it….isn’t it? I still have some craft magnets left so wait and see what I am going to do with those left overs…yes I love leftover…;-)