Ramadan Mubarak Everyone.
We just had our first Iftar…its pretty long day ,weather is really nice so it’s not that tough for fasting almost 17 hours.People do compliant about fasting hours during summer time but we are blessed we don’t have any major problems like load shading or any sort of shortage of basic needs but days are still really long especially for kids who are fasting especially during their schools.
Apart of these facilities we don’t have that environment ,we have full and regular school and job timings.we “have” to make that environment with religious spirit that I totally miss when I used to live back home Pakistan before I got married.we have to creat that ” Noorani Mahol” (I don’t find that typical or appropriate word rightnow ) since we are living in a non muslim country but we are very much respected by our non muslim fellows and neighbors .They do respect our religion and even help us in anyways.
Today kids were fasting and got bored so I asked them if they want to do some Ramadan decor with me ,so they would get off their eyes from gadgets since it was raining and they can’t go out and play…they are already very excited and I want them to encourage and feel that religious spirit that totally missed here..We went to Dollarma and brought some craft and decor items.

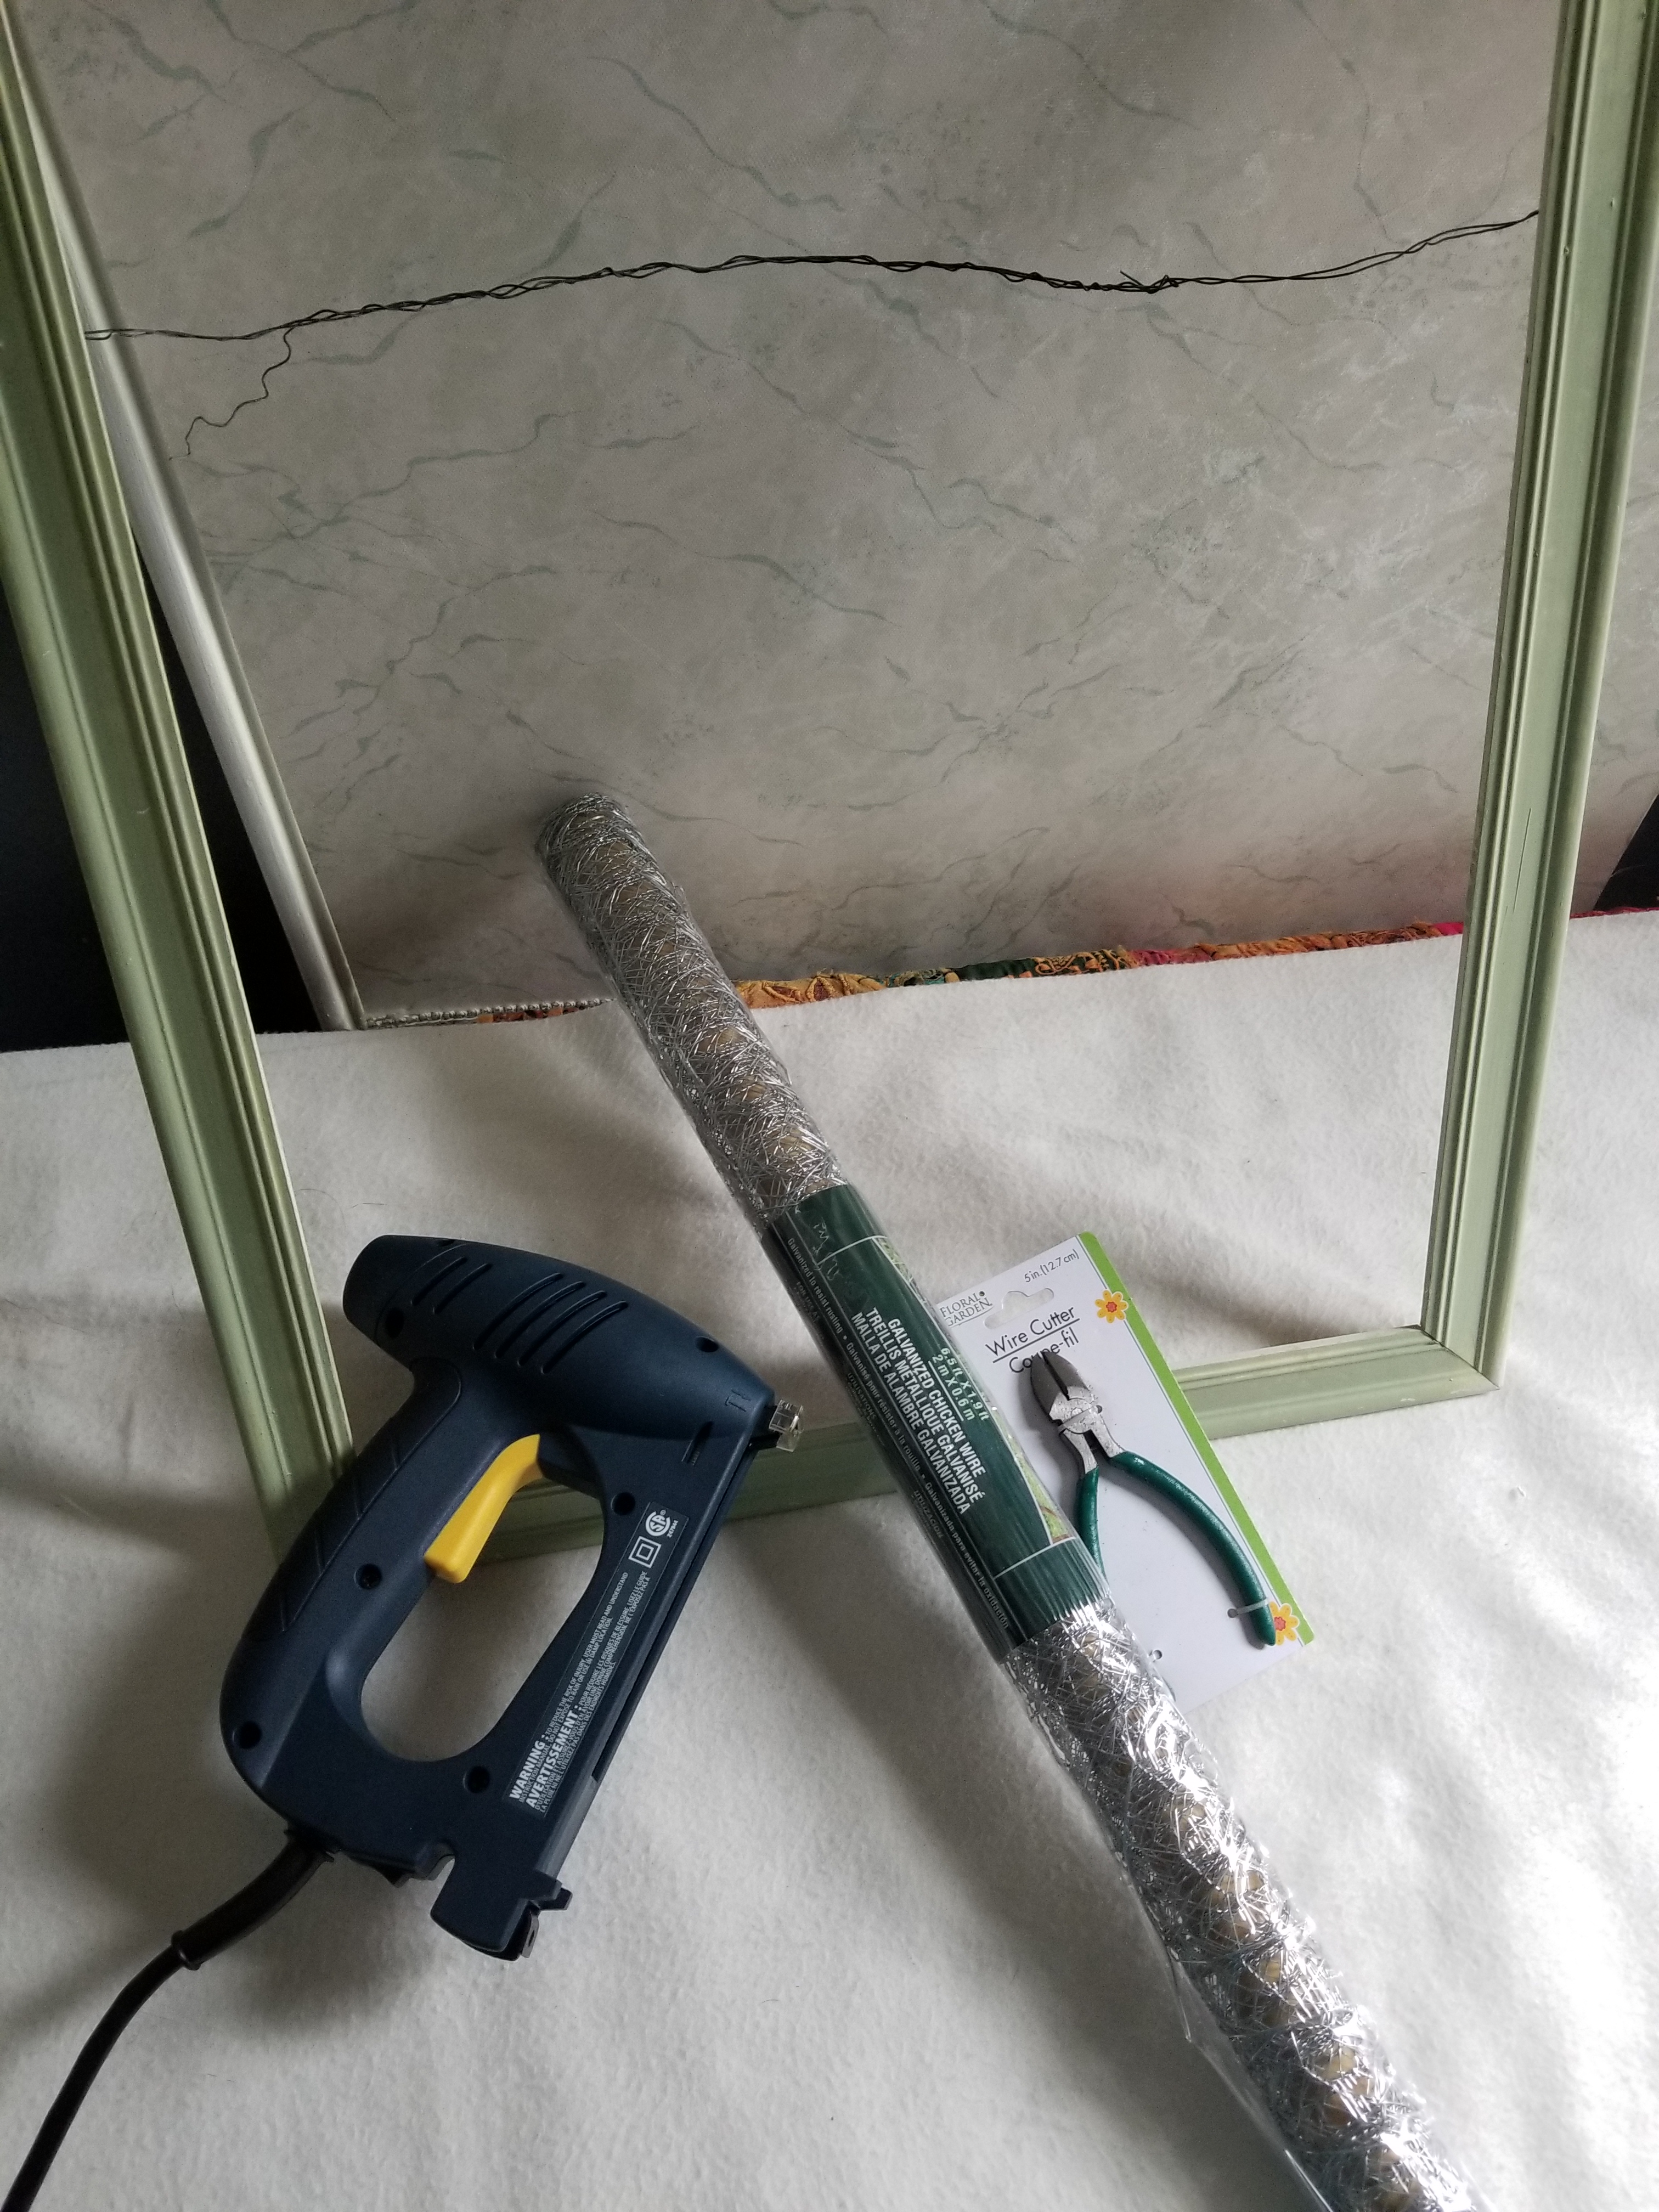
I made a DIY Ramadan banner with kids…..you just need some craft paper ,scissors, glue or self adhesive cards and twine.

Just fold the square shiny paper in half and cut the triangle .I made 13 different colored triangles,for two banners.I used glitter self adhesive card paper and simply cut in different fun shape and stick to the center of your triangles.
 Now write with sharpie or use alphabetical stickers.Arrange them in order and punch holes with puncher.Use twine and hang it up by crossing it through the holes..
 It’s so easy you can make it in less than half an hour.I hang it up in my living room with the help of tape.You can make any banner with same easy procedure for Eid,birthday etc and customize it by using some more fun things like using strings or flowers etc.
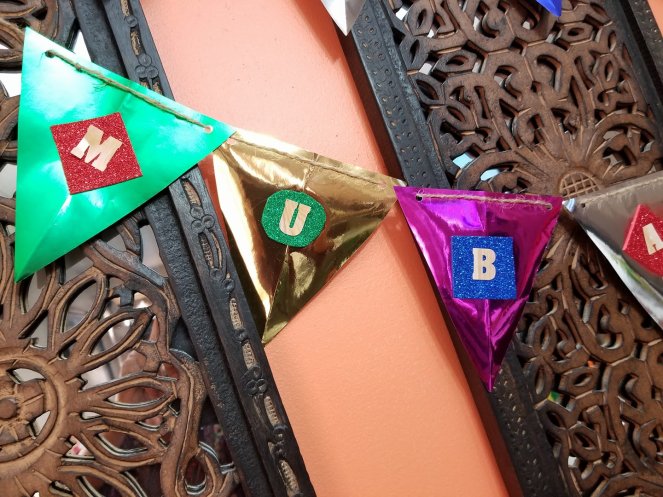

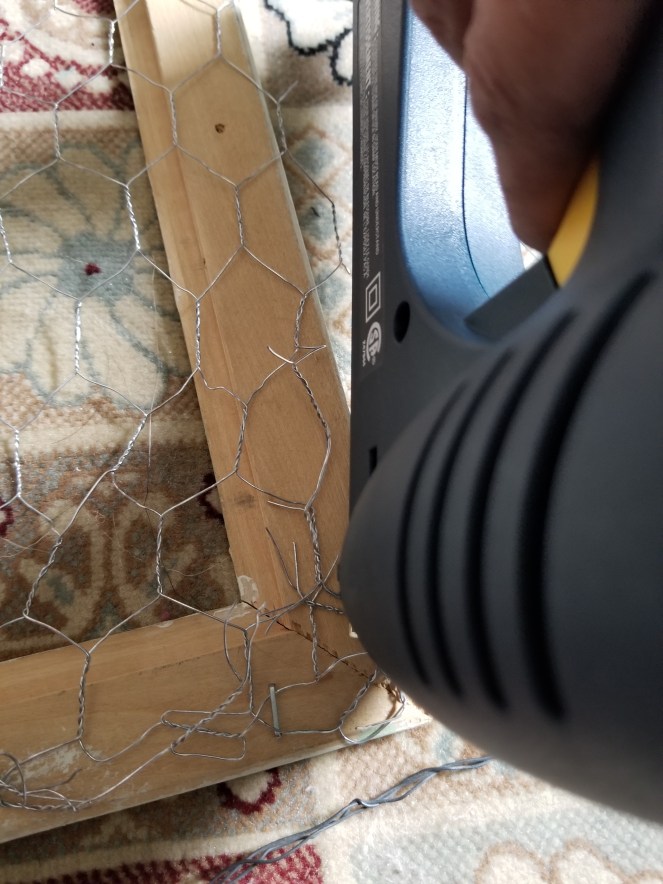 Make sure to twist the sharp edges and staple it down so that kids won’t hurt there tiny finger.
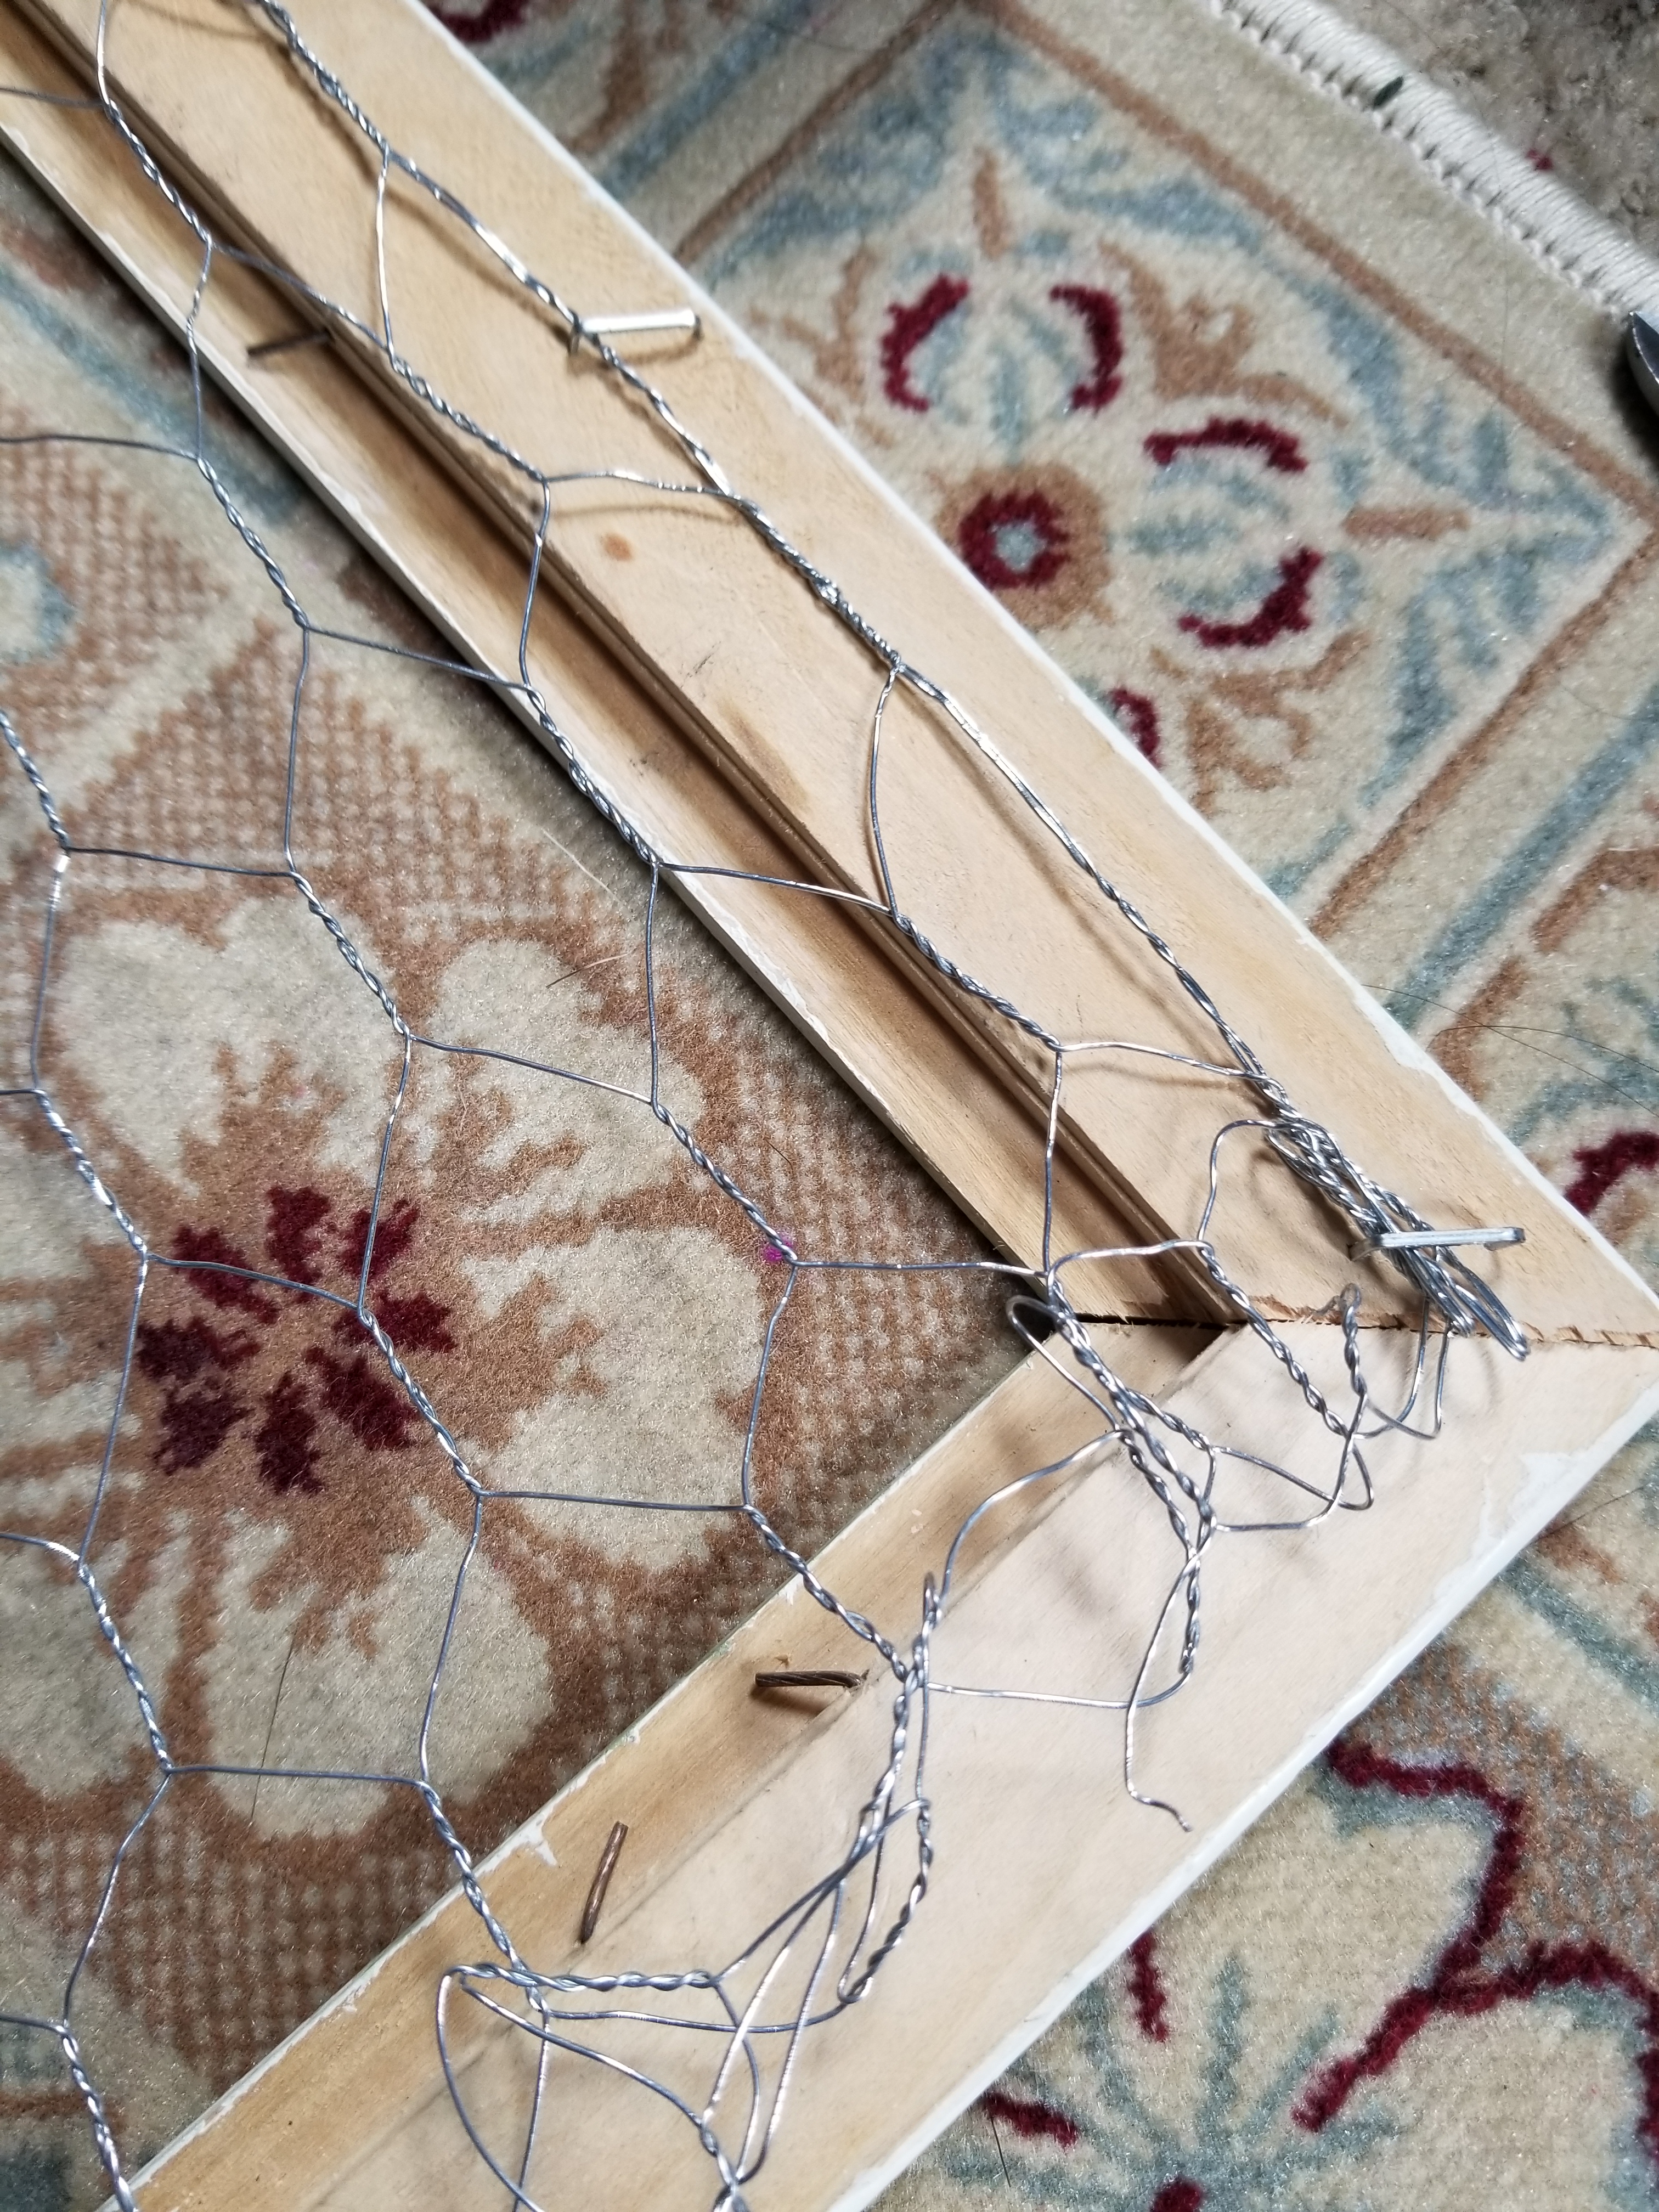

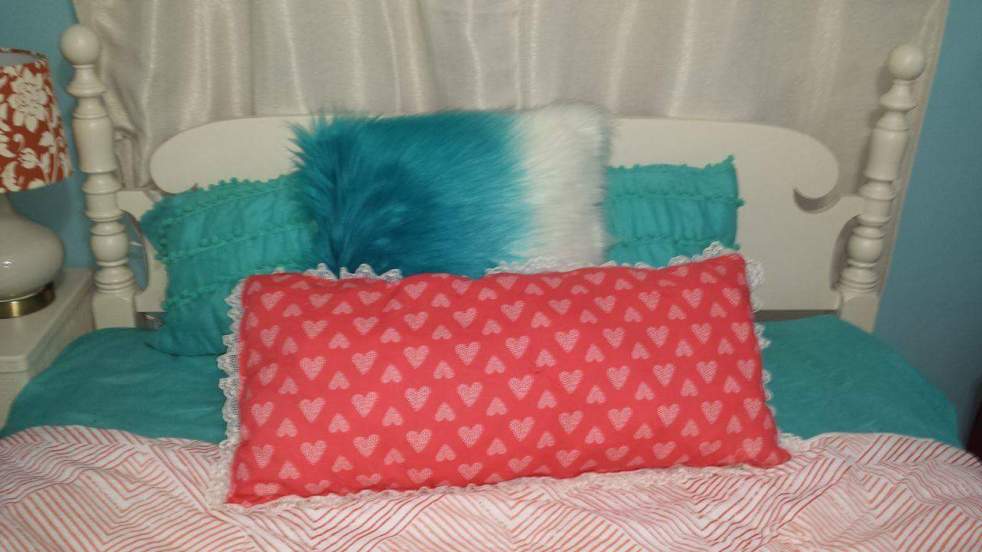
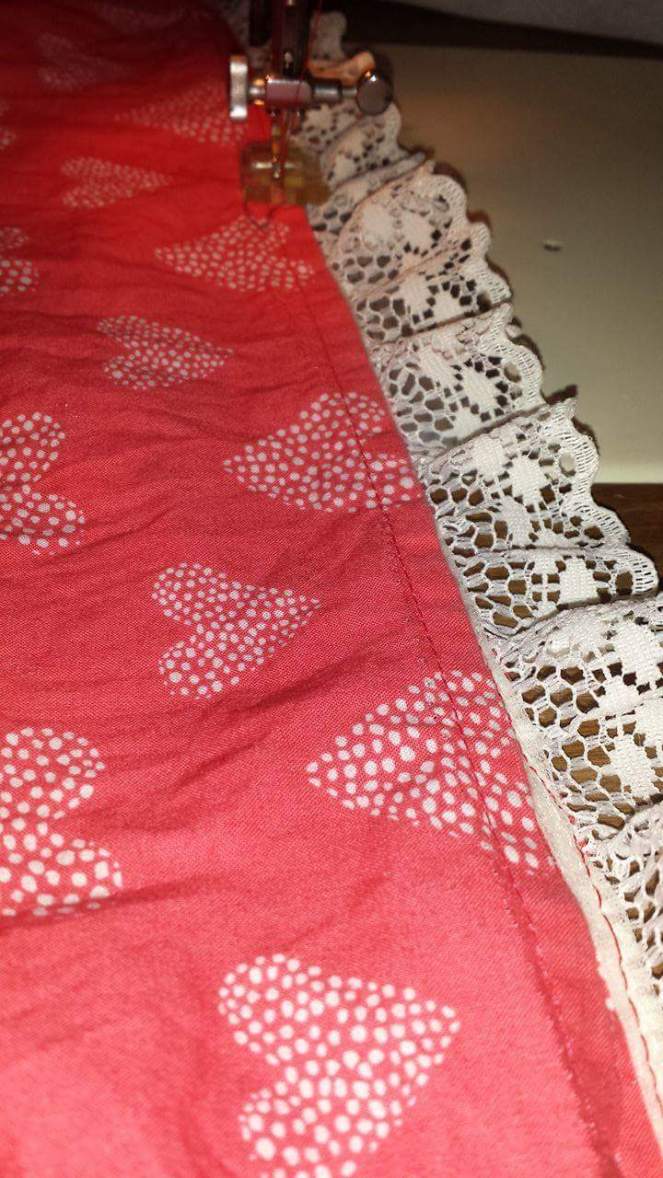
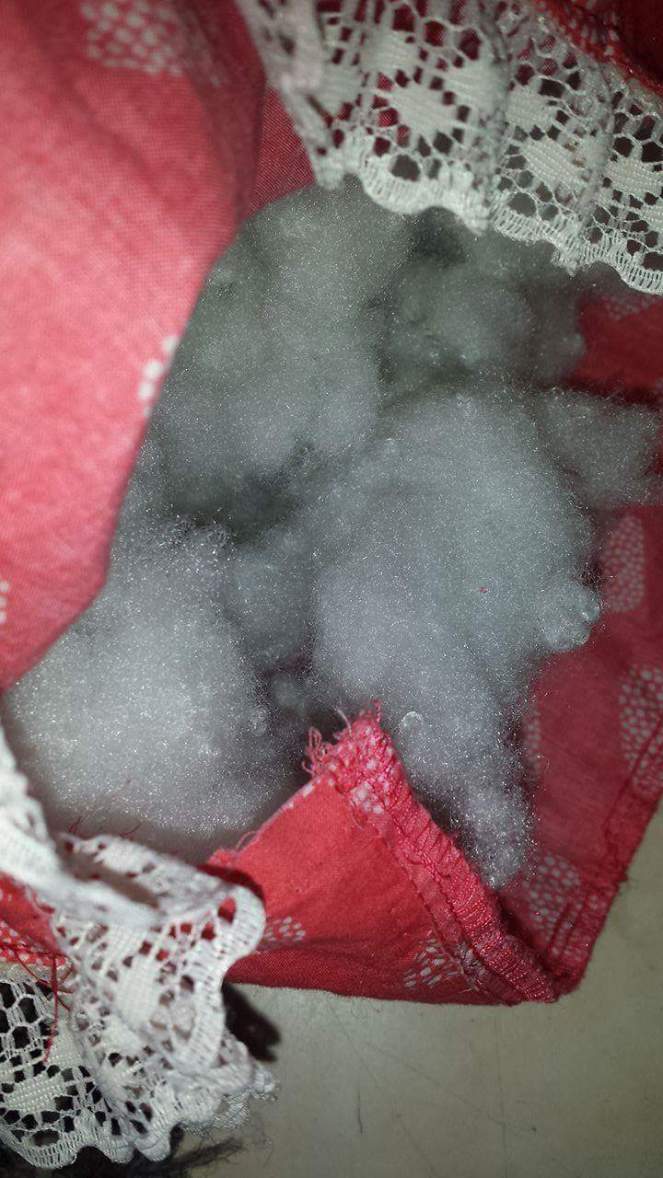
 Her size got change so often,I dont have any one younger (doll )who can use her beautiful dresses and feel some times(often) I spend too much on her clothes and she uses once and a while.I love this dress she got it as a gift from her khala (so its a kind of her sentimental asset )and she only used 2-3 times as its summer dresss and sadly we only have few months to use them.Every year I have tons of their clothes to recycle or donate,try my best not to waste any thing in anyways.I was dressing her bed up and I thought to use different pillows and cushion to make it accent.The lumber or body pillow is longer than average pillow and sleek rectangular in shape.