Home Decor / DIY

Painting My Kitchen Cabinets(Final Steps)

Hi There,

Updating furniture or especially cabinets need so much details but Kitchen is kind of high traffic area,stain and grime are part of it.I wanted something that is easy to use,stain resistant and yes Affordable and last but not least…Long lasting results!!

Benjamin Moore has all qualities i was looking for…it doesnt need top coat because it is especially designed for cabinets but it definitely needs sanding and a good primer.I explained sanding before here Painting My Kitchen Cabinets (Step 1)

..Let’s start about step 2,after prepare surface i.e,sanding now you need to prime your surafce.I choose water based primer Zinsser 123 Bull Eye ,it is one of the best primer I have ever used.You can use any water based primer.received_10155189874490791.jpeg

I was painting my pine cabinet so I did two coats of primers.I applied primer with 2″ brush and used some rollers strokes.Primer is thicker than paint so a small dip goes long way.Wait between coats,It took normally 3-4 hours .Primer actually acts like glue between the surface and the paint.If you are painting from darker color or wood to some lighter shade,primer acts as “base coat”.It gives a base to your cabinet for a better paint coverage.

received_10155189728385791.jpeg
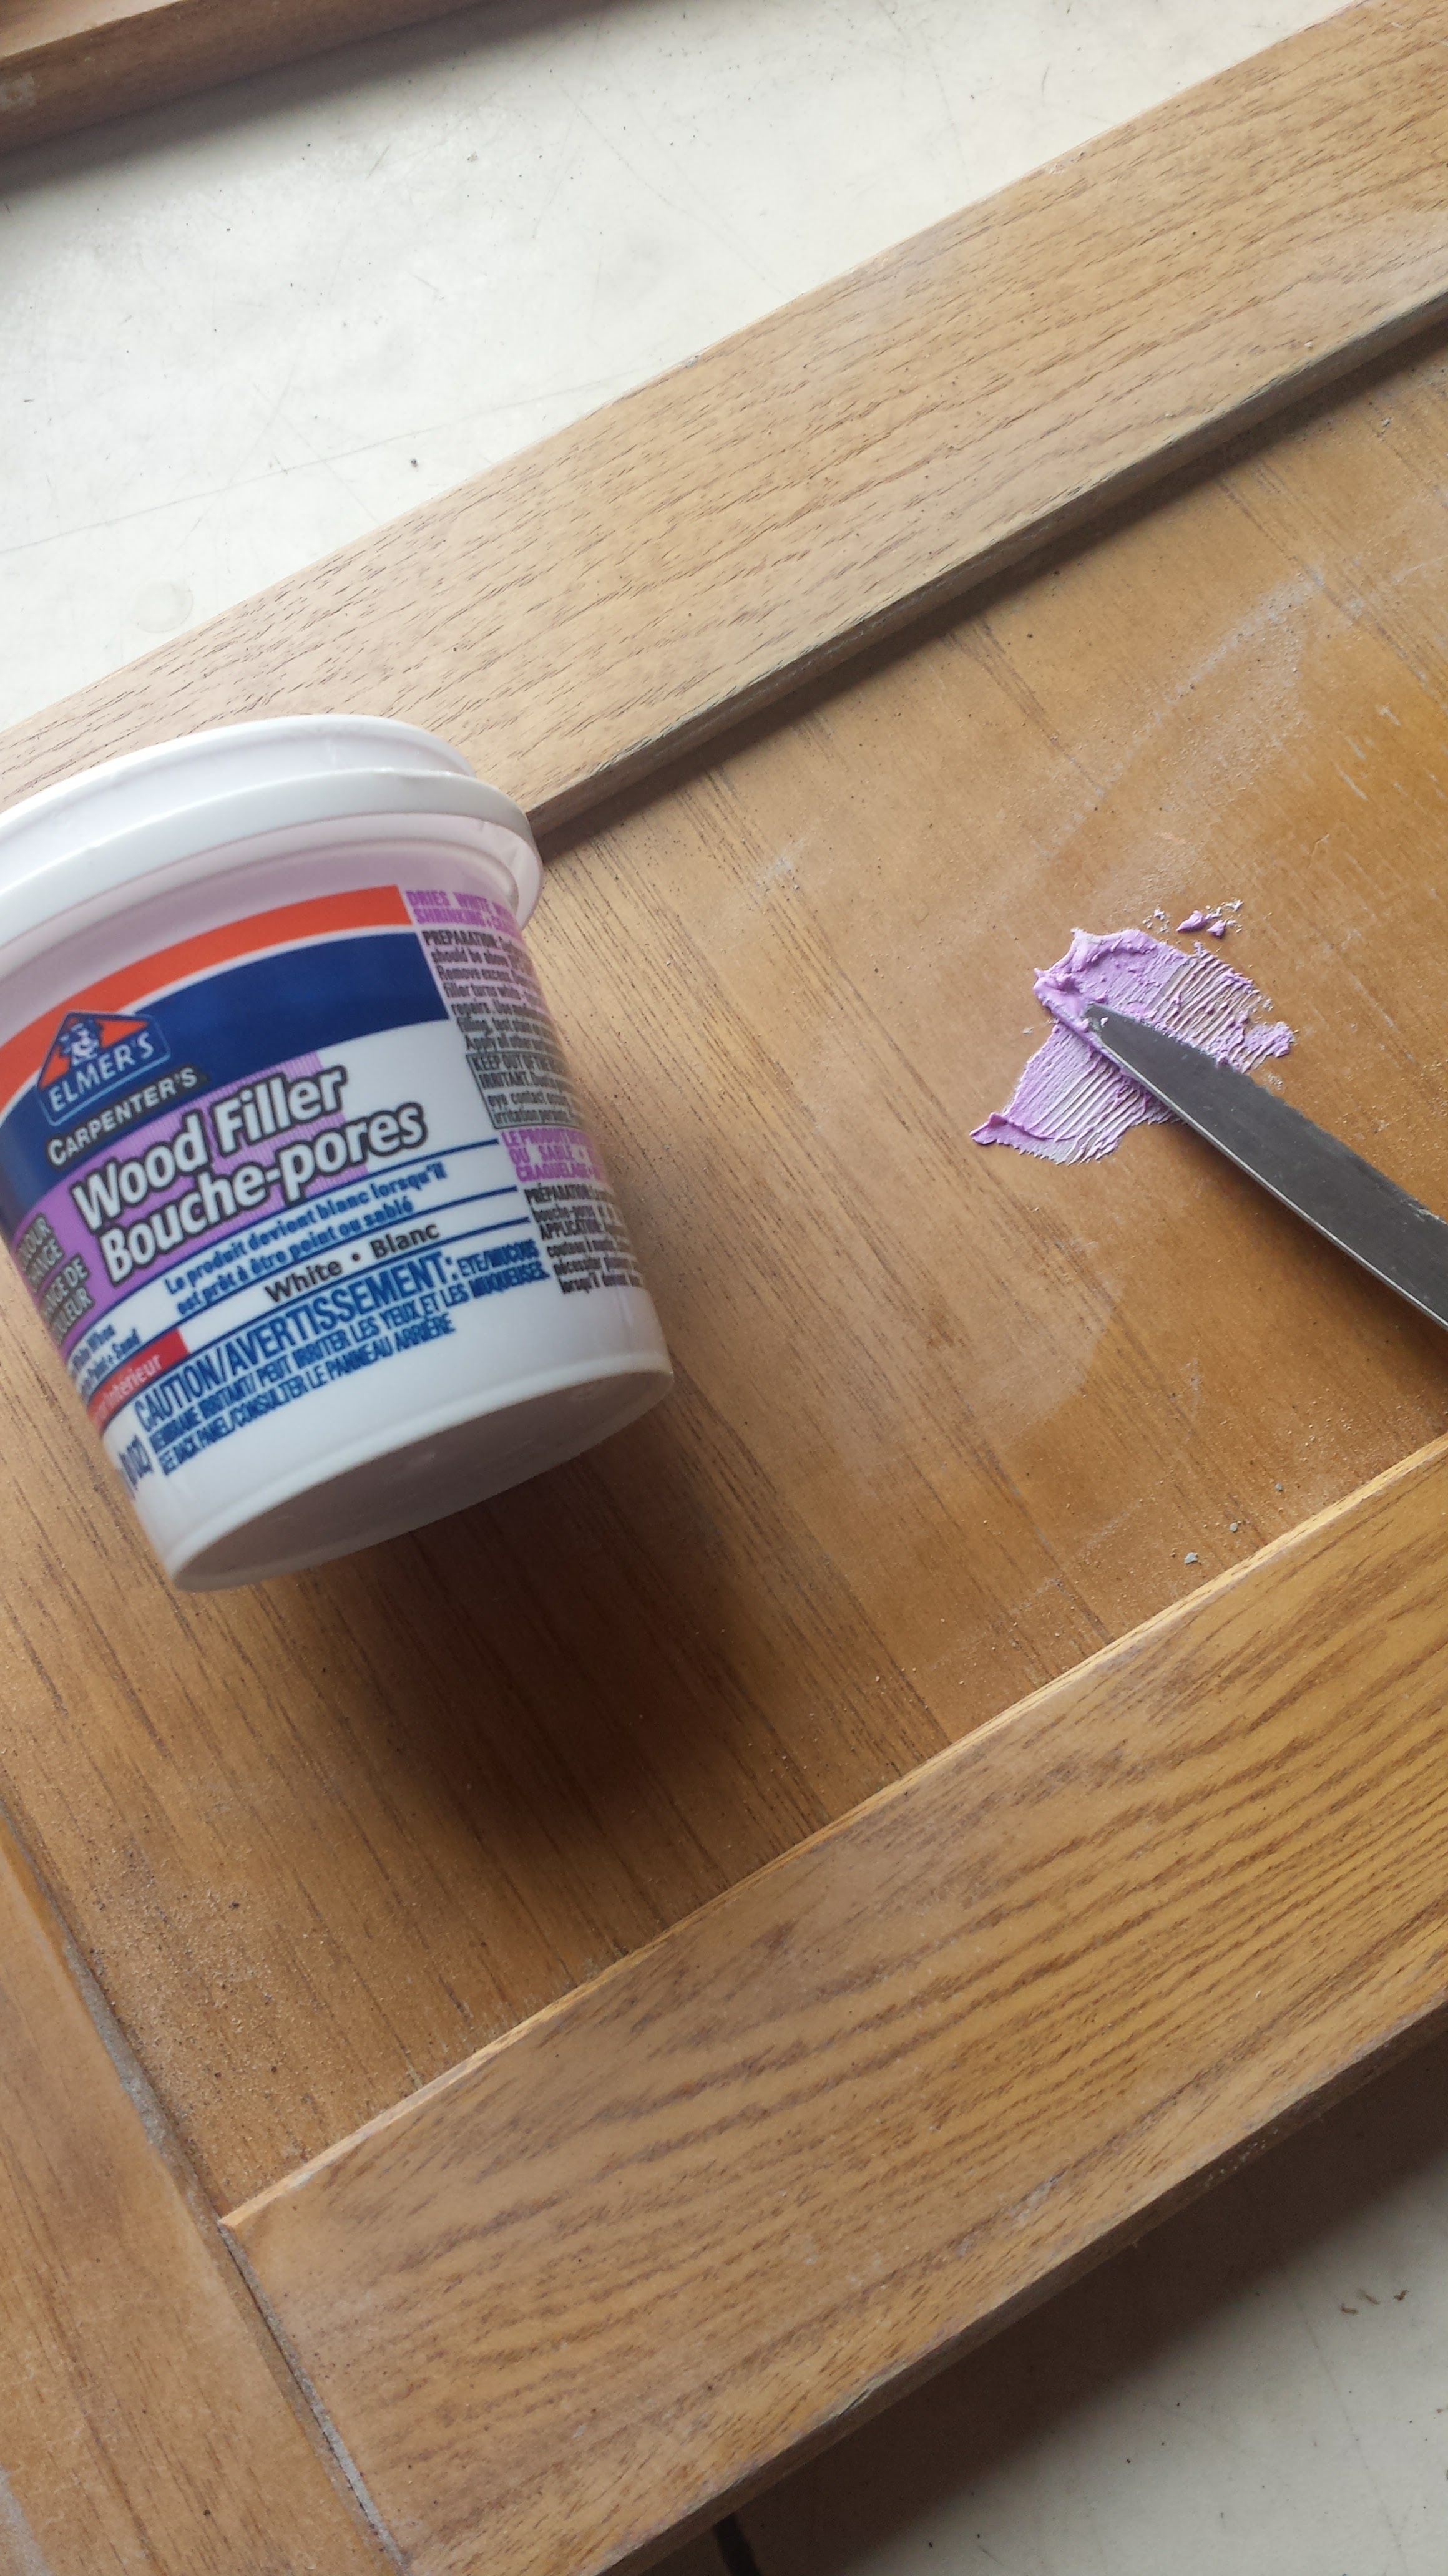
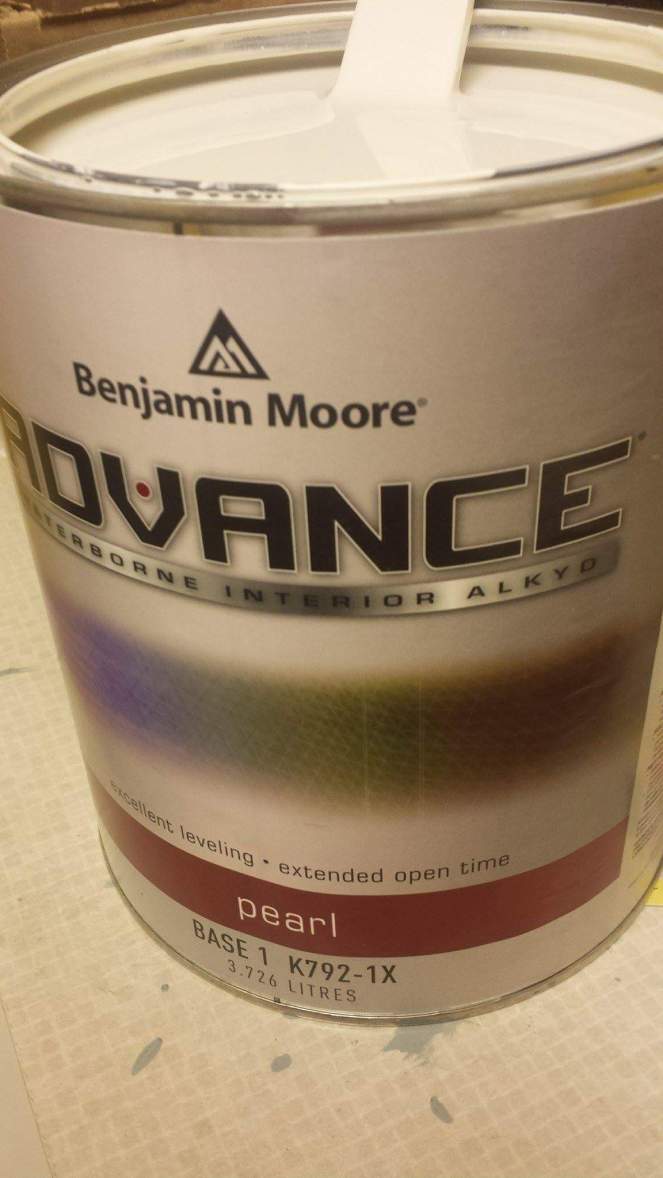
I lightly sanded between primer coats where ever necessary especially  where I used wood filler.Now the surface is ready to paint,I used Benjamin Moore Advance paint in “AF-80 Jute” in pearl finish.Its rich creamy shade gives one stroke a smooth shade.I applied 3 coats with 2″ paint brush and foam roller,I waited at least 4 hours between the coats.received_10155189728370791

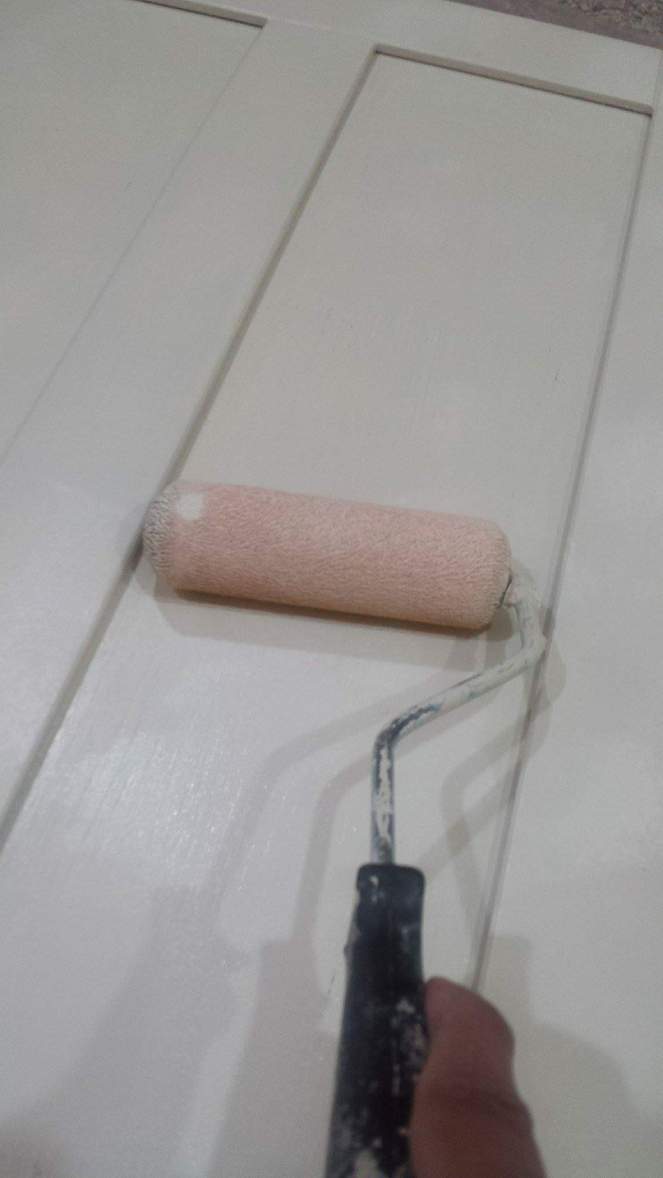
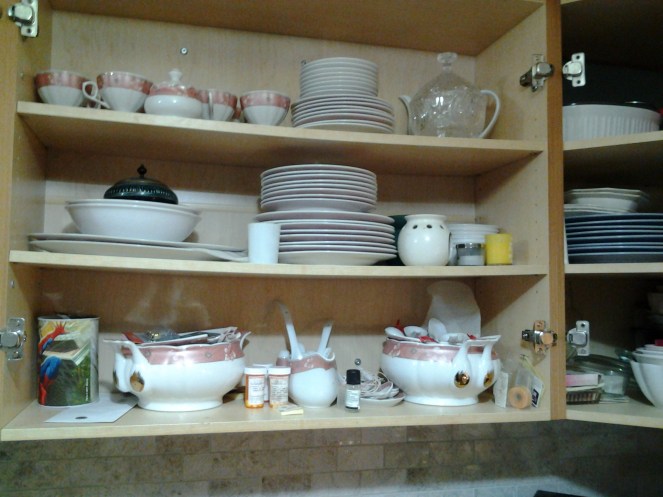
When paint is fully dried,put the cabinets back  to their right place after 2-3 days.I didnt apply any top coat since this BM advance paint is especially designed for cabinets and doesn’t need any top coat.20170410_102417

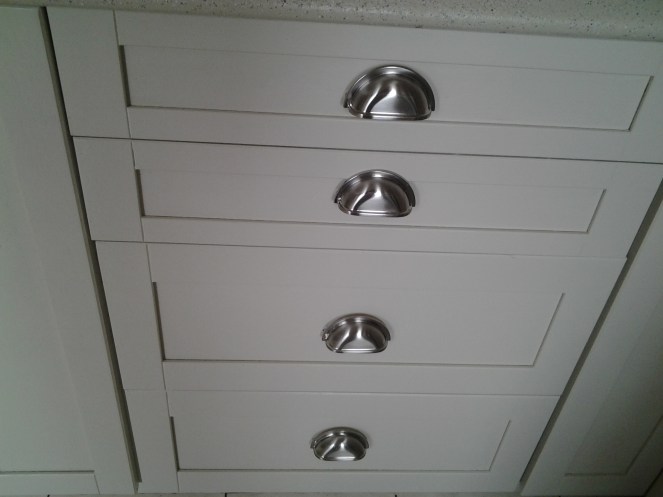
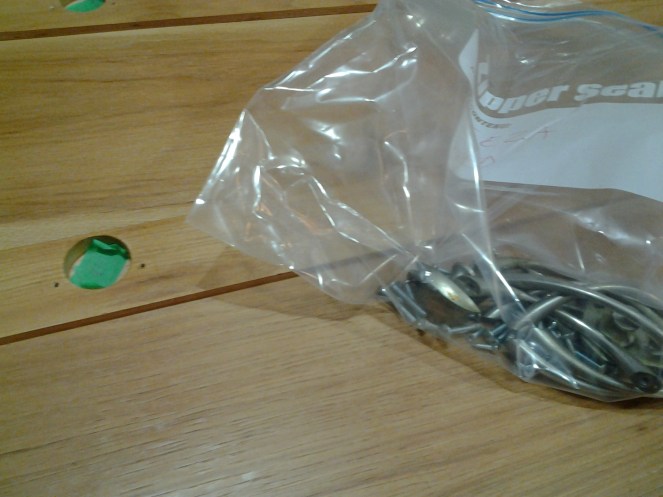
When your cabinets are done wait one week to put  your hard ware on.I changed my hardware and some of them were different size so I had to drill the new holes and I filled up the old ones with wood filler.Do your drill and hard ware a week after you finished your paint job. I highly recommend  you to use Benjamin Moore Advance ( by the way…it’s not a sponsor post in any way)  its easy to clean and has very smooth coverage. If you can not find this brand ask your retailer to give you a paint that has low VOC (Volatile Organic compound) and especially designed for cabinet and furniture.

I tried my best to cover each step but if you need to know more just leave a message, I love to help you guys….If you are intending to change your cabinet color…Go ahead it’s not hard at all..but worth to try…..Trust ME!!

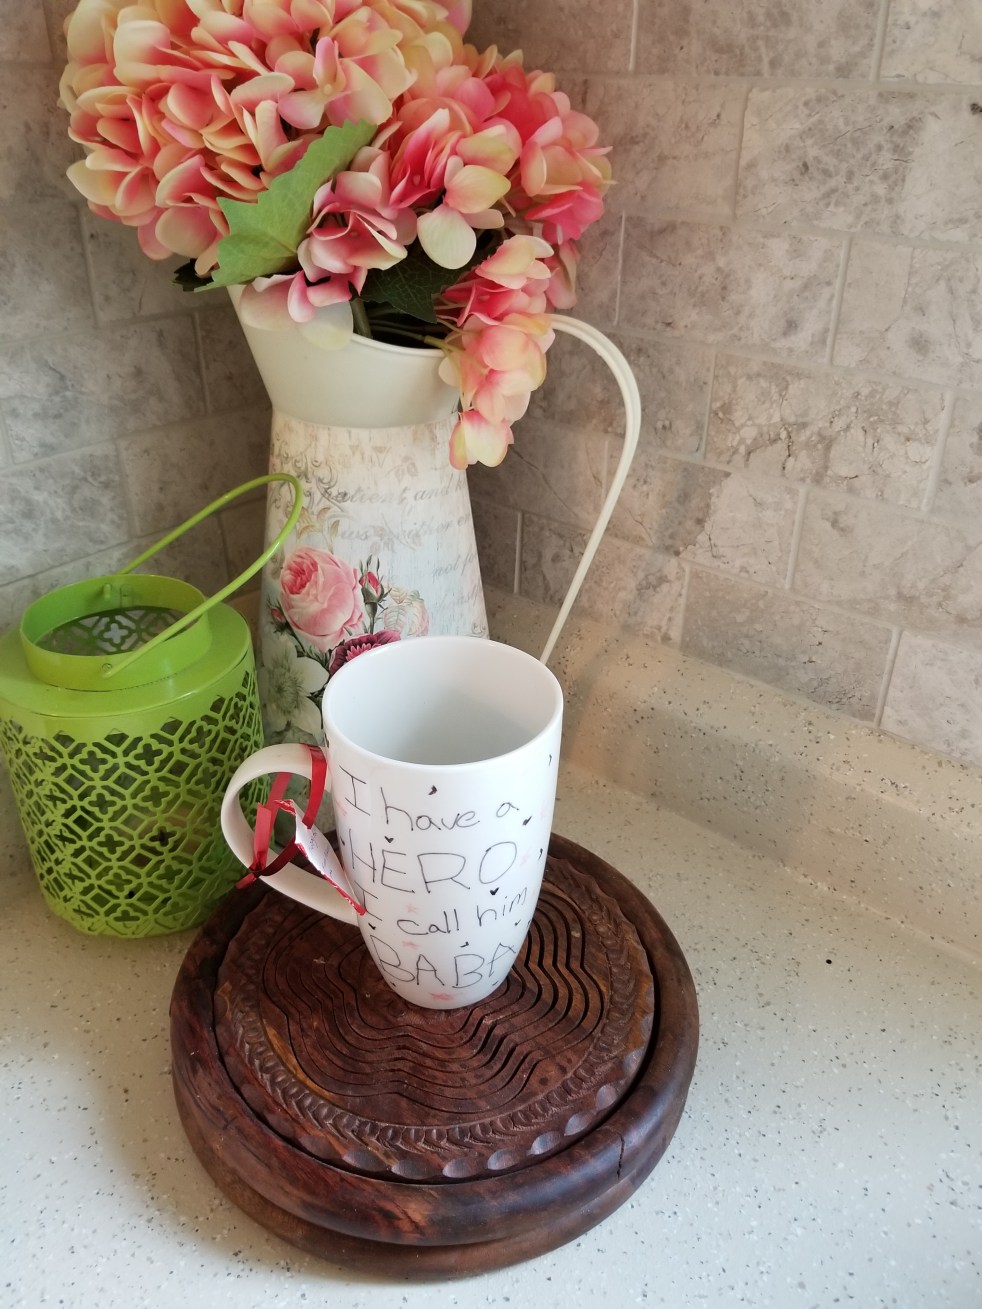
In case you like to see final reveal Kitchen Make Over….Reveal!

Home Decor / DIY

Father’s Day DIY Mug

I do love DIY  and customize everything as much as possible. Aleeza is just like  me she loves to create and DIY too.She asked me if we can make something for her Baba for Father’s day.

We went to the craft store and got a mug and some sharpie pens (Permanent Markers).You can make it for Teacher’s day,Mother’s day even for any day….Get the quote and be creative..😊

We made a DIY sharpie pen mug which is super easy ,She made herself but since we have to use oven  so I helped her out.(Adult Supervision is Required)

20170617_172952.jpg

You need just two things.

A mug (oven safe)

Sharpie markers of  choice.

Draw free hand on your mug , what ever you  want to quote/draw make  a draft on a paper.

20170617_173036.jpgWhen you finish writing put it on an oven,and turn on after 375°F for 30-35 mins.Dont preheat it,you need to put it in cold oven let the art set while temp goes up.

20170617_174403

After 30 mins turn off the oven and leave  the mug inside and let it cool with the oven.This process Fixes the text/art whatever you draw on the mug.

20170618_184836
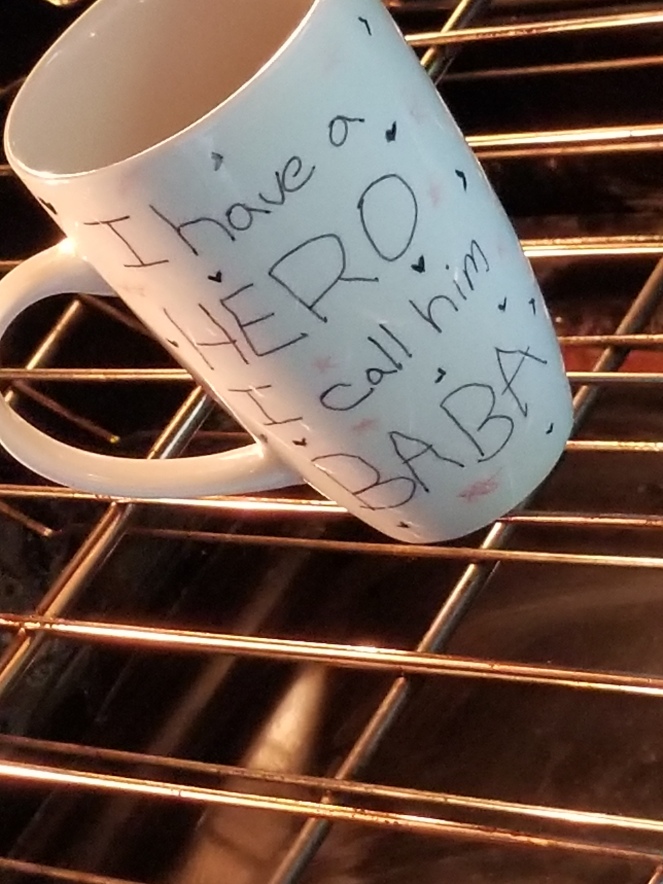
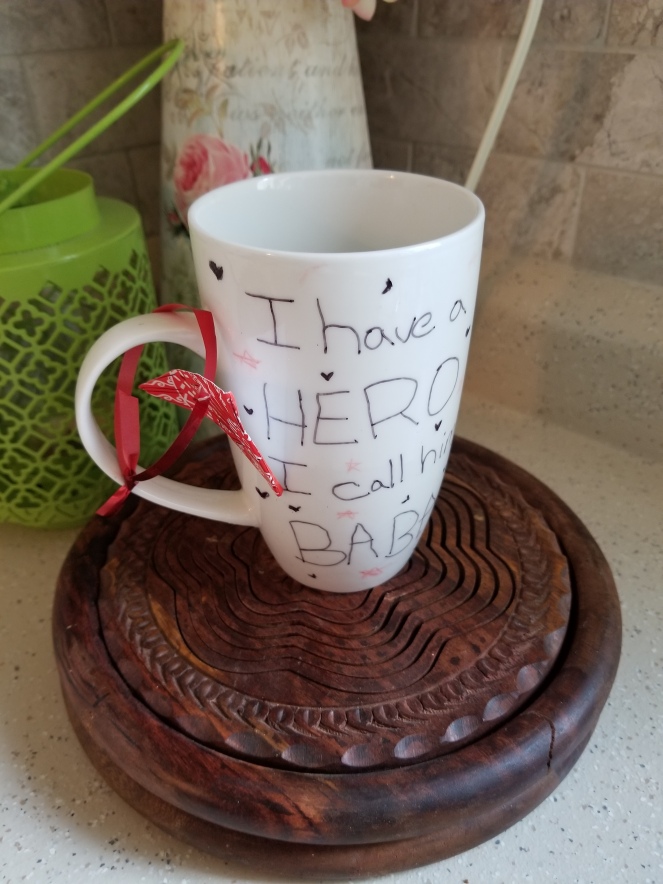
Your very own customized DIY fathers day mug is ready to give.hope you all have a wonderful father day…Enjoy!!!(Hand  wash is recommended only).


Home Decor / DIY

Painting My Kitchen Cabinets (Step 1)

Hi All,

I know its more than month since I posted my kitchen makeover reveal ,I wanted to write down everything right away but back to back other things hooked me up.I got a reminder email from a follower and I felt so guilty for not keeping my promise on time…anyhow, Lets talk about how I start painting my kitchen cabinets, Trust me before starting my kitchen renovation ,I was so scared ,will it look good?or I will be going to ruin everything,should I begin or not? What to do ?leave or go for it…its not a small room if it gets ruined and I  shut the door off….I would say  If my husband didn’t allow me, I had zero courage to even think about it..seriously! !..Thanks to him for Trusting me!….😊

Before I  start the longest procedure of my kitchen Renovation..I want to let you guys know I am not an expert .All content are based on my experience  and I am sharing what so ever I know to make it simple for people who are newbie like me and love DIY.

If you are a beginner or like me who learnt by own experiences plus failures here are some basics of painting furniture or cabinet I learned by my own experience.Doing my kitchen cabinets was not my first experience at all,I already had my hand into so many projects.I update several furniture  pieces.weather you are going to chalk paint ,stain or just doing any paint job,prepare the surface first.The  more  you prepare your surface,more you  get your job well done.

20170121_222950.jpg

When I  start my kitchen cabinets,they were in  very good condition.I used to wipe them every day since my cabinets are “Shaker style”(panelled) and need more cleaning  than other flat cabinet. I used TSP (Trisodium Phosphate )to clean them properly, I used a knife to remove dirt and especially  flour from sides of panels.Wipe them properly  ,I used Windex for extra cleaning.I removed cabinet doors and mark them with frog tape as upper and lower cabinet (U1 /L1 and so on),remove the hardware and put everything in a ziplock  bag,so you get everything when you need to put the doors back after you finish painting.20170205_234050.jpg

Use frog tape for labeling them,it will be easy for you to put everything back.My cabinet remained open for more than 1 month for sure like this.20170205_234018

It was wide opened and easy accessible for kids and they were happy ……lol

I took off upper cabinet first and when they were completed ,I started doing my lower  cabinets.I did everything down stairs in the basement except the cabinets frames and sides.After removing  hardware and cleaning the most toughest and time-consuming step ,preparing the surface i.e sanding!

20170206_130707.jpg

Sanding is very important step,it makes surface ready to get painted. I used 120 grit sand paper and give a really good sanding  so that top coat or previous finish is removed.You can use sanding machine but I preferred  hand sanding more . The more you prepare your  surface the more smooth finish your cabinets will  get.Its quite dusty process so cover ourself by having a mask,when you sand your cabinets make sure clean your cabinets with wipes or if you have a  vacuum ,use hose to clean it faster.Wipe the cabinets off with Lysol wipes.

20170206_130551.jpg

If you need to change your hardware,you have to use wood filler.I used wood filler to fill the holes.sand the surface with sand paper.You need to prepare it otherwise paint wont stick or cracked .

20170329_130845.jpg

This wood filler changes color from purple to white when it dries up,sand it down and make it smooth.Any holes and damages can be  easily filled by the wood filler.

All types of sanding paper and wood filler are easily available at home hardware stores like Home Depot and Lowe’s.

This is first part of painting procedure of my kitchen cabinet….I  was asked to share step by step  painting process because so many people want to  update their kitchen and trust me it’s not hard at all and you will love it after…FOR SURE! !