Hi All,
I know its more than month since I posted my kitchen makeover reveal ,I wanted to write down everything right away but back to back other things hooked me up.I got a reminder email from a follower and I felt so guilty for not keeping my promise on time…anyhow, Lets talk about how I start painting my kitchen cabinets, Trust me before starting my kitchen renovation ,I was so scared ,will it look good?or I will be going to ruin everything,should I begin or not? What to do ?leave or go for it…its not a small room if it gets ruined and I shut the door off….I would say If my husband didn’t allow me, I had zero courage to even think about it..seriously! !..Thanks to him for Trusting me!….😊
Before I start the longest procedure of my kitchen Renovation..I want to let you guys know I am not an expert .All content are based on my experience and I am sharing what so ever I know to make it simple for people who are newbie like me and love DIY.
If you are a beginner or like me who learnt by own experiences plus failures here are some basics of painting furniture or cabinet I learned by my own experience.Doing my kitchen cabinets was not my first experience at all,I already had my hand into so many projects.I update several furniture pieces.weather you are going to chalk paint ,stain or just doing any paint job,prepare the surface first.The more you prepare your surface,more you get your job well done.

When I start my kitchen cabinets,they were in very good condition.I used to wipe them every day since my cabinets are “Shaker style”(panelled) and need more cleaning than other flat cabinet. I used TSP (Trisodium Phosphate )to clean them properly, I used a knife to remove dirt and especially flour from sides of panels.Wipe them properly ,I used Windex for extra cleaning.I removed cabinet doors and mark them with frog tape as upper and lower cabinet (U1 /L1 and so on),remove the hardware and put everything in a ziplock bag,so you get everything when you need to put the doors back after you finish painting.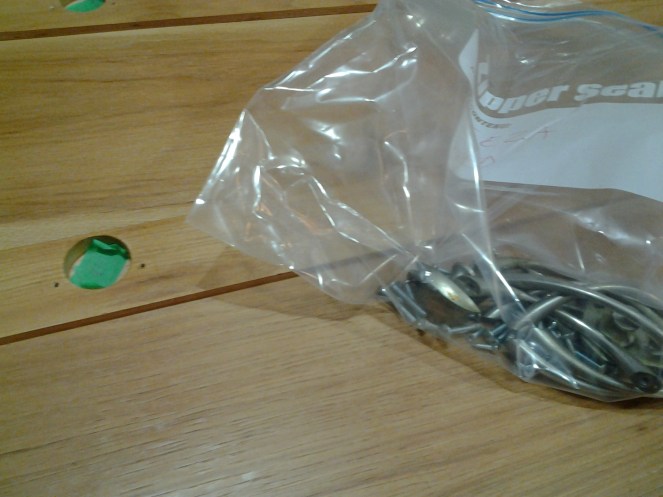
Use frog tape for labeling them,it will be easy for you to put everything back.My cabinet remained open for more than 1 month for sure like this.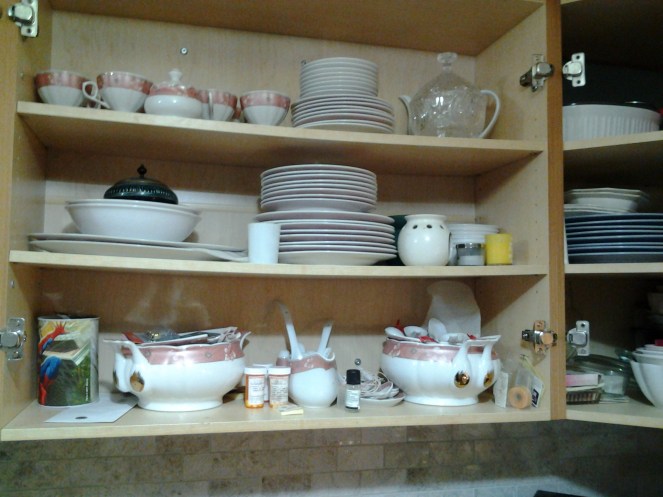
It was wide opened and easy accessible for kids and they were happy ……lol
I took off upper cabinet first and when they were completed ,I started doing my lower cabinets.I did everything down stairs in the basement except the cabinets frames and sides.After removing hardware and cleaning the most toughest and time-consuming step ,preparing the surface i.e sanding!

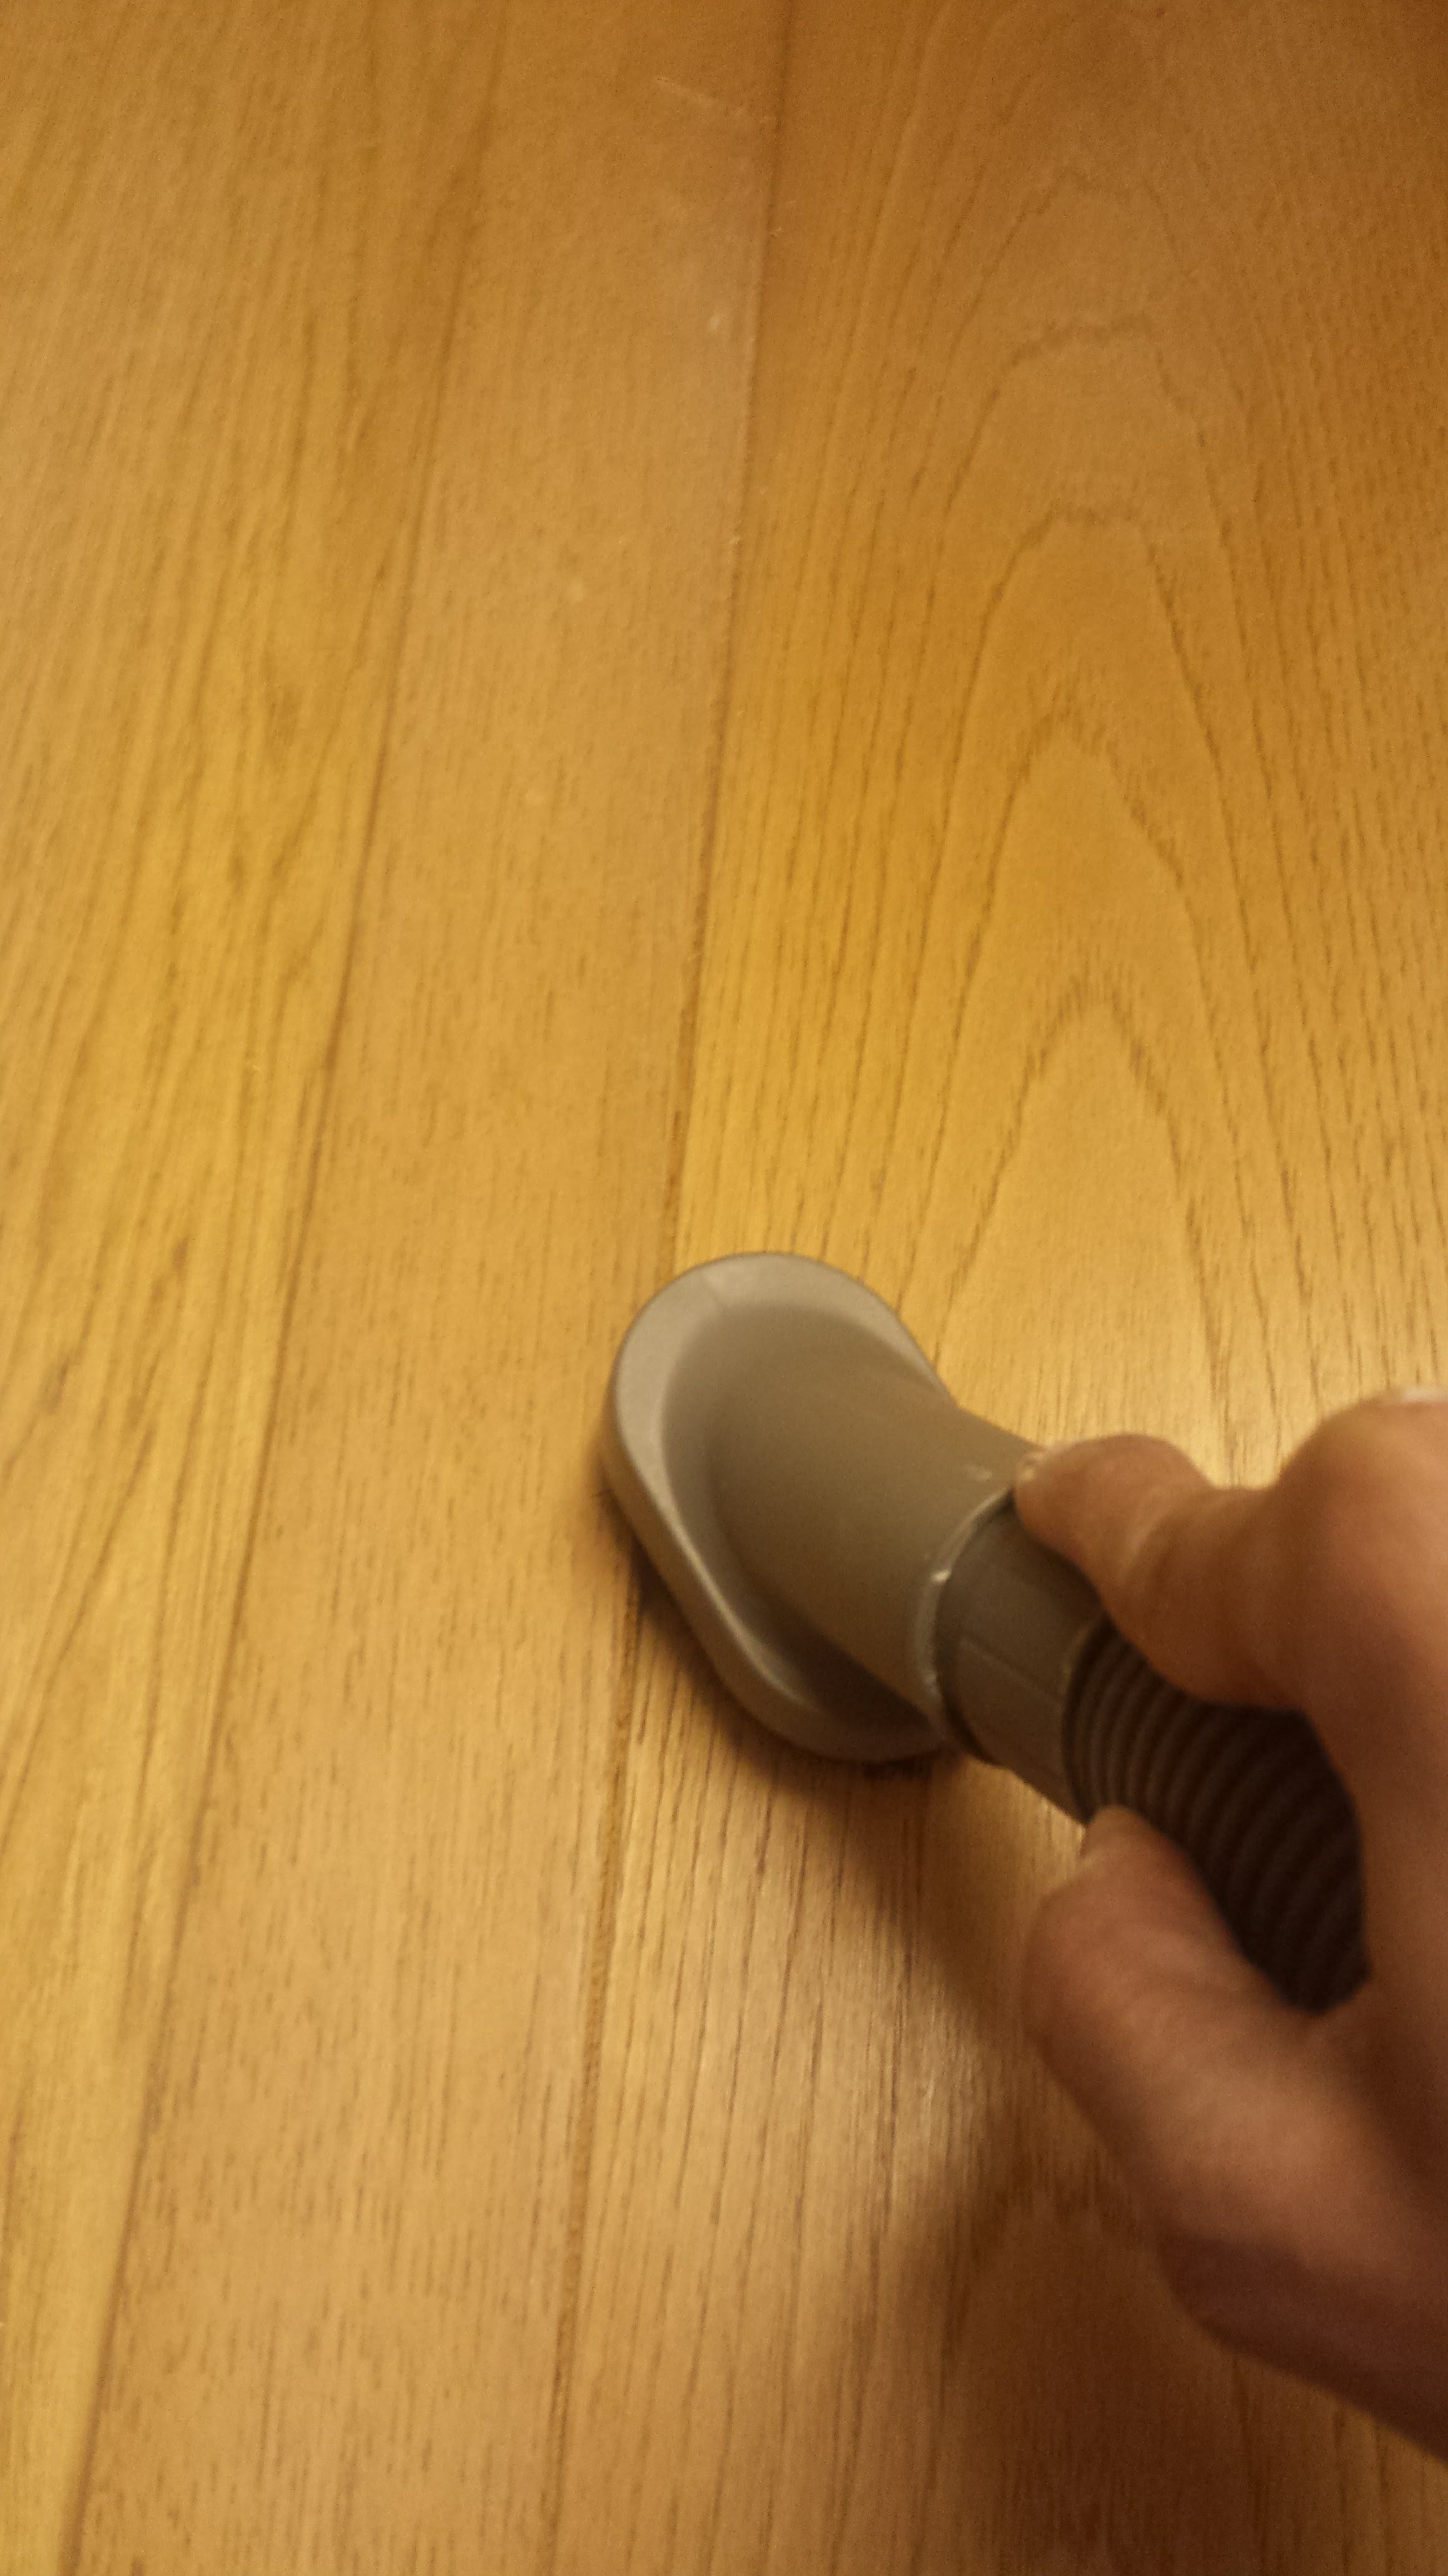
Sanding is very important step,it makes surface ready to get painted. I used 120 grit sand paper and give a really good sanding so that top coat or previous finish is removed.You can use sanding machine but I preferred hand sanding more . The more you prepare your surface the more smooth finish your cabinets will get.Its quite dusty process so cover ourself by having a mask,when you sand your cabinets make sure clean your cabinets with wipes or if you have a vacuum ,use hose to clean it faster.Wipe the cabinets off with Lysol wipes.
If you need to change your hardware,you have to use wood filler.I used wood filler to fill the holes.sand the surface with sand paper.You need to prepare it otherwise paint wont stick or cracked .
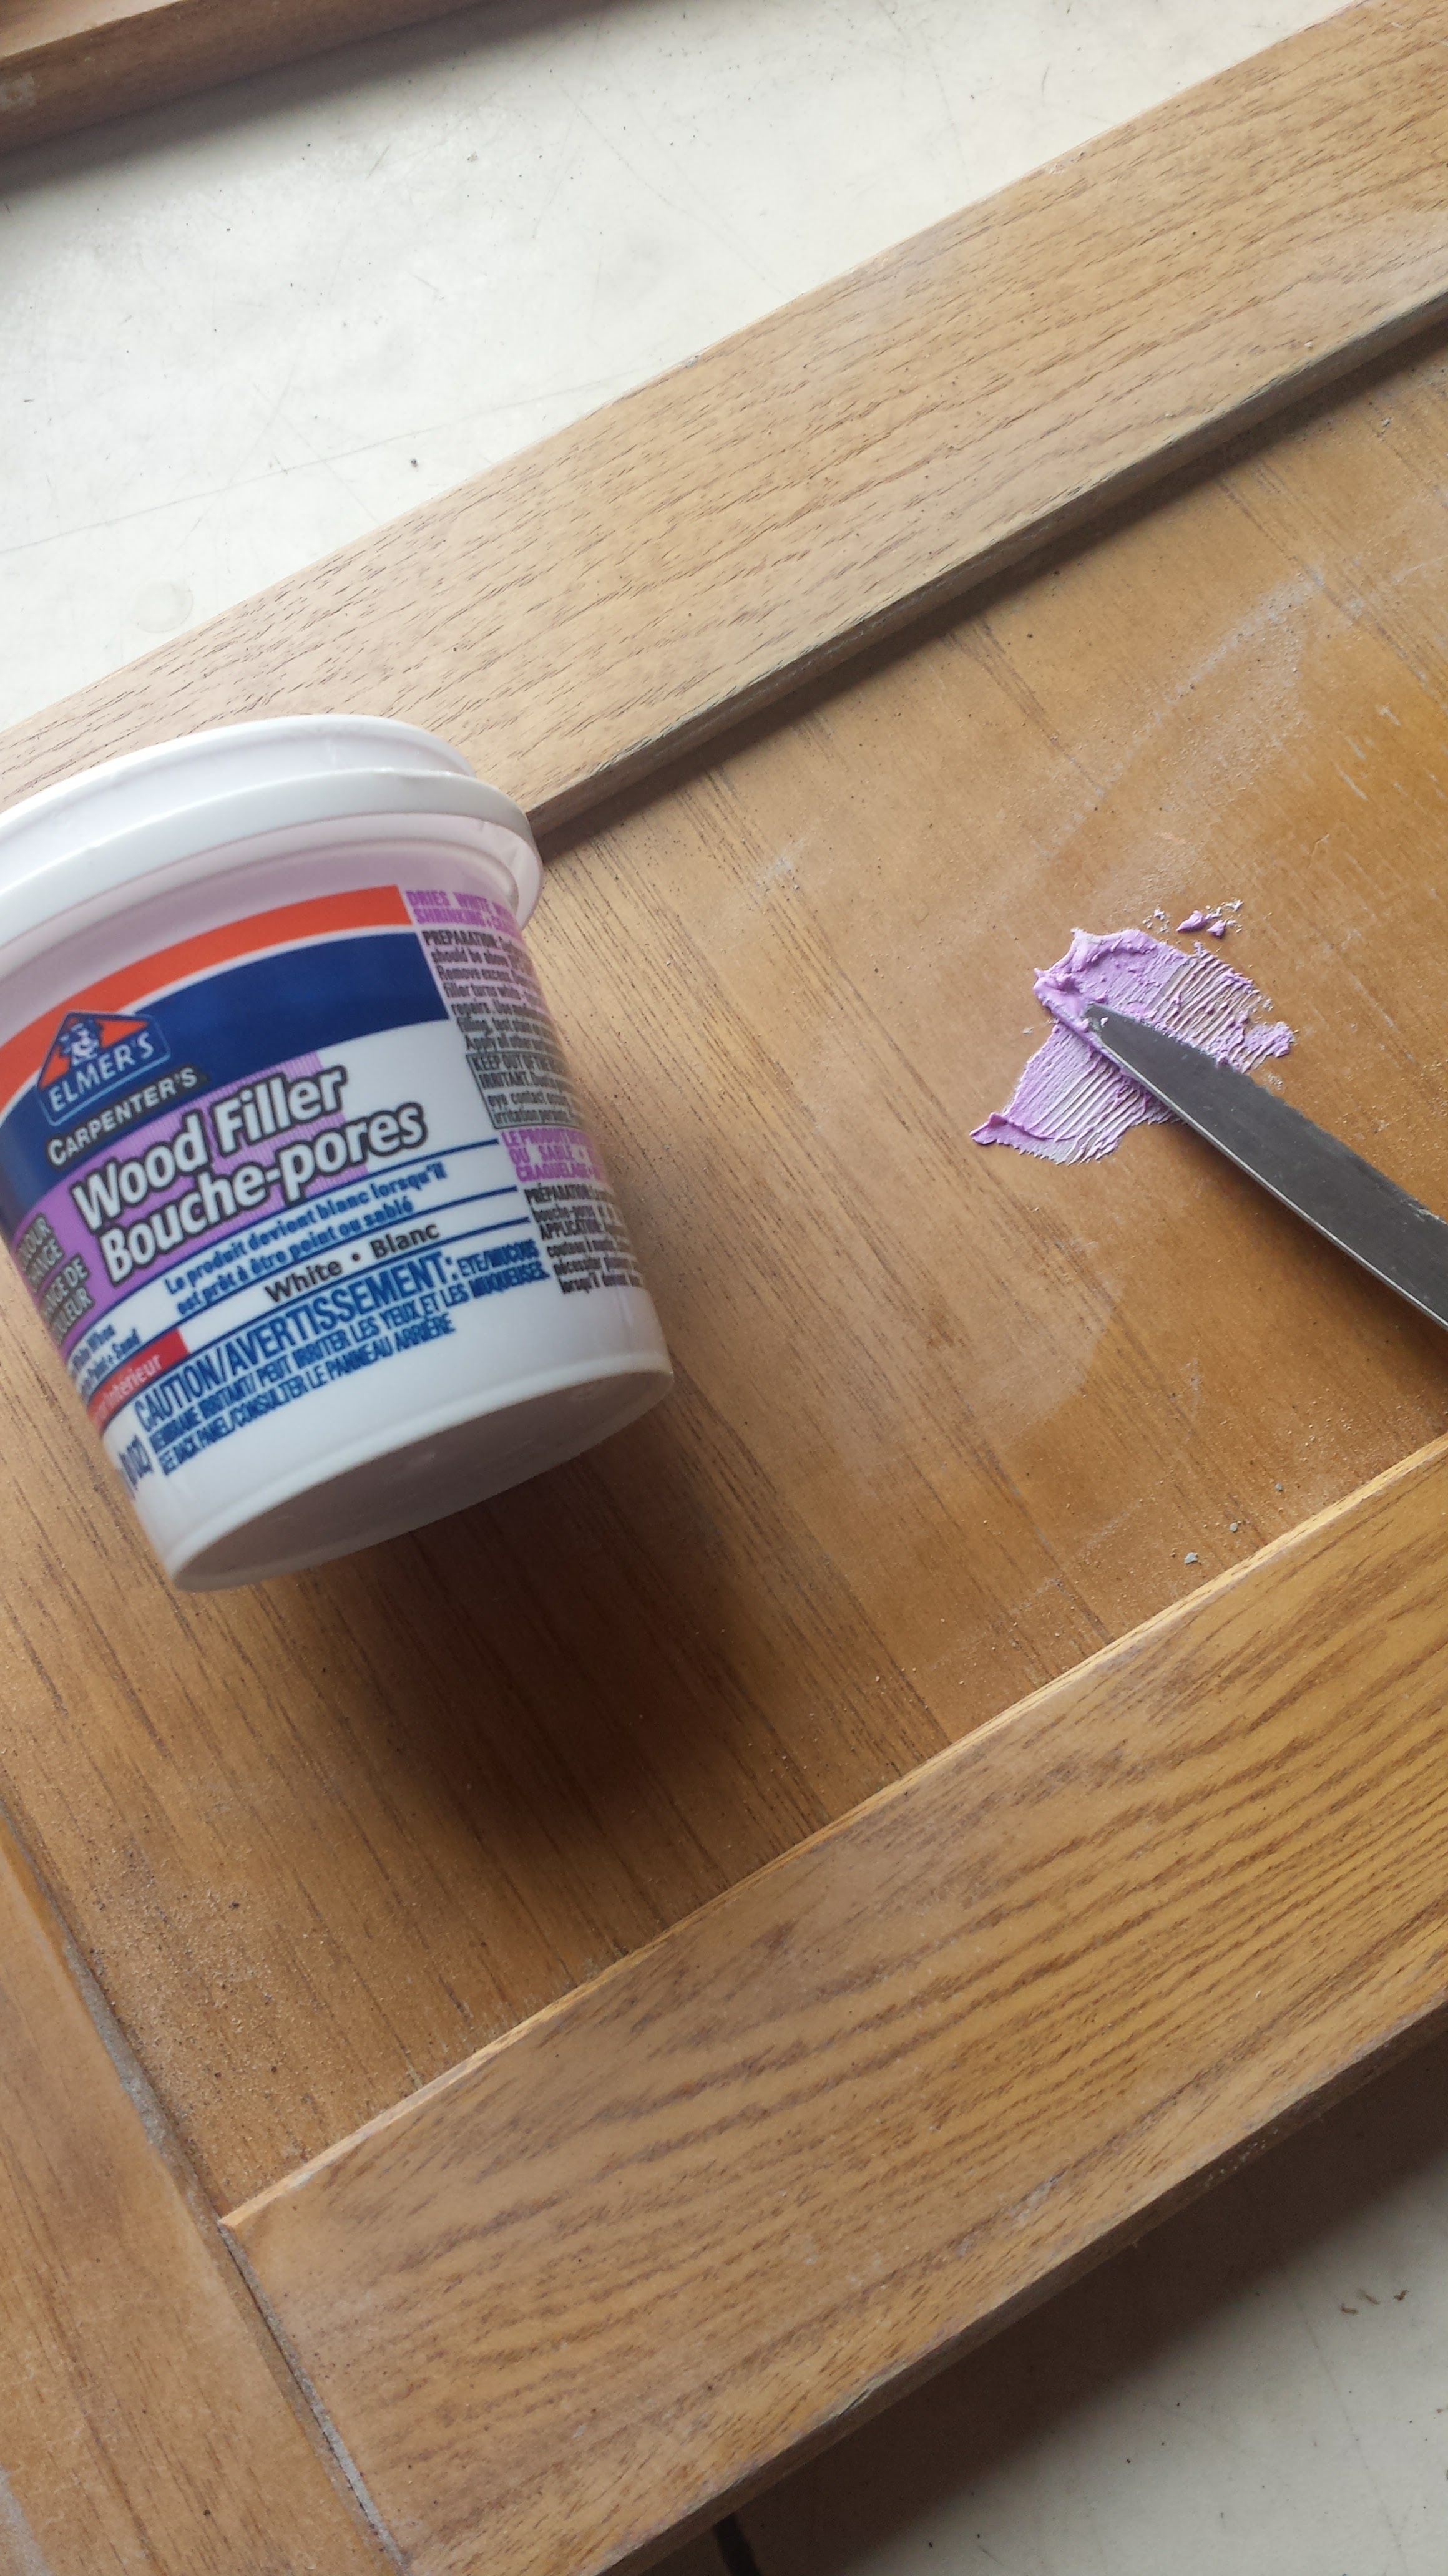
This wood filler changes color from purple to white when it dries up,sand it down and make it smooth.Any holes and damages can be easily filled by the wood filler.
All types of sanding paper and wood filler are easily available at home hardware stores like Home Depot and Lowe’s.
This is first part of painting procedure of my kitchen cabinet….I was asked to share step by step painting process because so many people want to update their kitchen and trust me it’s not hard at all and you will love it after…FOR SURE! !

Can’t wait to see more!
LikeLike