Nothing can made me happier than getting good stuff on sale but some times I buy stuff and realize after I brought exact same thing again just because it’s at clearance .It happened last week when I scored exactly same pair of jeans at 70% off for my daughter Aleeza . I couldn’t resist to leave it at that clearance price..lol.
I wanted to change the shade at least, so she will enjoy two different pants …Bleached jeans are hot trend and quite costly as compare to normal jeans /denim. . ..I had fabric dye in my mind as back up plan if bleaching technique got failed (gonna dye something soon) BUT I got great result and thought to share this easy DIY with you guys with affordable method or should I say cheapest.
I used her older one to try on this method. You can also use your older or most hated one just in case you have a failure… (I am keeping my self on safer side…😉)

Wear your gloves since the bleach has harsh chemicals that will damage your skin and try to do in ventilated area.Place the pants in a plastic bucket or basin filled with a gallon of warm water and a 1/2 cup of bleach.
If your jeans is ripped (like mine) try not to do that part it will damaged the denim and results will be awful.
 I only wanted lower portion down the knees to be bleached,I folded the jeans and take the upper portion out and dipped the desire part for about 45 mins than dipped the 1 inch more down to the bleach since I wanted to give a ombre. If you want lighter shade leave it for another half an hour but dont extend time time more than 2 hours it will damage the fiber and life span.
When you are done with your desire shade, dip it in Apple Cider vinegar or white vinegar to stop the bleaching process.It not only stops but also fixes the bleaching dye.Dip the jeans for 5 mins than wash it in your washer at normal setting with out ” detergent”.Run the whole cycle.

I air-dried in my back yard and iron it as usual…just follow the instructions and you will get your very own desired shade…….If you have an old pair of jeans try it,you will love it….your very own trendy jeans ready to wear…Let me know If you experiment something that worth sharing. ..!
.

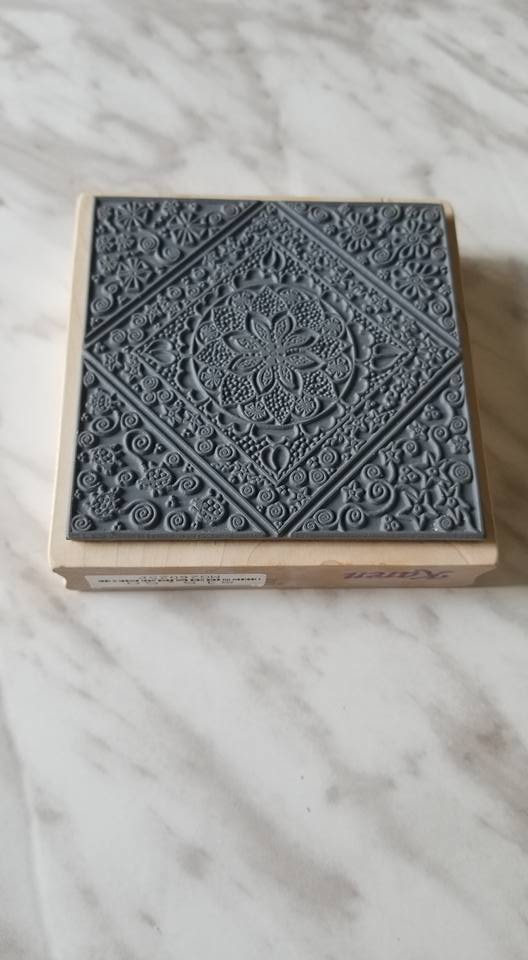


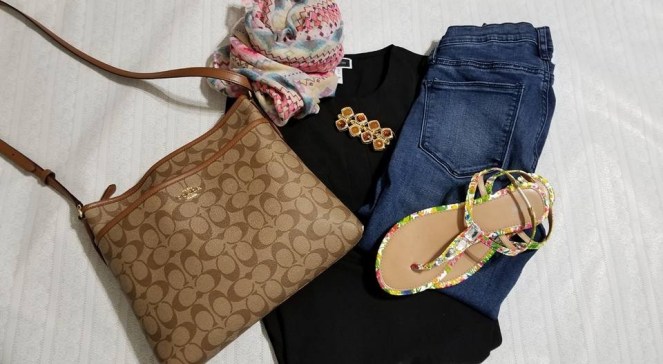
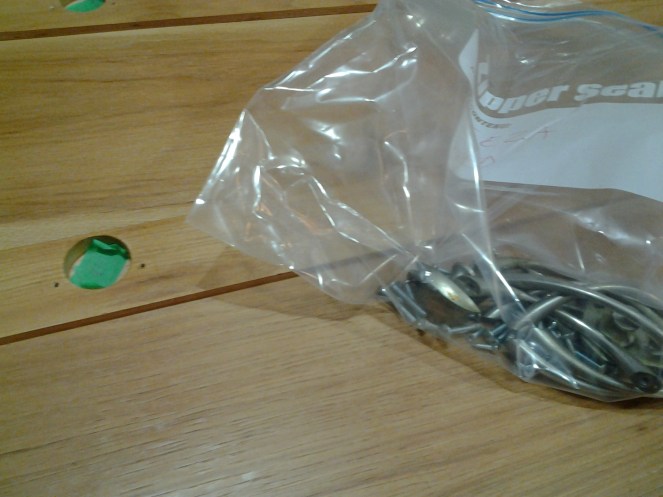
 All you need
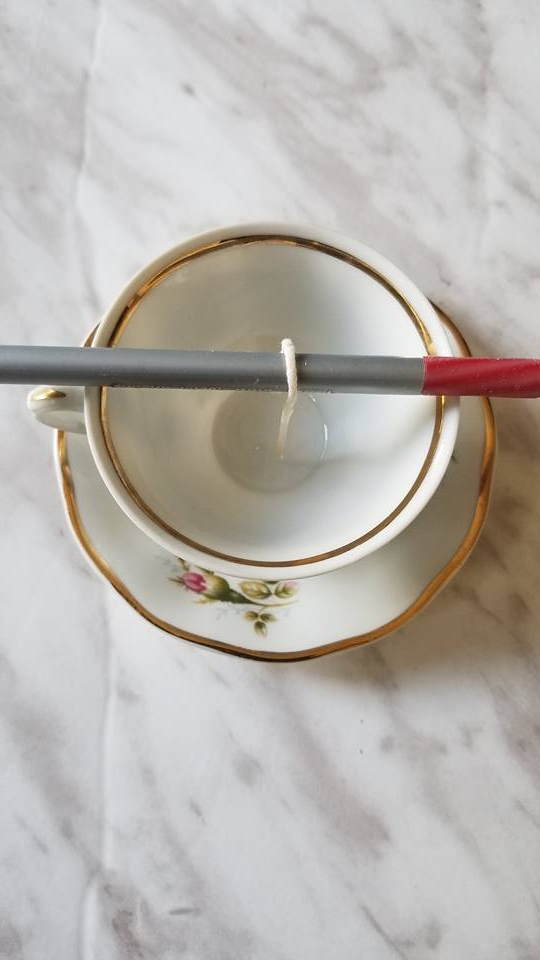


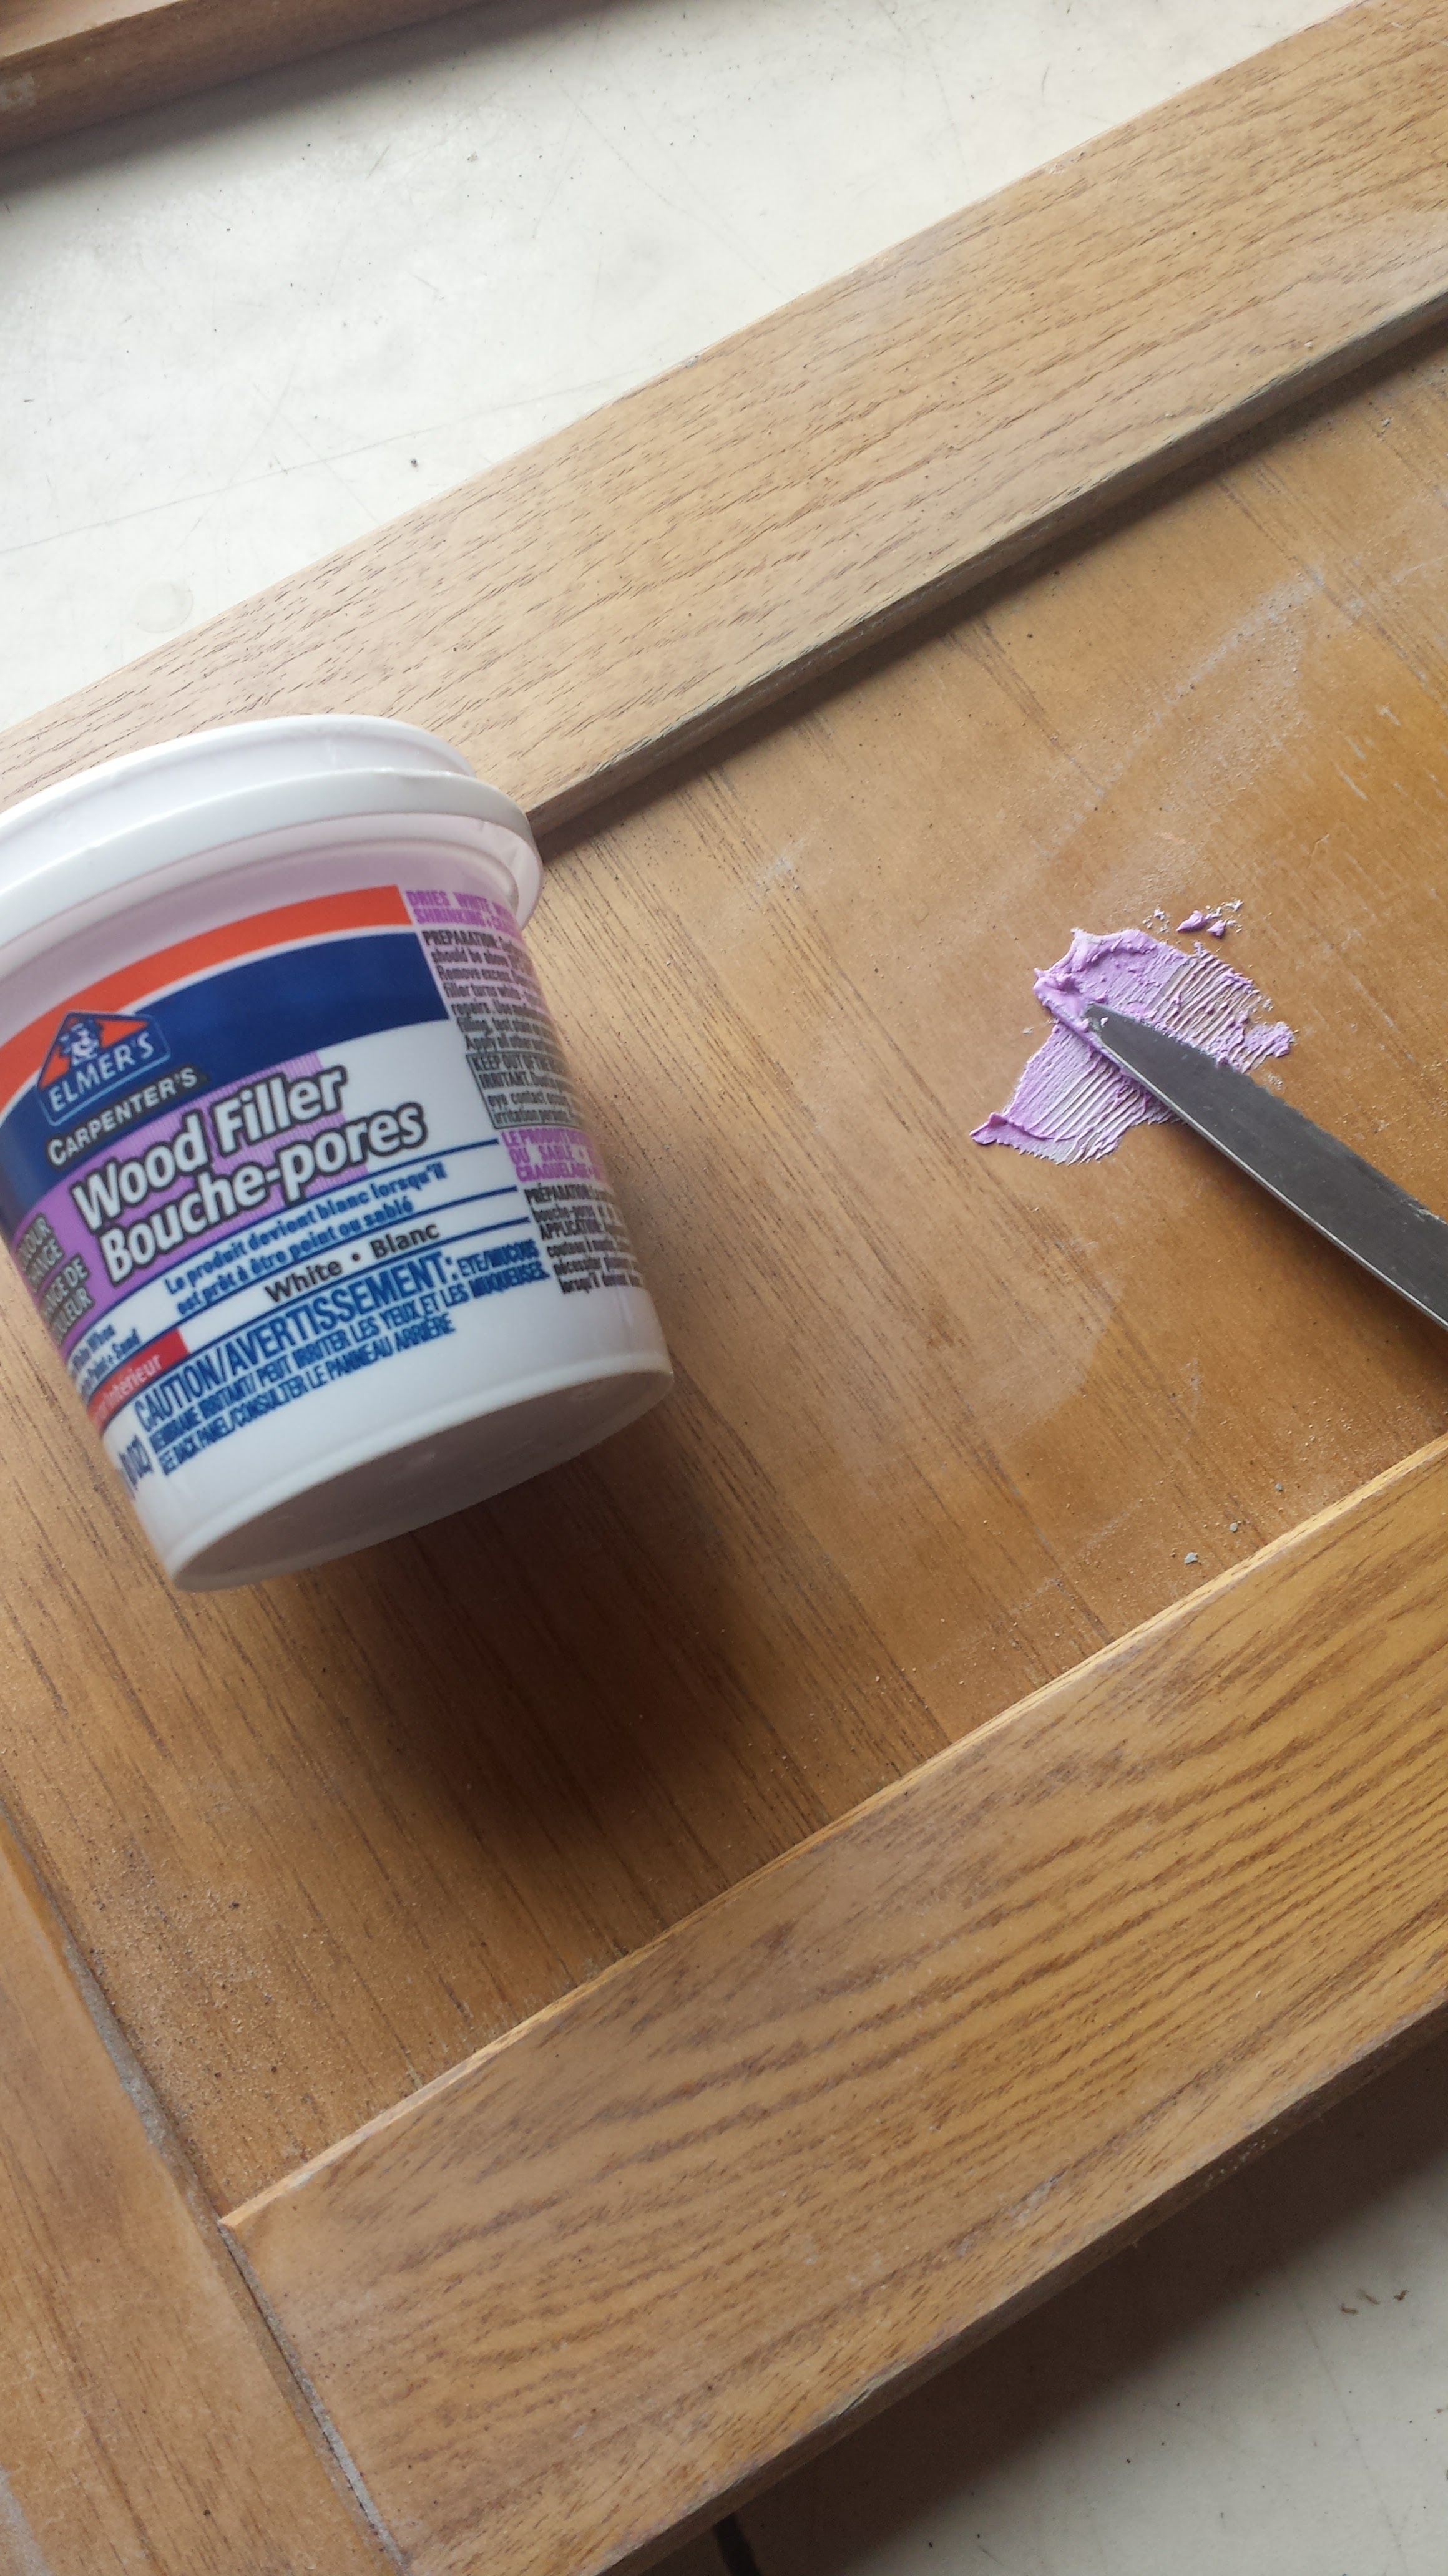
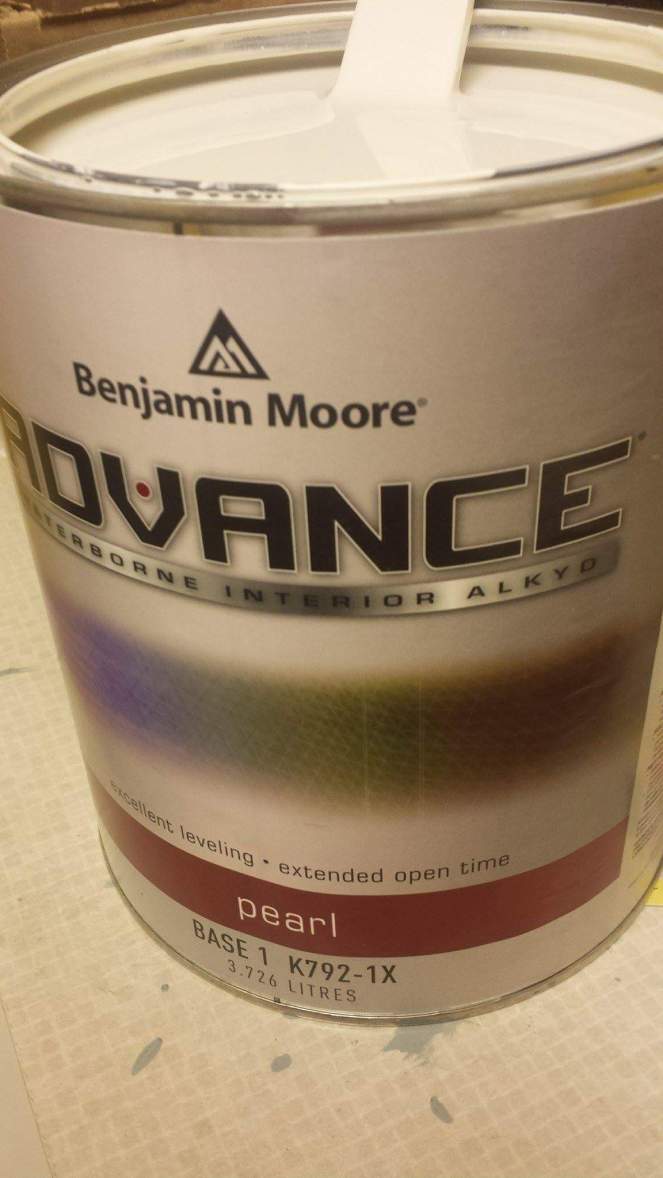 I lightly sanded between primer coats where ever necessary especially where I used wood filler.Now the surface is ready to paint,I used Benjamin Moore Advance paint in “AF-80 Jute” in pearl finish.Its rich creamy shade gives one stroke a smooth shade.I applied 3 coats with 2″ paint brush and foam roller,I waited at least 4 hours between the coats.
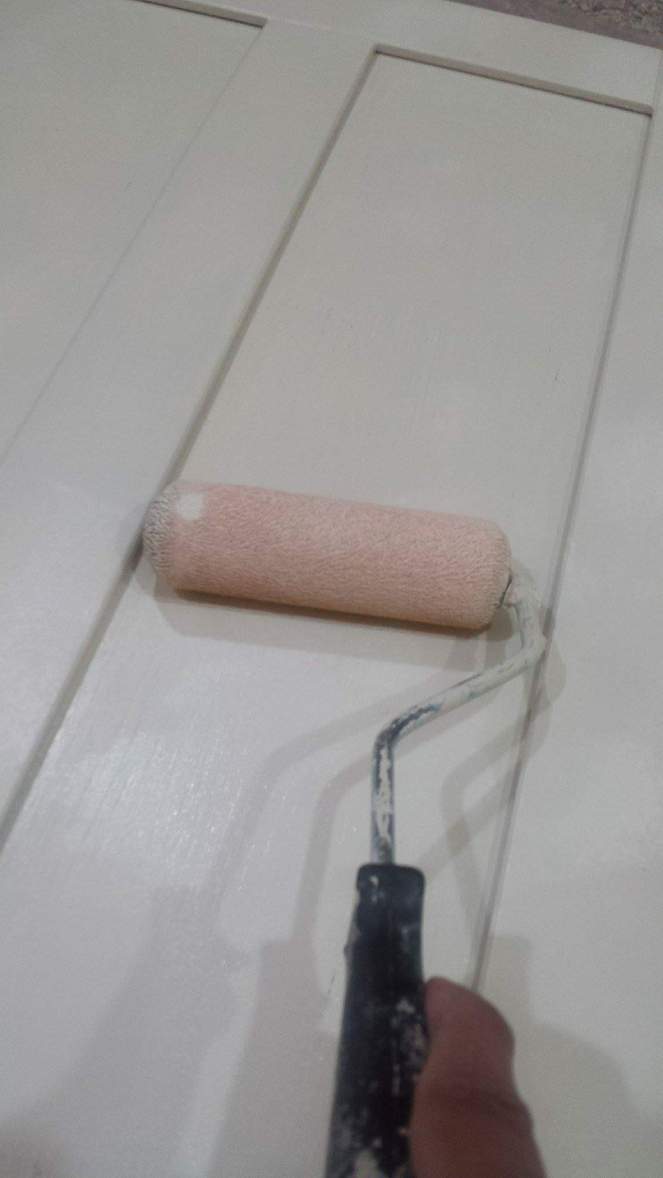
 When you finish writing put it on an oven,and turn on after 375°F for 30-35 mins.Dont preheat it,you need to put it in cold oven let the art set while temp goes up.
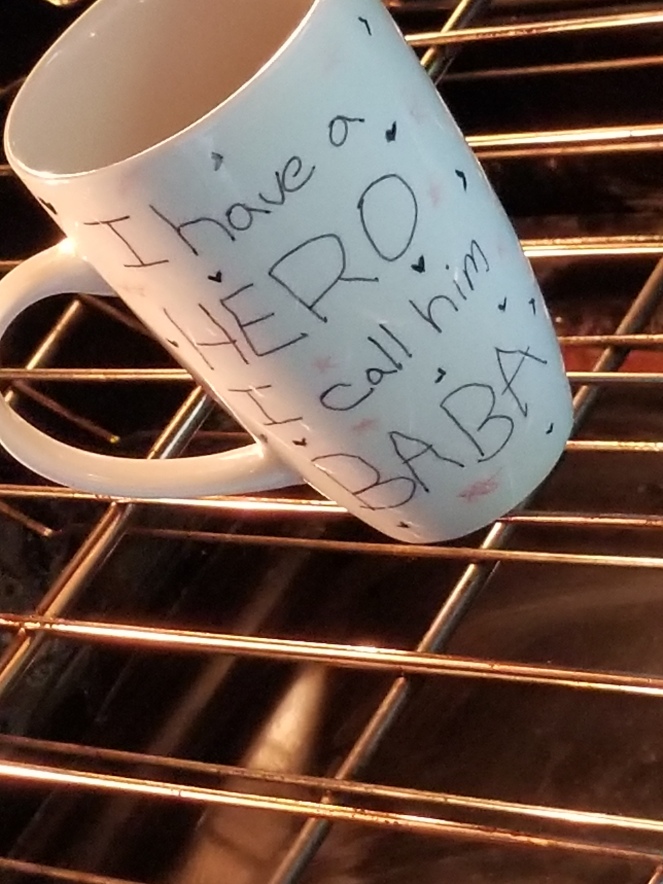
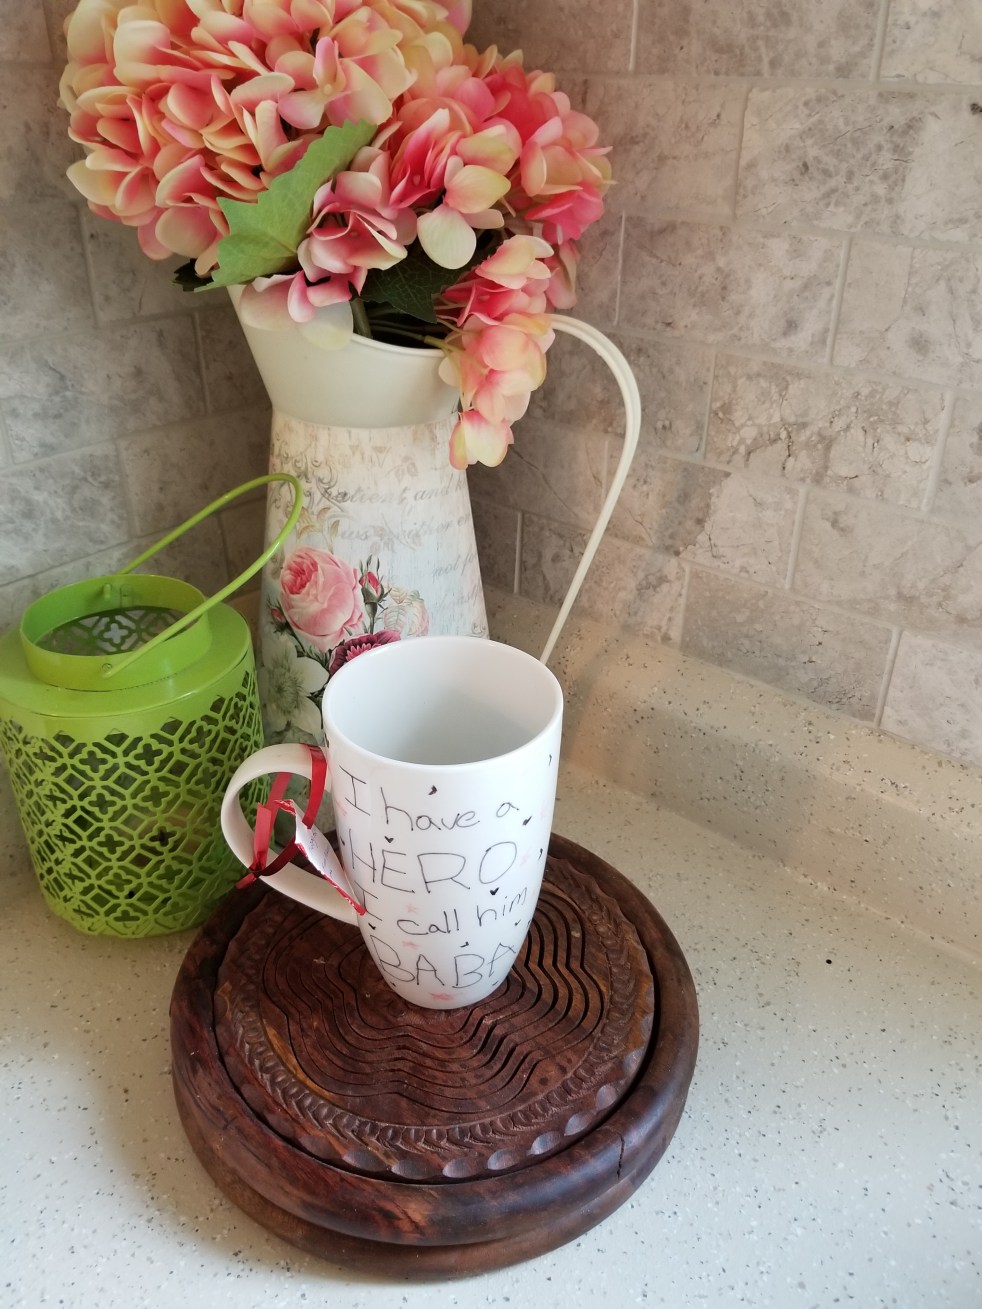
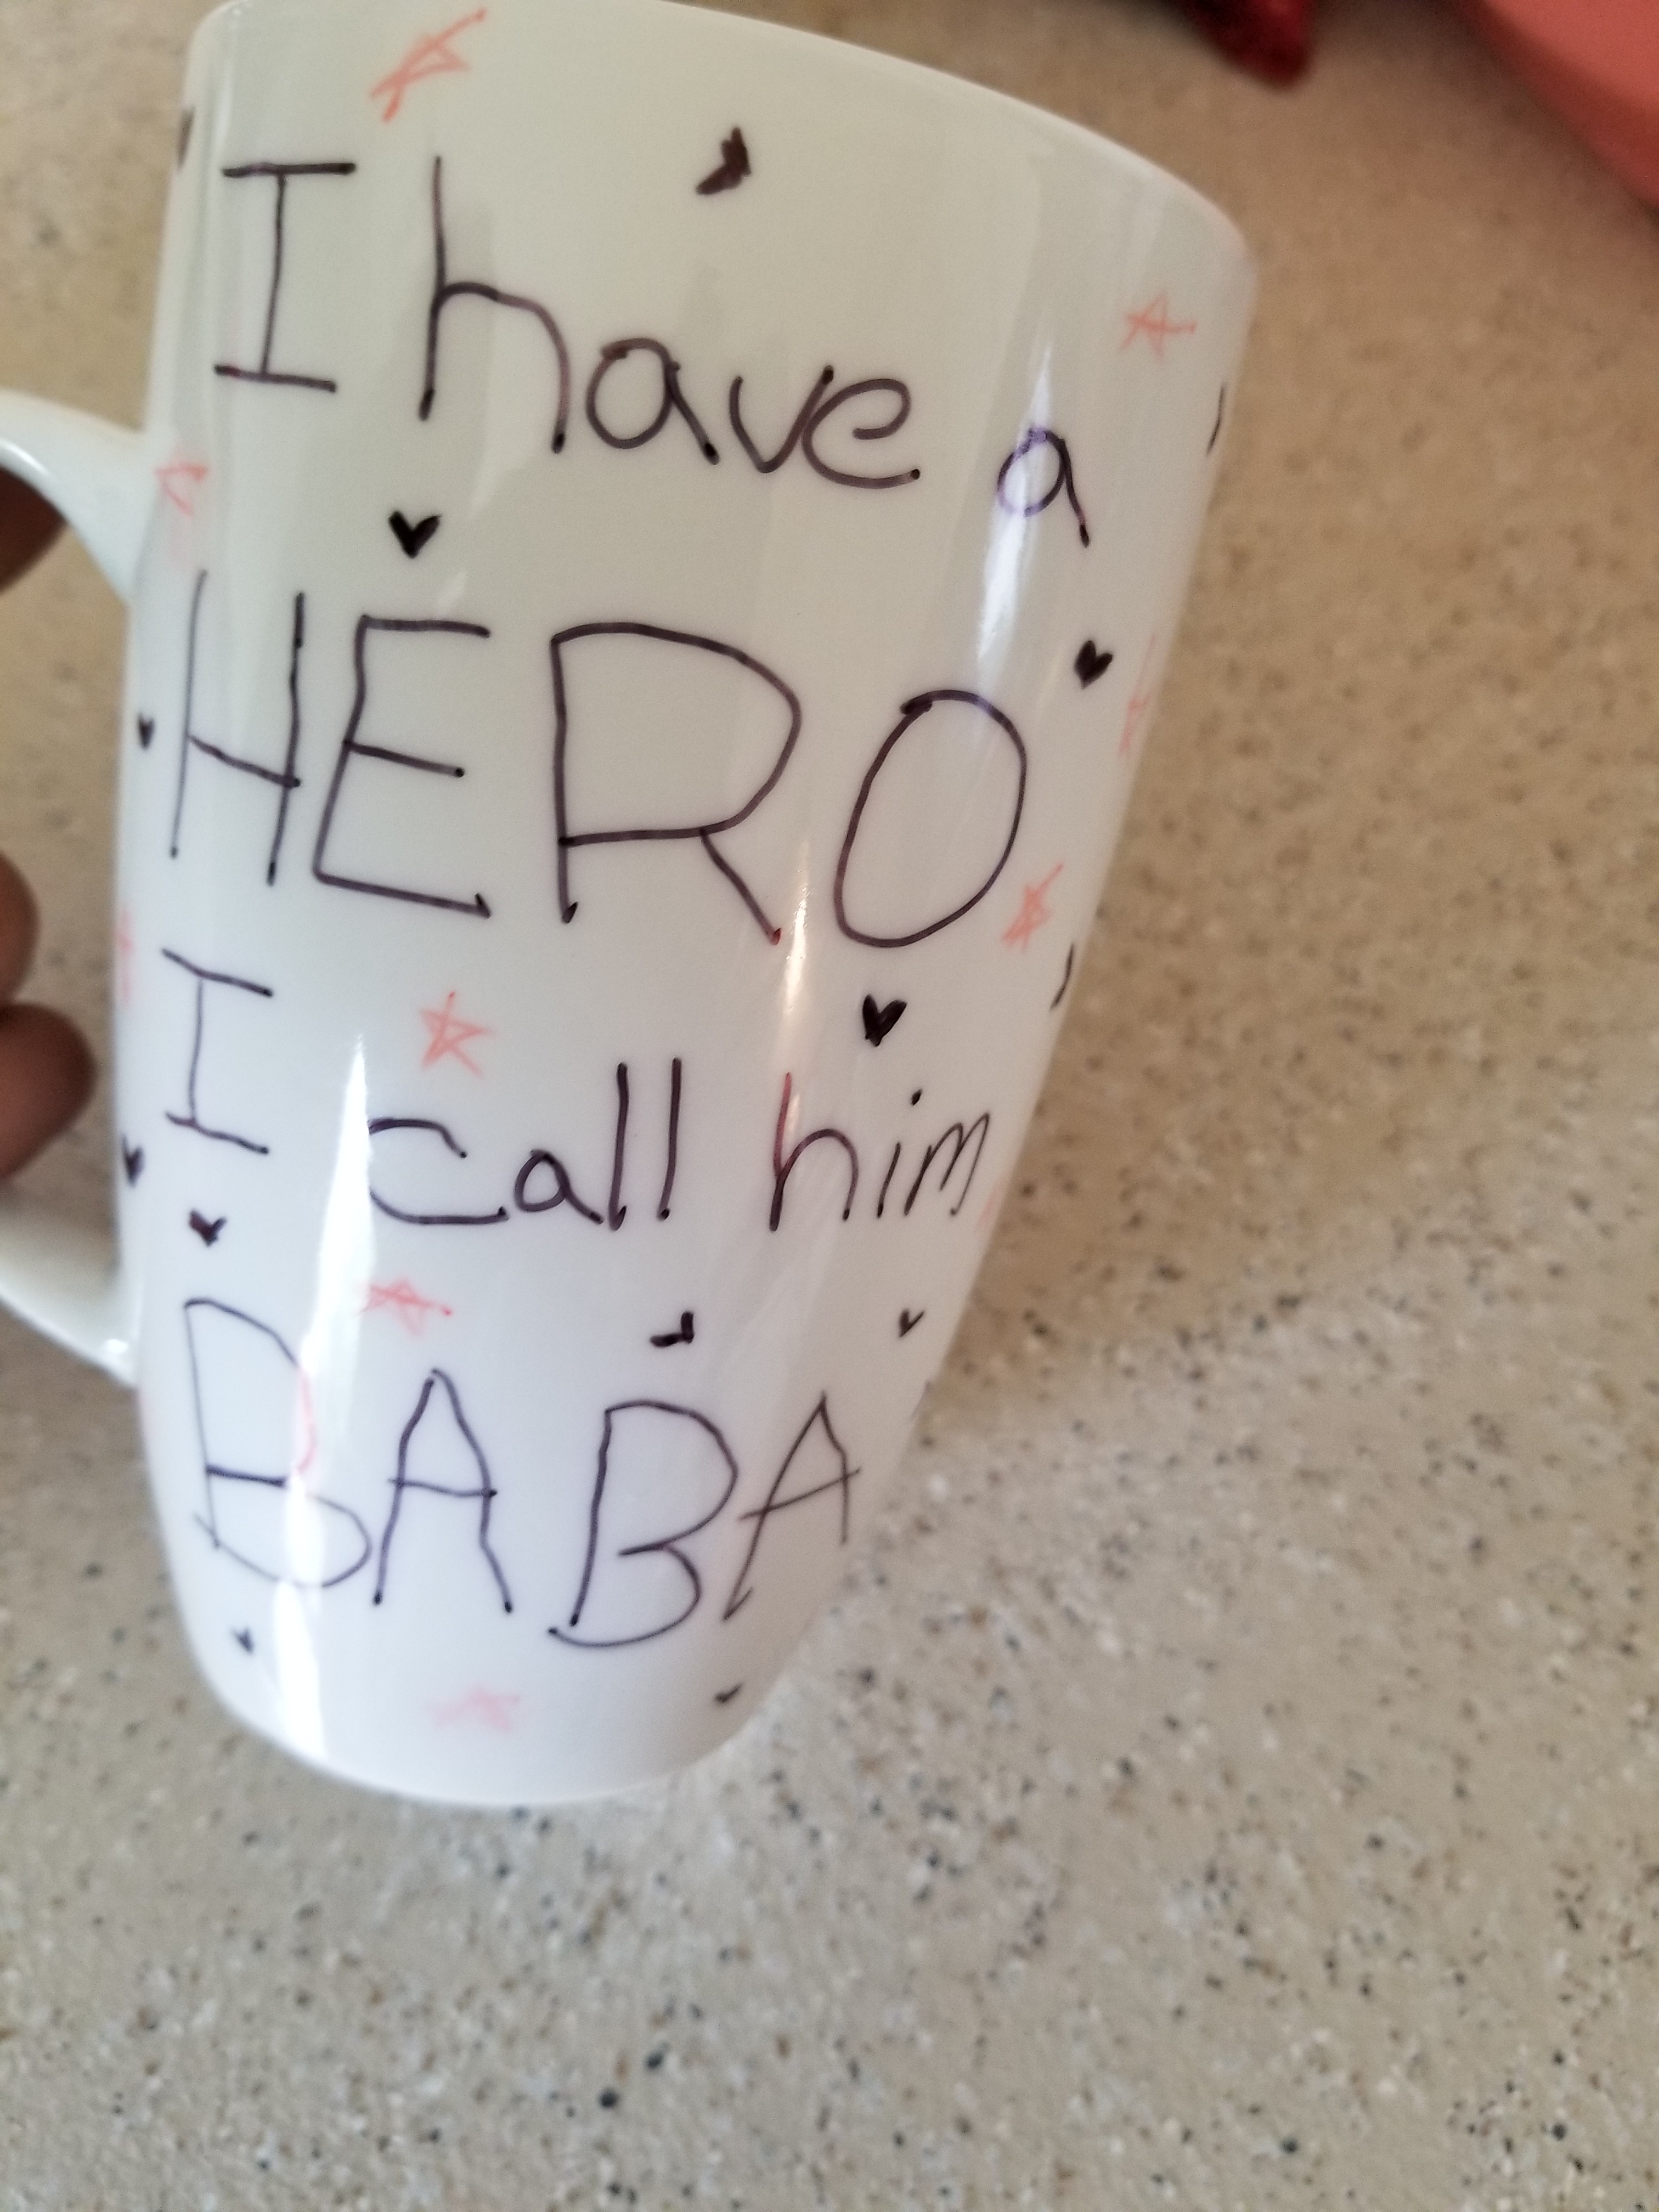
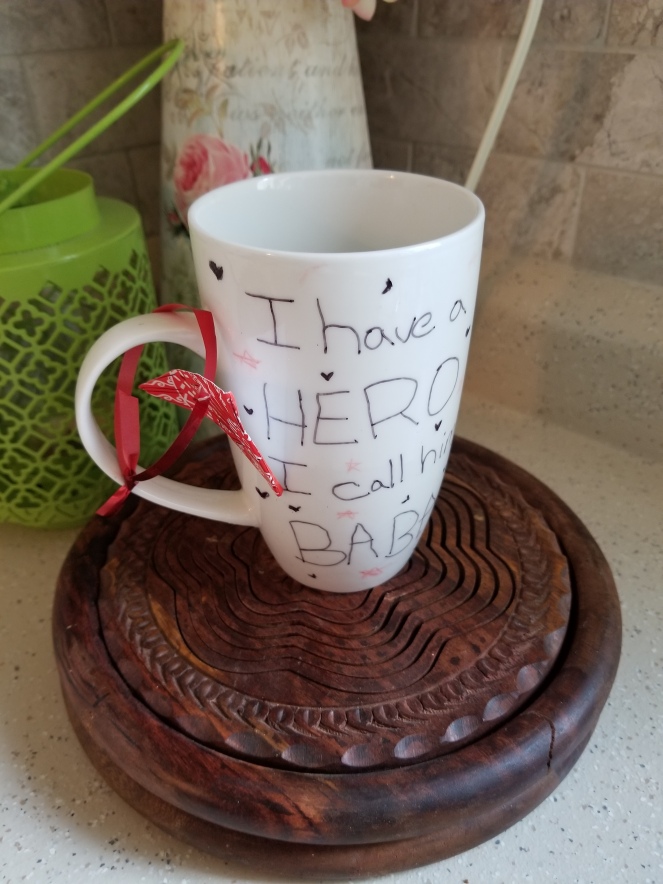 Your very own customized DIY fathers day mug is ready to give.hope you all have a wonderful father day…Enjoy!!!(Hand wash is recommended only).


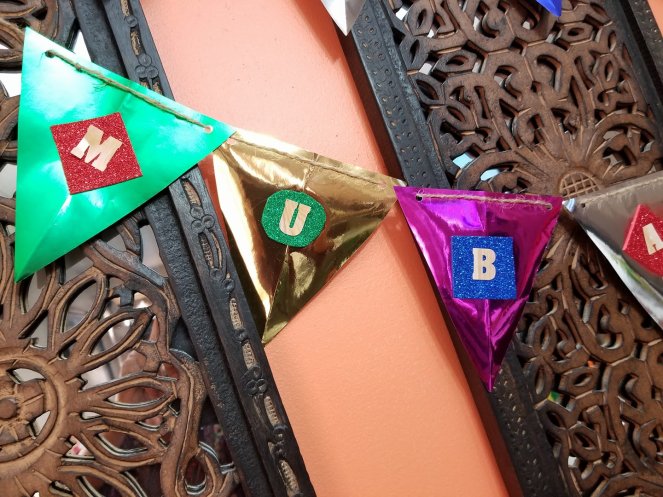
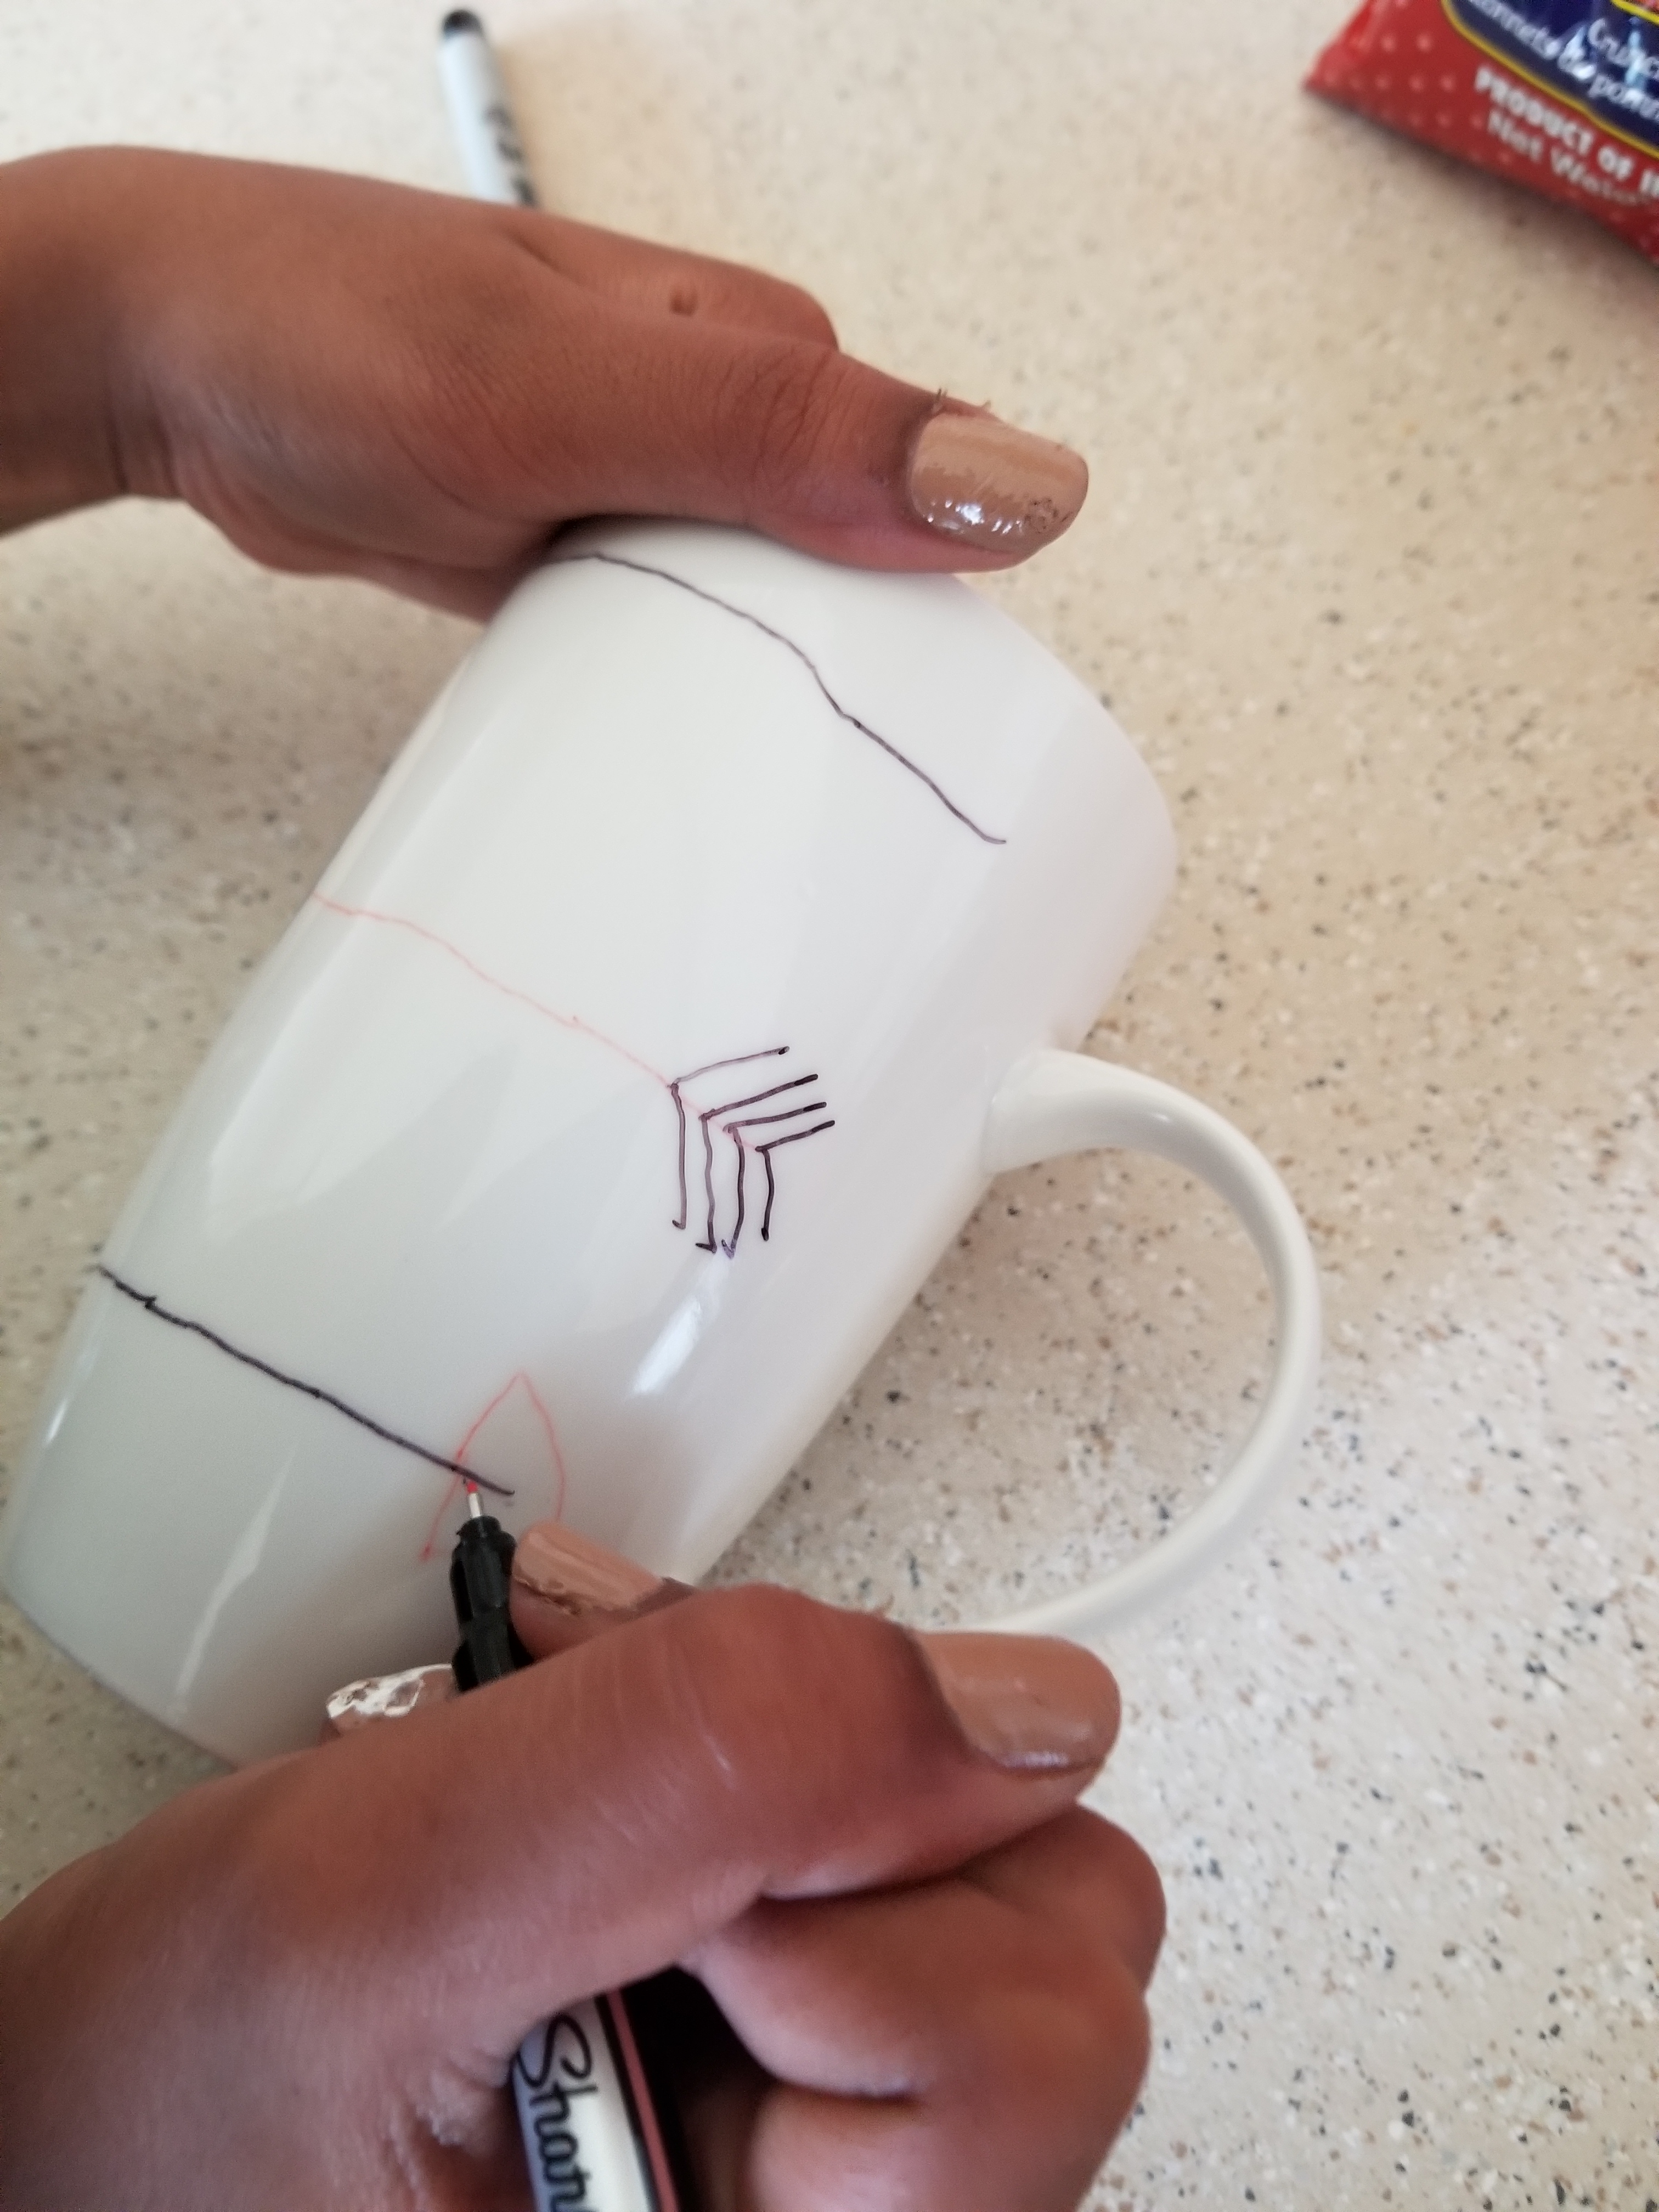
 Now write with sharpie or use alphabetical stickers.Arrange them in order and punch holes with puncher.Use twine and hang it up by crossing it through the holes..
 It’s so easy you can make it in less than half an hour.I hang it up in my living room with the help of tape.You can make any banner with same easy procedure for Eid,birthday etc and customize it by using some more fun things like using strings or flowers etc.