 Well….its been a while I made this Hair Pin Leg Bench for my entryway.I made this bench in early spring and then we got busy in vacations and I didn’t get time to write a post about it.Now after getting so many compliments and people ask me how did I make it so here you go…It easy but Little bit costly as Hairpin legs are not cheap but kind of affordable and easy to DIY (with help of husband).
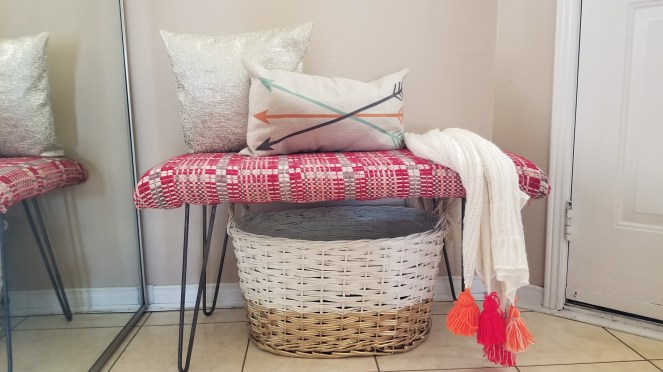
We don’t have a big foyer but always need something to sit on to tie my shoes and go.I love Hairpin Legs so much and ordered online at Rusty Design Canada , these 2-rod Hairpin legs 16″ came in set of 4.I love them as it is. They are raw iron and easy to attached.

I asked my husband to attach the Hairpin legs to the base of the seat/bench(I already had). I didn’t paint the legs and like them as it is but never know I will paint some day. When legs are attached its easy to add foam and batting.
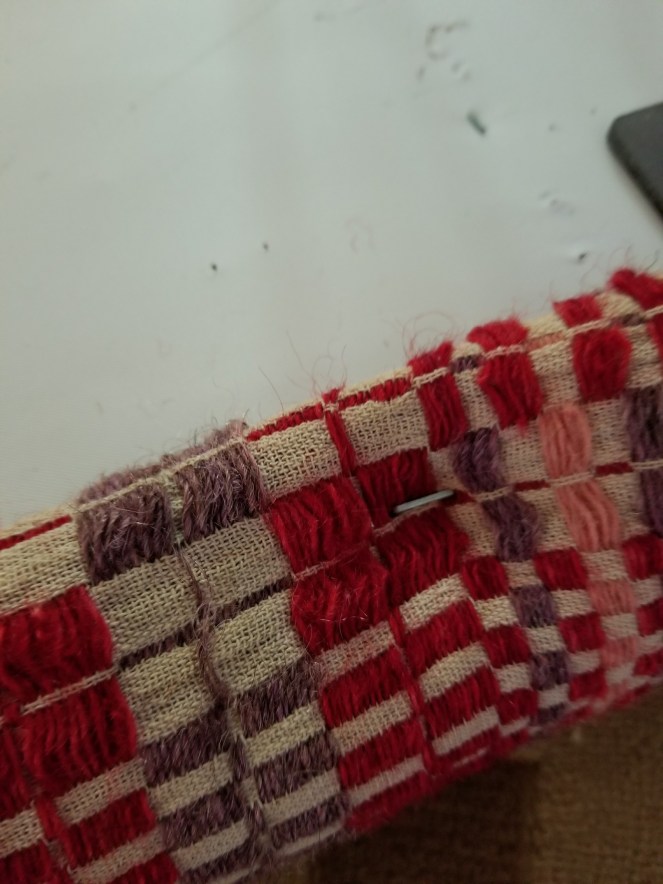 I attached the foam with wooden base with adhesive spray and then staple the batting and fabric down with staple gun.I used the knitted fabric that actually I brought from a garage sale 2 years ago .I toss some cushions and a throw and its perfect for my entryway.
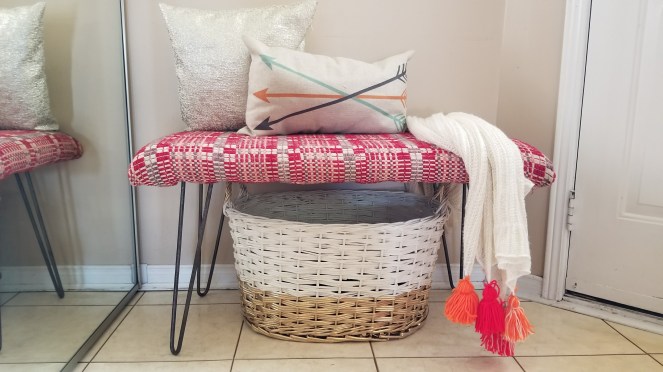
This throw is a DIY and I already had this hand knitted scarf/throw, I attached tussles .This painted toy/blanket basket is also a DIY..tutorial (both)coming soon.
So Let me know Do you like this bright and colorful but modern bench ?you can put anywhere around your house?
I made another Bench/Ottoman before…check here DIY Ottoman
(This is not a sponsored post)

One thought on “DIY Hairpin Legs Bench”